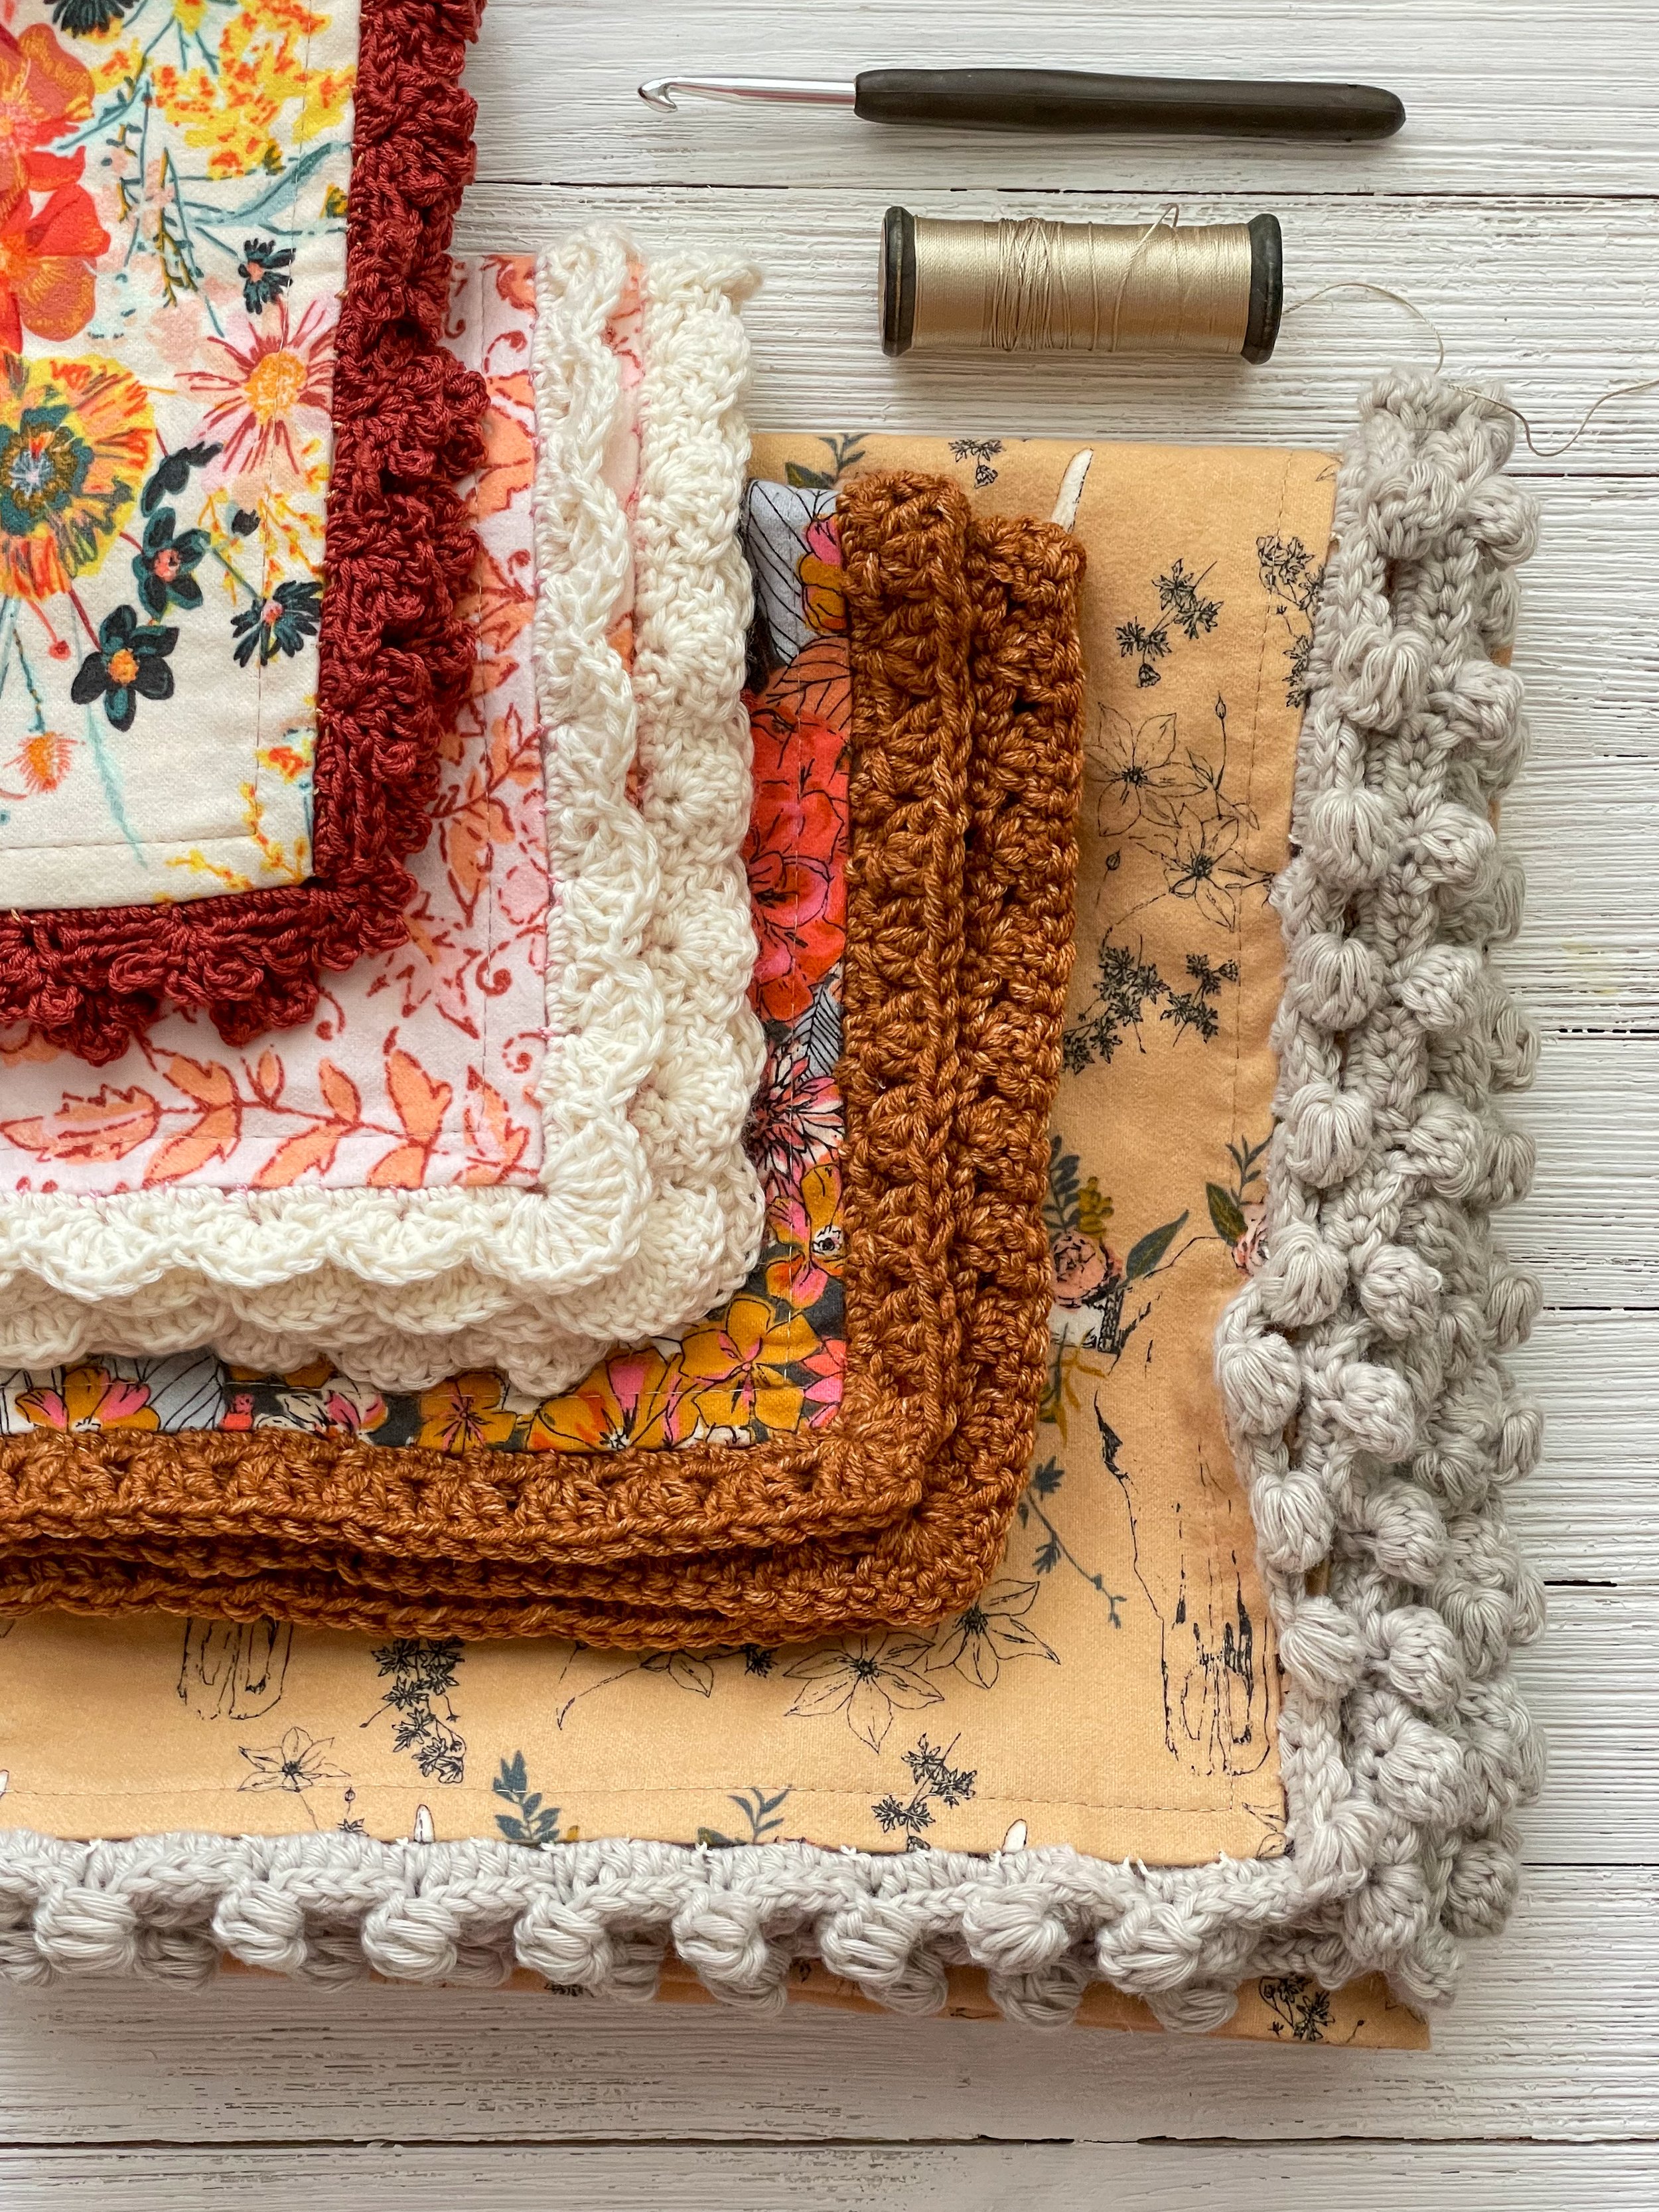
Welcome back to Week 2 of the Crochet-Edge Blanket workshop! This week we can get to the fun part and learn how to crochet four different edges. All the samples made for these tutorials are made from prints I designed for Art Gallery Fabrics and are in flannel (with the exception of one quilting cotton napkin). You can see more of my fabrics HERE.
Here’s what we’ll be learning this week:
Basic crochet
Square edge
Clamshell edge
Picot edge
Pom-pom edge
Let me stress again that I’m not an expert at crochet but have managed to successfully add crochet borders to fabric in a method I really like (no large holes into the fabric) and have found four beginner-friendly edge designs that also look good without needing to know a lot of fancy stitches or complicated repeats. If you really want to learn how to crochet from an expert there are books on the subject and so many qualified instructors and creators out there on the internet so please, keep exploring and learning. Also, if you’re left handed and want to learn how to crochet, you’ll want to seek out a left handed instructor as I cannot provide good instructions or video examples for lefties—just saying, “…reverse everything I do…” is probably not enough!
Basic Crochet
The video module below will briefly touch on how to hold your crochet hook and yarn and introduce you to crochet. Each of the edge design modules will get into the actual stitches used for that particular edge. Remember, this edge-method is slightly different than creating a entire crocheted blanket so we don’t need to know the number of stitches—only the number of stitches we add to our loops in round 1 help keep the repeating edge pattern in round 2 landing at the corners where we want and looking neat and tidy.
Written crochet instructions can look like a foreign language and are made up of abbreviations and very condensed information. I’ve made a downloadable PDF handout that has my attempt at writing the instructions for the four edge styles shown in the modules. Chances are I may not have written it out in true crochet abbreviation-fashion but these were the notes I had made for myself when I created my samples and was enough information and prompt for me to get the job done. I’ve made some text caption notes in the videos showing the abbreviations so when you refer to the handout you will start to see the connection of stitch to instructions. Print out the handout and have it handy when you watch the videos and start crocheting—that way you can make yourself any notes if needed and have a reference to easily return to.
Four Edge Designs
Square Edge
This Square Edge design is one I made up after playing around with various stitches. We will start with this design as I feel it’s the simplest and easiest repeating pattern to follow for a beginner. The stitches you’ll learn to make for this edge include: Chain stitch (ch), single crochet (sc), double crochet (dc), and slip stitch (sl st). Watch how to stitch in the video below.
Clamshell Edge
The Clamshell is a very decorative stitch that’s very easy to make. This stitch would look good in any variety of yarn weights and creates a soft, scalloped edge to a blanket or napkin. I build upon what you already learned in the Square Edge video and introduce a new repeat to achieve the Clamshell variation. Stitches used in the tutorial below include: Chain stitch (ch), single crochet (sc), slip stitch (sl st), and double crochet (dc).
Picot Edge
The Picot Edge looks fancy like lace but is actually a very simple design! I like to use a #2-#3 weight yarn with this one to keep the stitches looking delicate. This may not be the best edge stitch for a baby blanket because of the openness of the chained area between Picot groups but would be lovely on napkins and pillowcases. For this edge design we use the simplest of stitches but it’s all in the way you cluster them that creates the fun pattern. Stitches included in the video below are: Chain stitch (ch), single crochet (sc), and slip stitch (sl st).
Pom-pom Edge
Okay, I saved my favorite edge stitch for last because it’s only slightly more difficult than the others and if you are a beginner, it’s a good idea to try some of the other edge treatments first just to get a feel for the basic stitches and how the repeating patterns create different effects. If you’re making a receiving blanket please note that this stitch uses more yarn than the other stitches and if you crochet loosely and use a larger needle, these factors will also increase how much yarn is used and you will want to have a skein with at least 250 yards in it just to be on the safe side and have enough yarn for the project. In the tutorial video below we use stitches already learned like the chain stitch (ch) and slip stitch (sl st) but add in the very cool half double crochet (hdc) stitch used in two different ways.
And, there you have it, four different edge designs to play with and all sort of yarn weight and crochet hook options for infinite variety and applications! Now you can take this idea and run wild with it to come up with ways to add a crochet edge to your projects and add a special, hand stitched touch.
Bonus
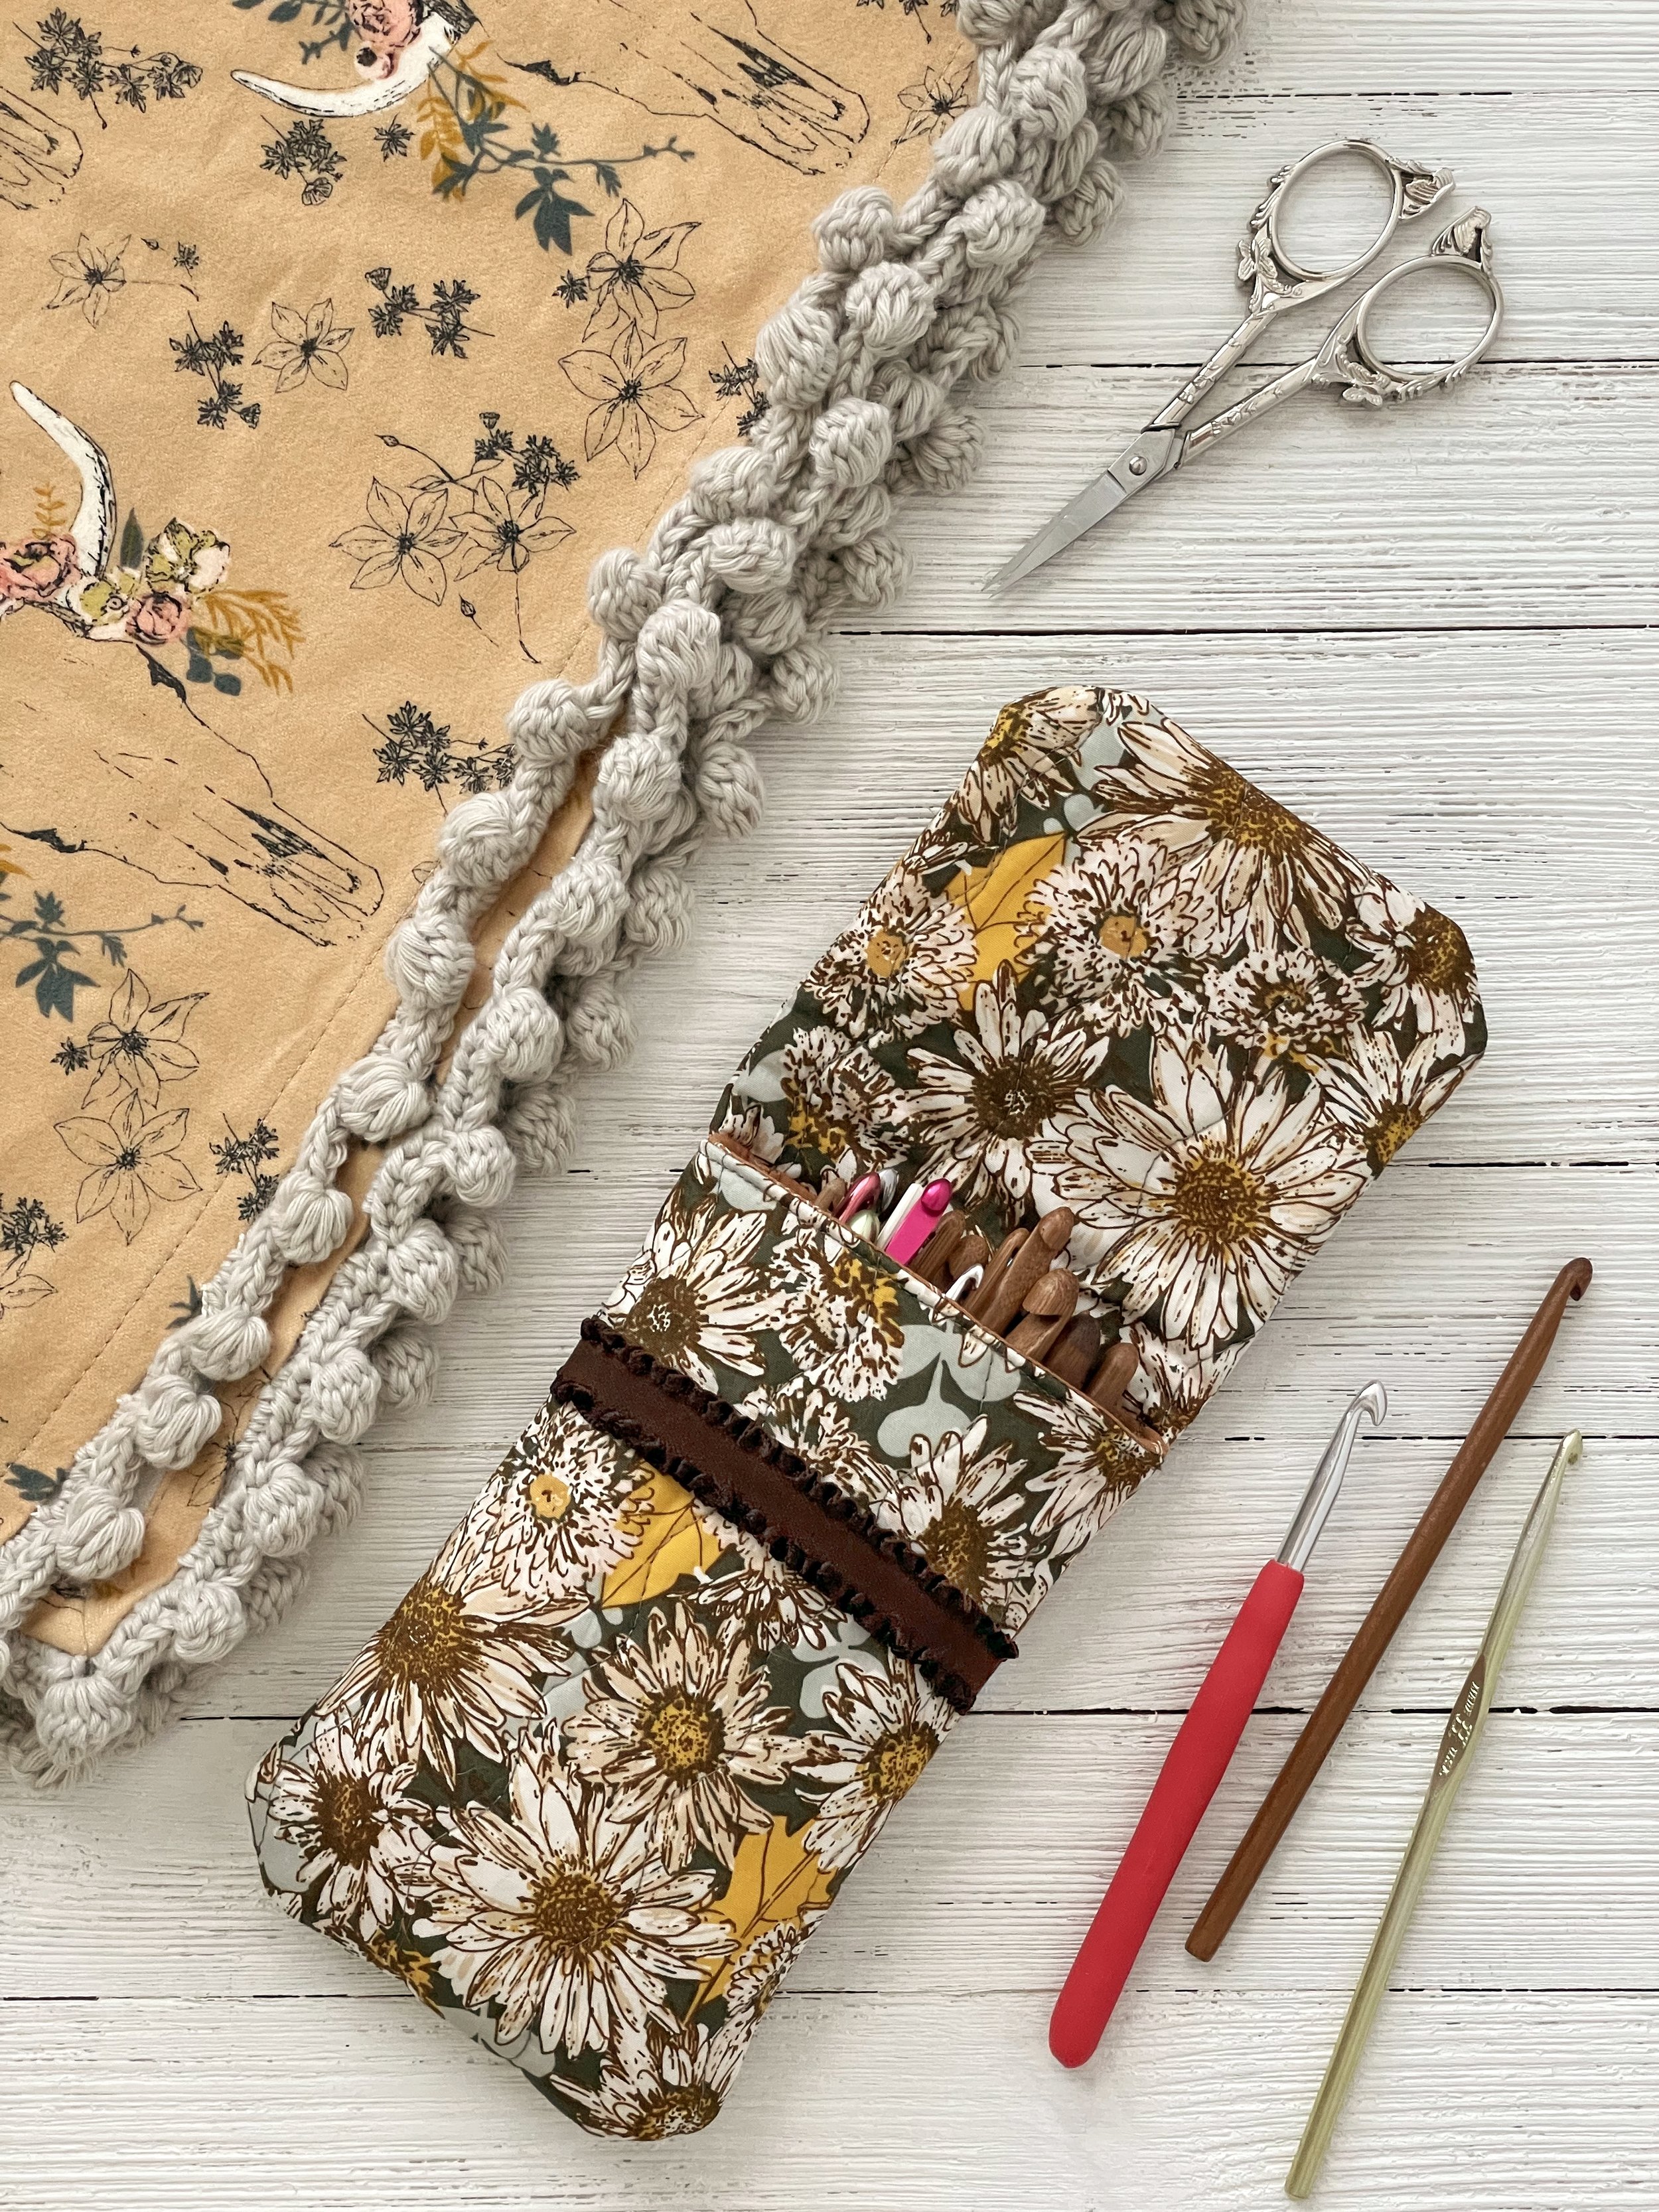
Just this week as I was searching for a certain crochet hook for the umpteenth time I thought to myself, “I really need some sort of case for my hooks” and then later that day I stumbled across photos of my Shine On Glasses Case project and the light bulb came on! Sure enough, the glasses case is the perfect size to store a whole bunch of crochet hooks! Download the free PDF pattern by clicking on the button below.
Did you enjoy this mini workshop? I look forward to seeing your projects posted on Instagram so be sure to tag me @sharonhollanddesigns when you share your work!
I am an Amazon Associate site and earn from qualifying purchases on the products I’ve linked below. The helpful products selected are the same or similar to materials used to make the project(s) in this blog post or related items I think you may enjoy.


