This week, Art Gallery Fabrics released the Shine On Look Book full of sewing inspiration made from my newest fabric collection—Shine On. I’ve been waiting patiently to show and tell about ALL the projects I made for the virtual catalog and this post will be dedicated to items not already shared yet on this blog (the quilt and accessories patterns I designed and wrote about on previous posts).
Originally, my husband and I had planned a January trip to Arizona but, it was cancelled and so was my plans for photographing my projects in a desert landscape. So, if I couldn’t go to the desert, I decided I could make myself a desert mural and use it in my studio photography.
Desert mural by Sharon Holland
This particular mural is not as large as some of my past pieces but at 6’ x 9’ and more detailed than others, it was still a challenge. I used regular acrylic household paint (like for interior walls) and painted on a painter’s drop cloth canvas. The course, unprimed canvas is tricky to paint on but has it’s own fun texture and keeps me from getting too fussy and hung up on details. You’ll see peeks of this mural as a backdrop to many of my photos.
Cactus Pincushions
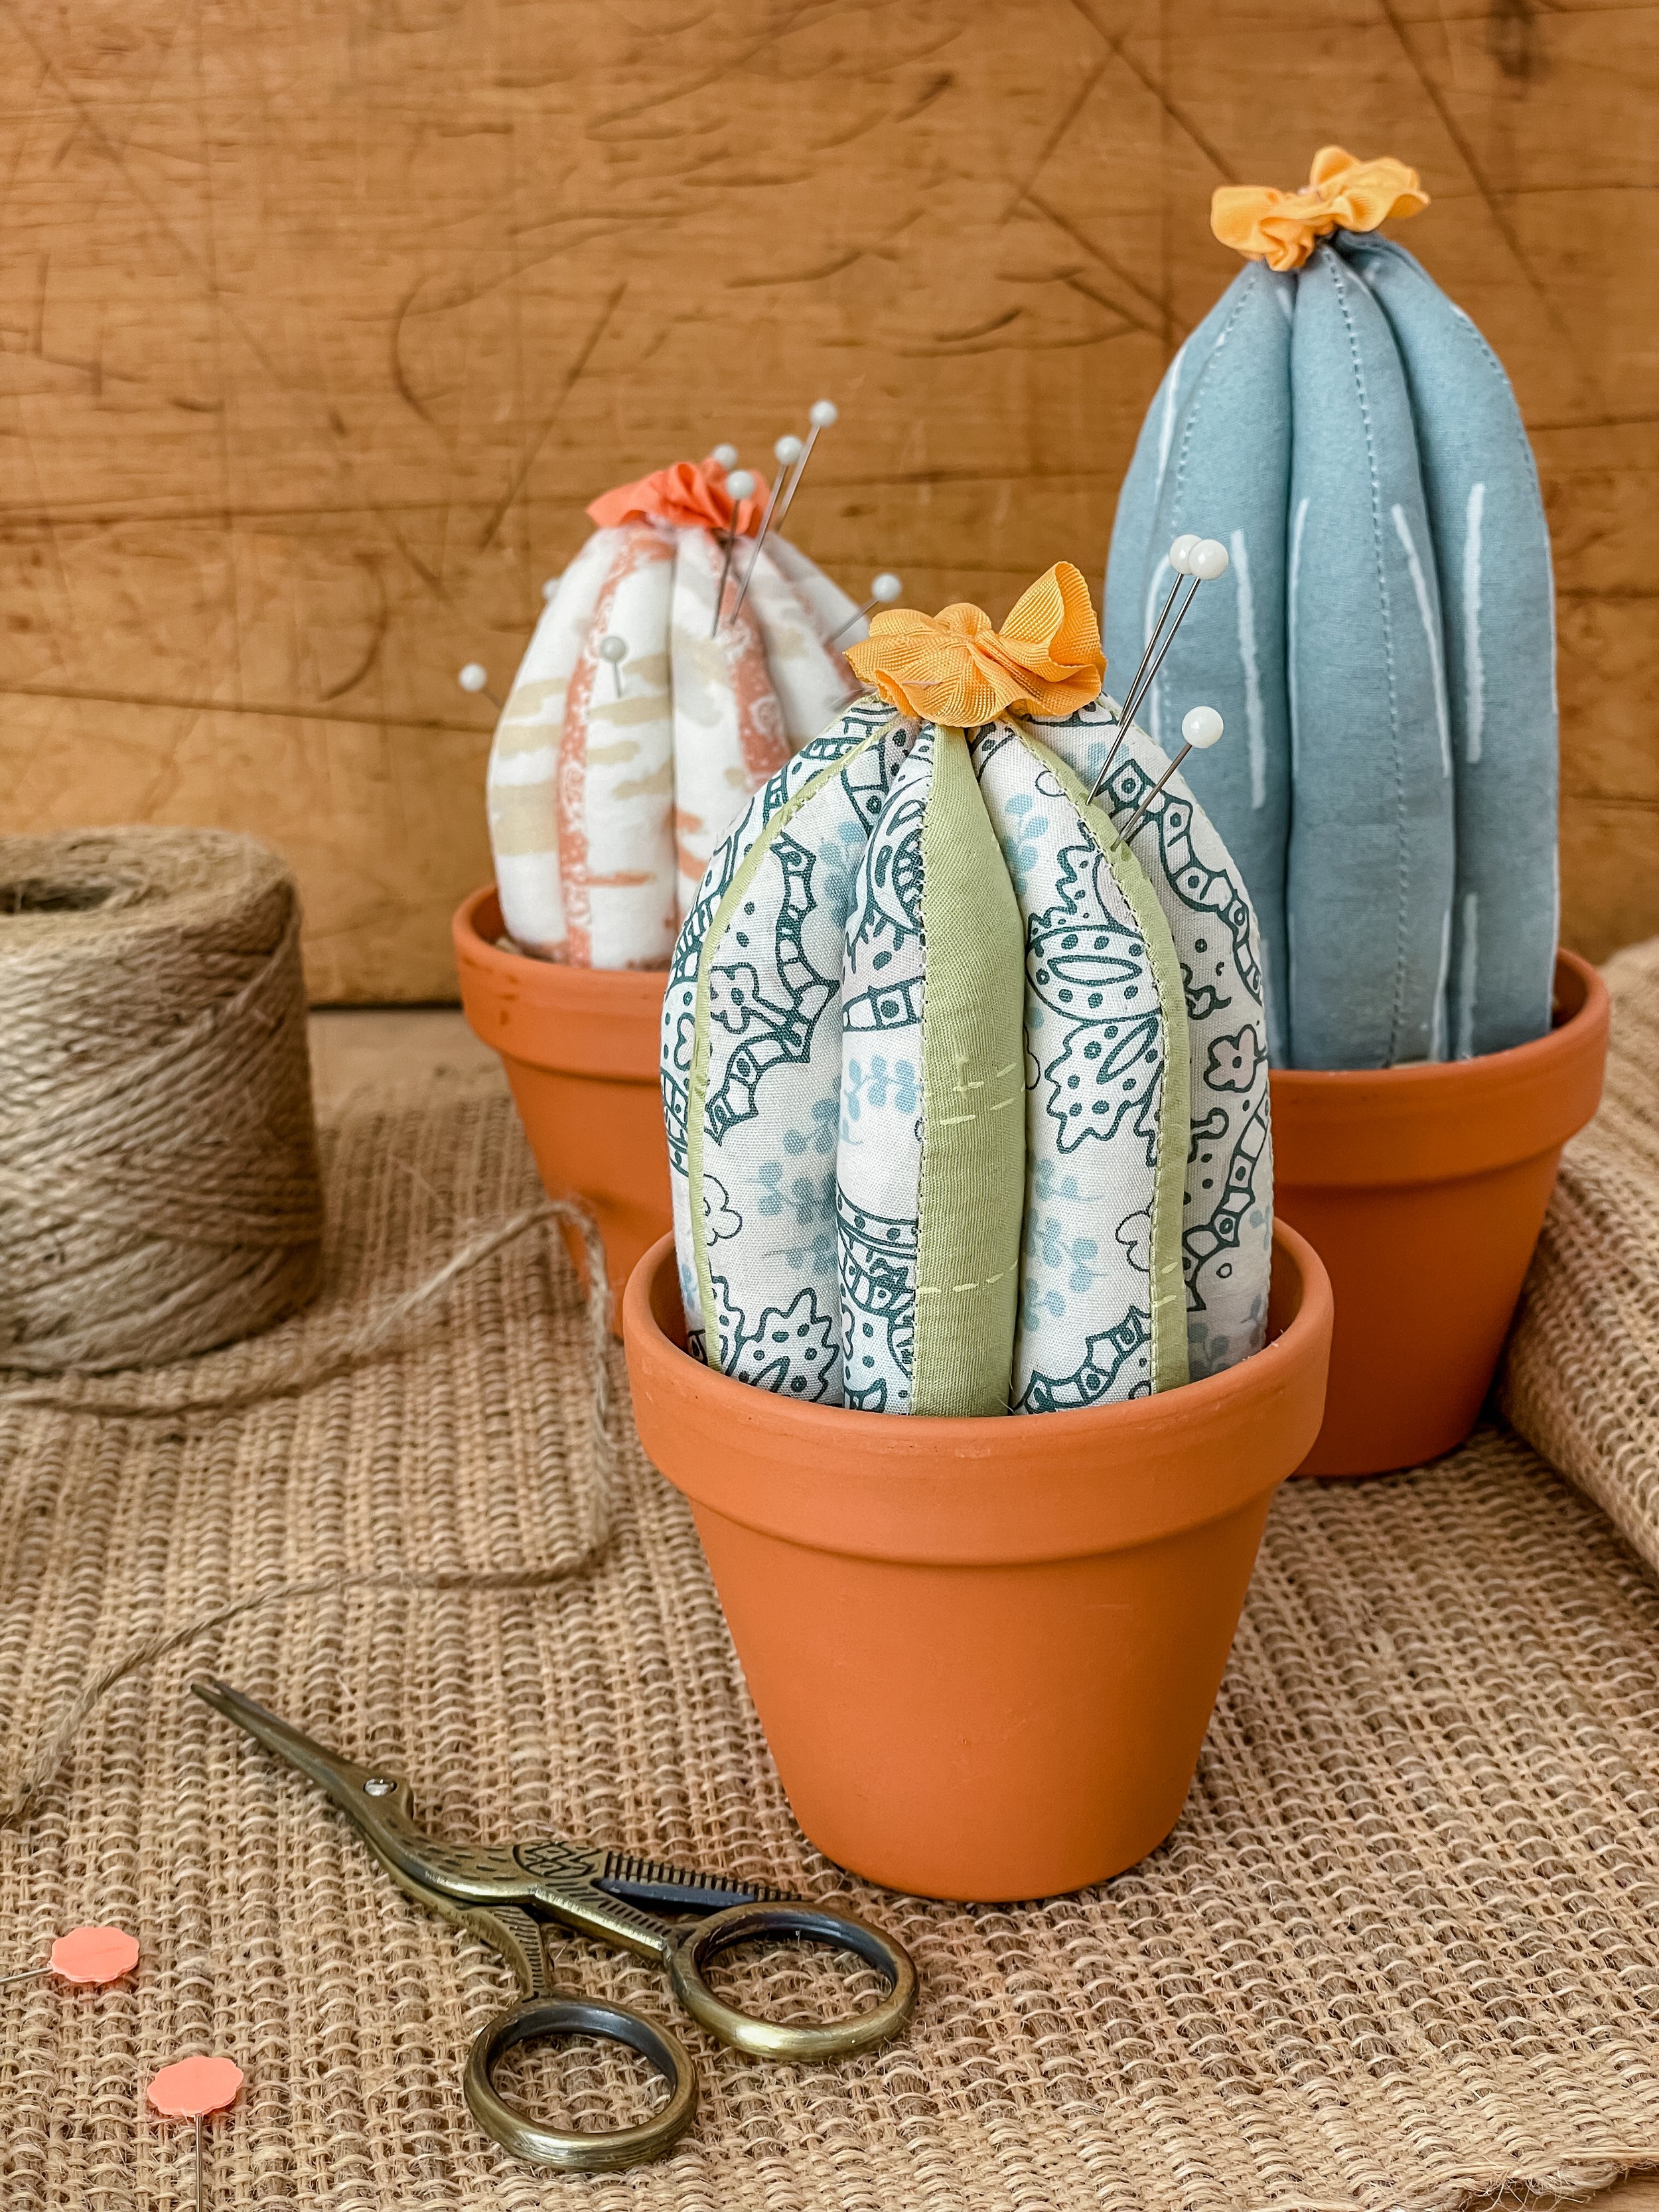
Well, of course I need to make some fun cactus pincushions! The colors from Shine On are perfect for this project and it’s a great one to even get the kids involved in. I used Butterfly Threads Quilting tutorial and freeform made cactus pincushions of various sizes. I gathered grosgrain ribbon for a flower and glued it to the top.
Dreamy Clutch
The Dreamy Clutch is a free pattern from Art Gallery Fabrics and is a large zip pouch with a beautiful patchwork design. I used a decorative stitch on my machine to quilt the bag and laid both my blocks together on one piece of batting and quilted so the stitch lines would line up perfectly when sewn together.
This padded clutch is the perfect size to hold and protect my iPad.
Ilford Jacket
Undoubtedly you’ve seen lots of quilted coats and jackets online and have thought about making one for yourself—well, I have had those very same thoughts and doubts that I could even attempt anything like a coat! Was I wrong—it’s not that hard if you have basic garment sewing knowledge.
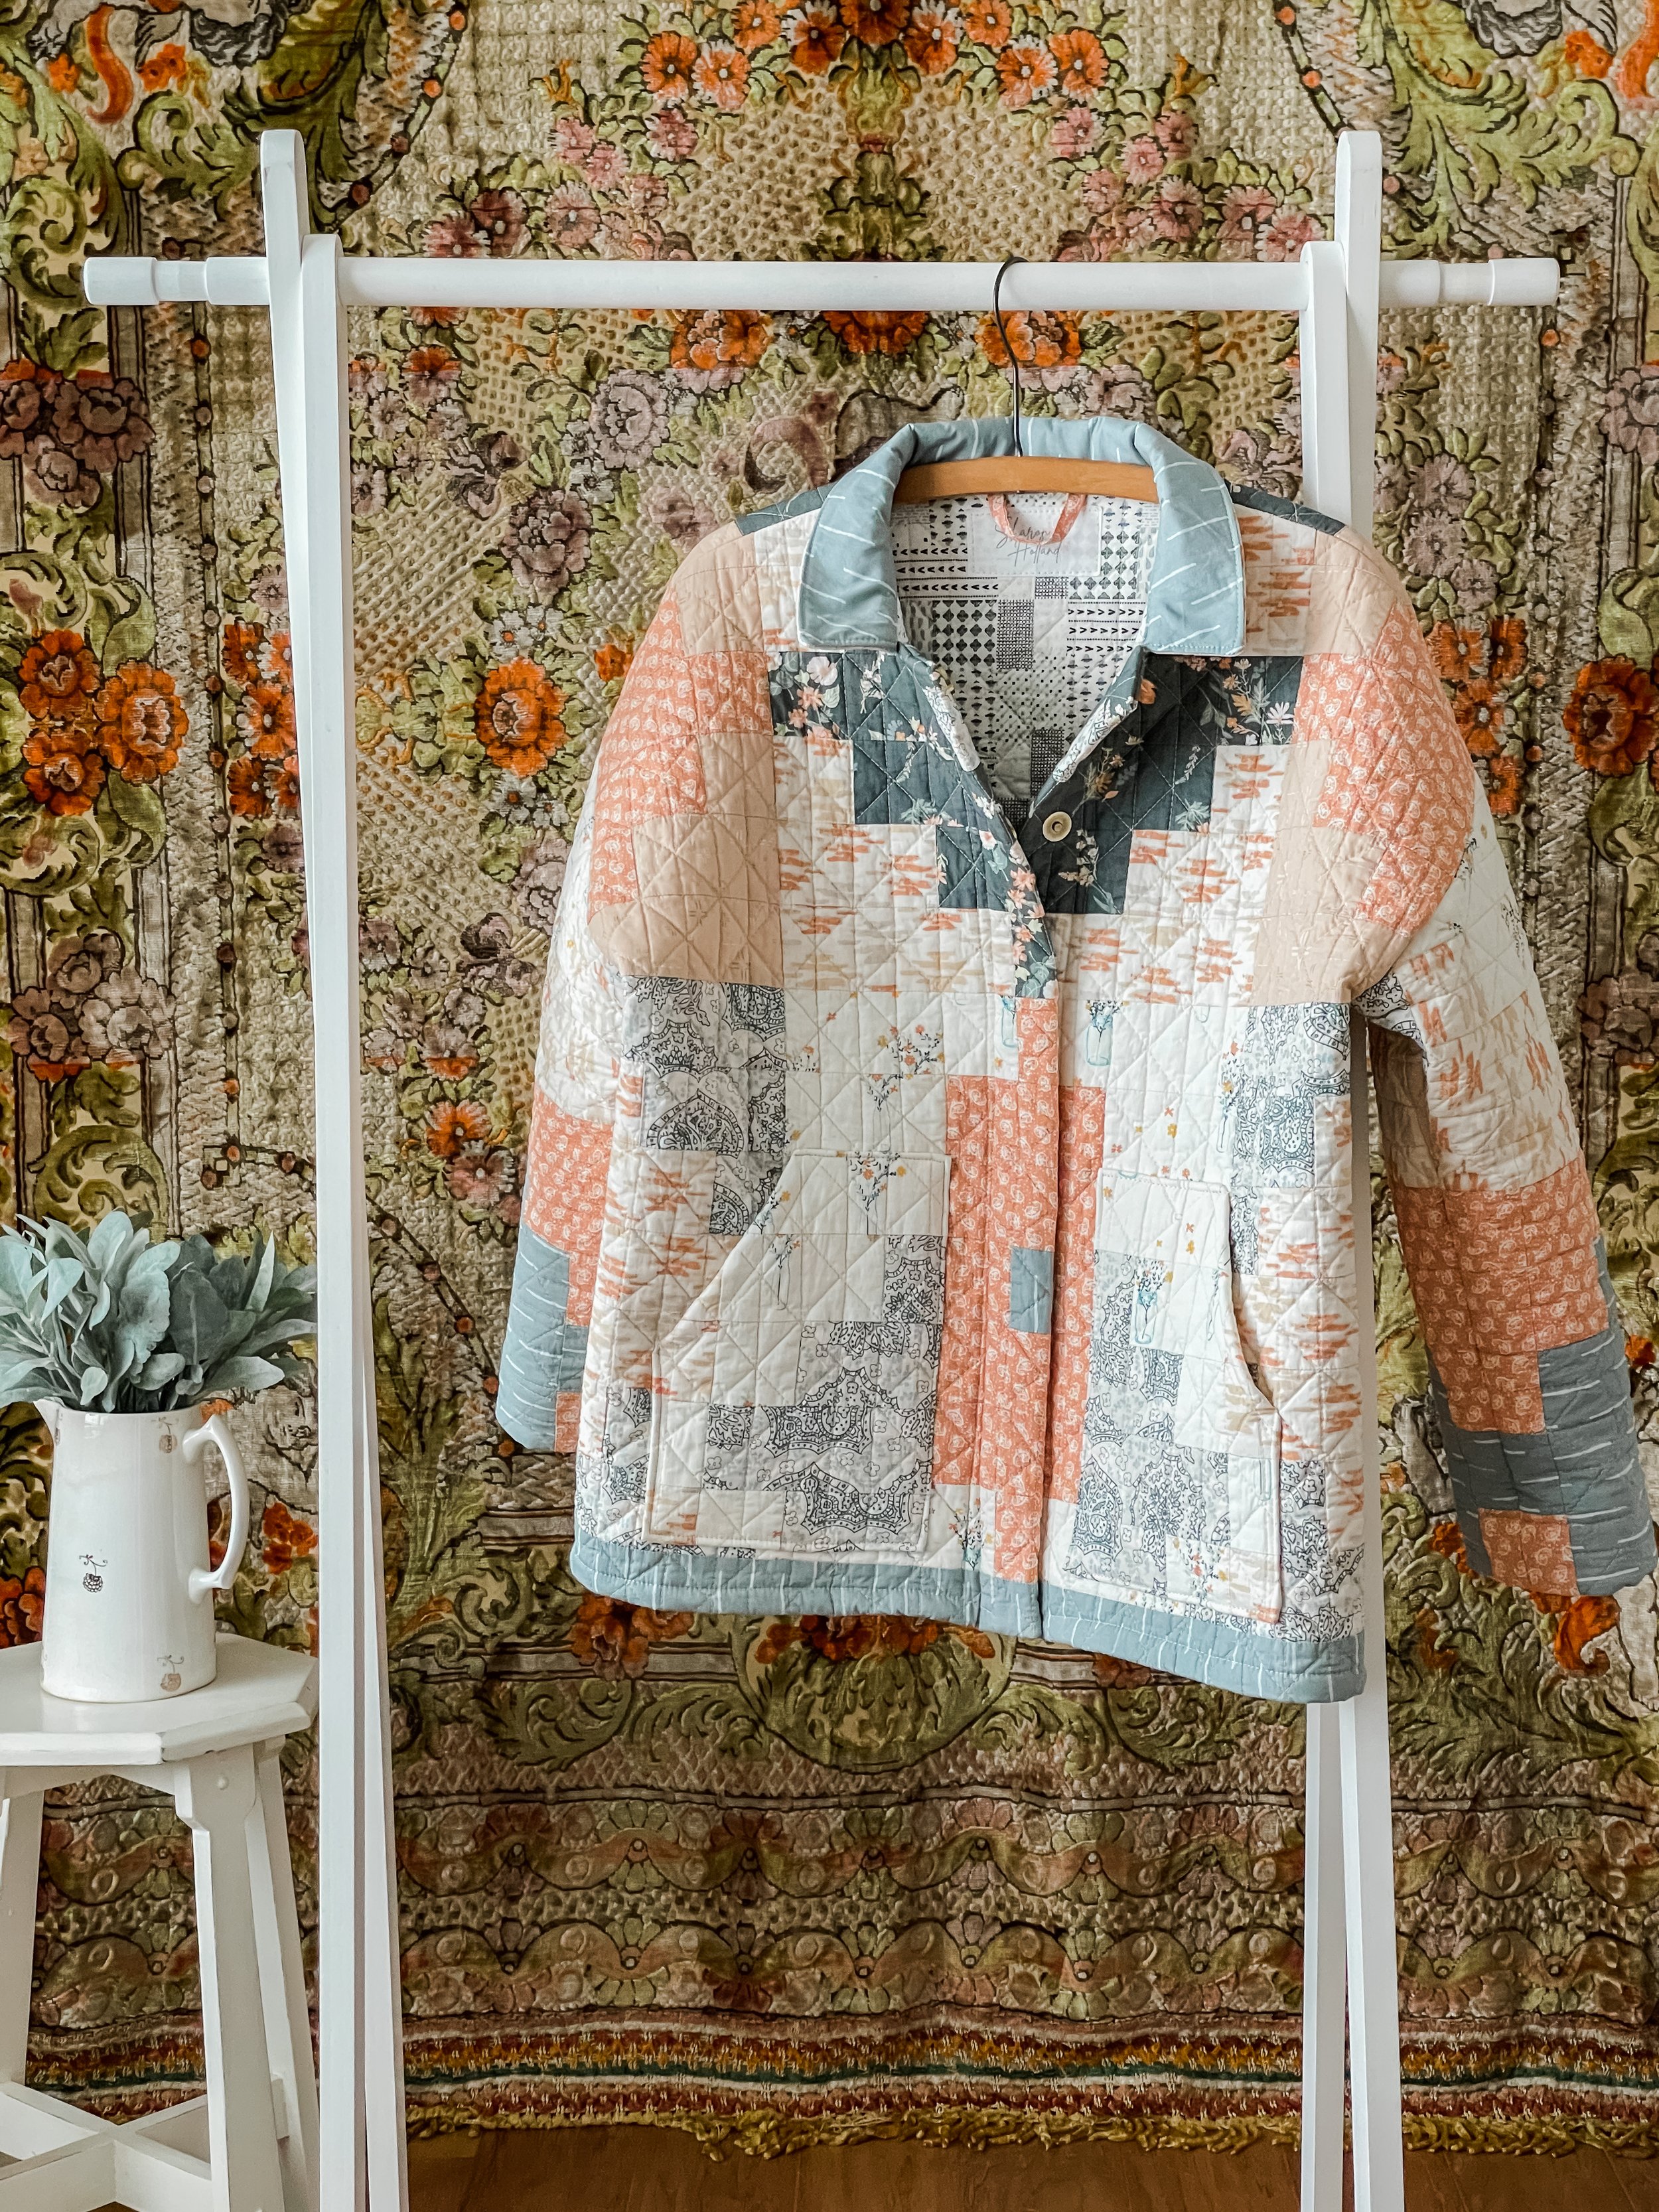
I looked at a bunch of patterns on the market and it was very hard to decide what to pick. To narrow it down, I thought about how those coats and jackets would look on me—for my short frame and how I wanted to wear my coat. I finally decided on the Ilford Jacket by Friday Pattern Company because it was cut more like a jean jacket (but comes in two length options), has pockets, and a collar. I liked the tailored look of the coat even though the cut is intended to be boxy and oversized.
Once I had my jacket pattern I could then determine how much fabric would be needed for the size coat I wanted to make. I’m 5’2’’ and around 124 pounds. I made the 2-4 Small size short jacket.
As for my quilted fabric, I first thought about my wardrobe and what colors I normally wear, what sort of clothing I’d be wearing with my quilted jacket, what time of year. Then I picked the fabrics and auditioned the colors with some articles of clothing and with my completion. It wasn’t until after I had my palette and Shine On fabrics selected that I then picked my quilt design. Again, there was a lot of thinking about what sort of statement and look I wanted my jacket to have and I landed on my Wild Honey quilt. Wild Honey is a free pattern on this blog. I had to make and arrange the block differently from the pattern to “make” the size fabric needed for the garment requirements so your fabric requirements may differ from mine and the number of blocks needed my differ from the pattern as well.
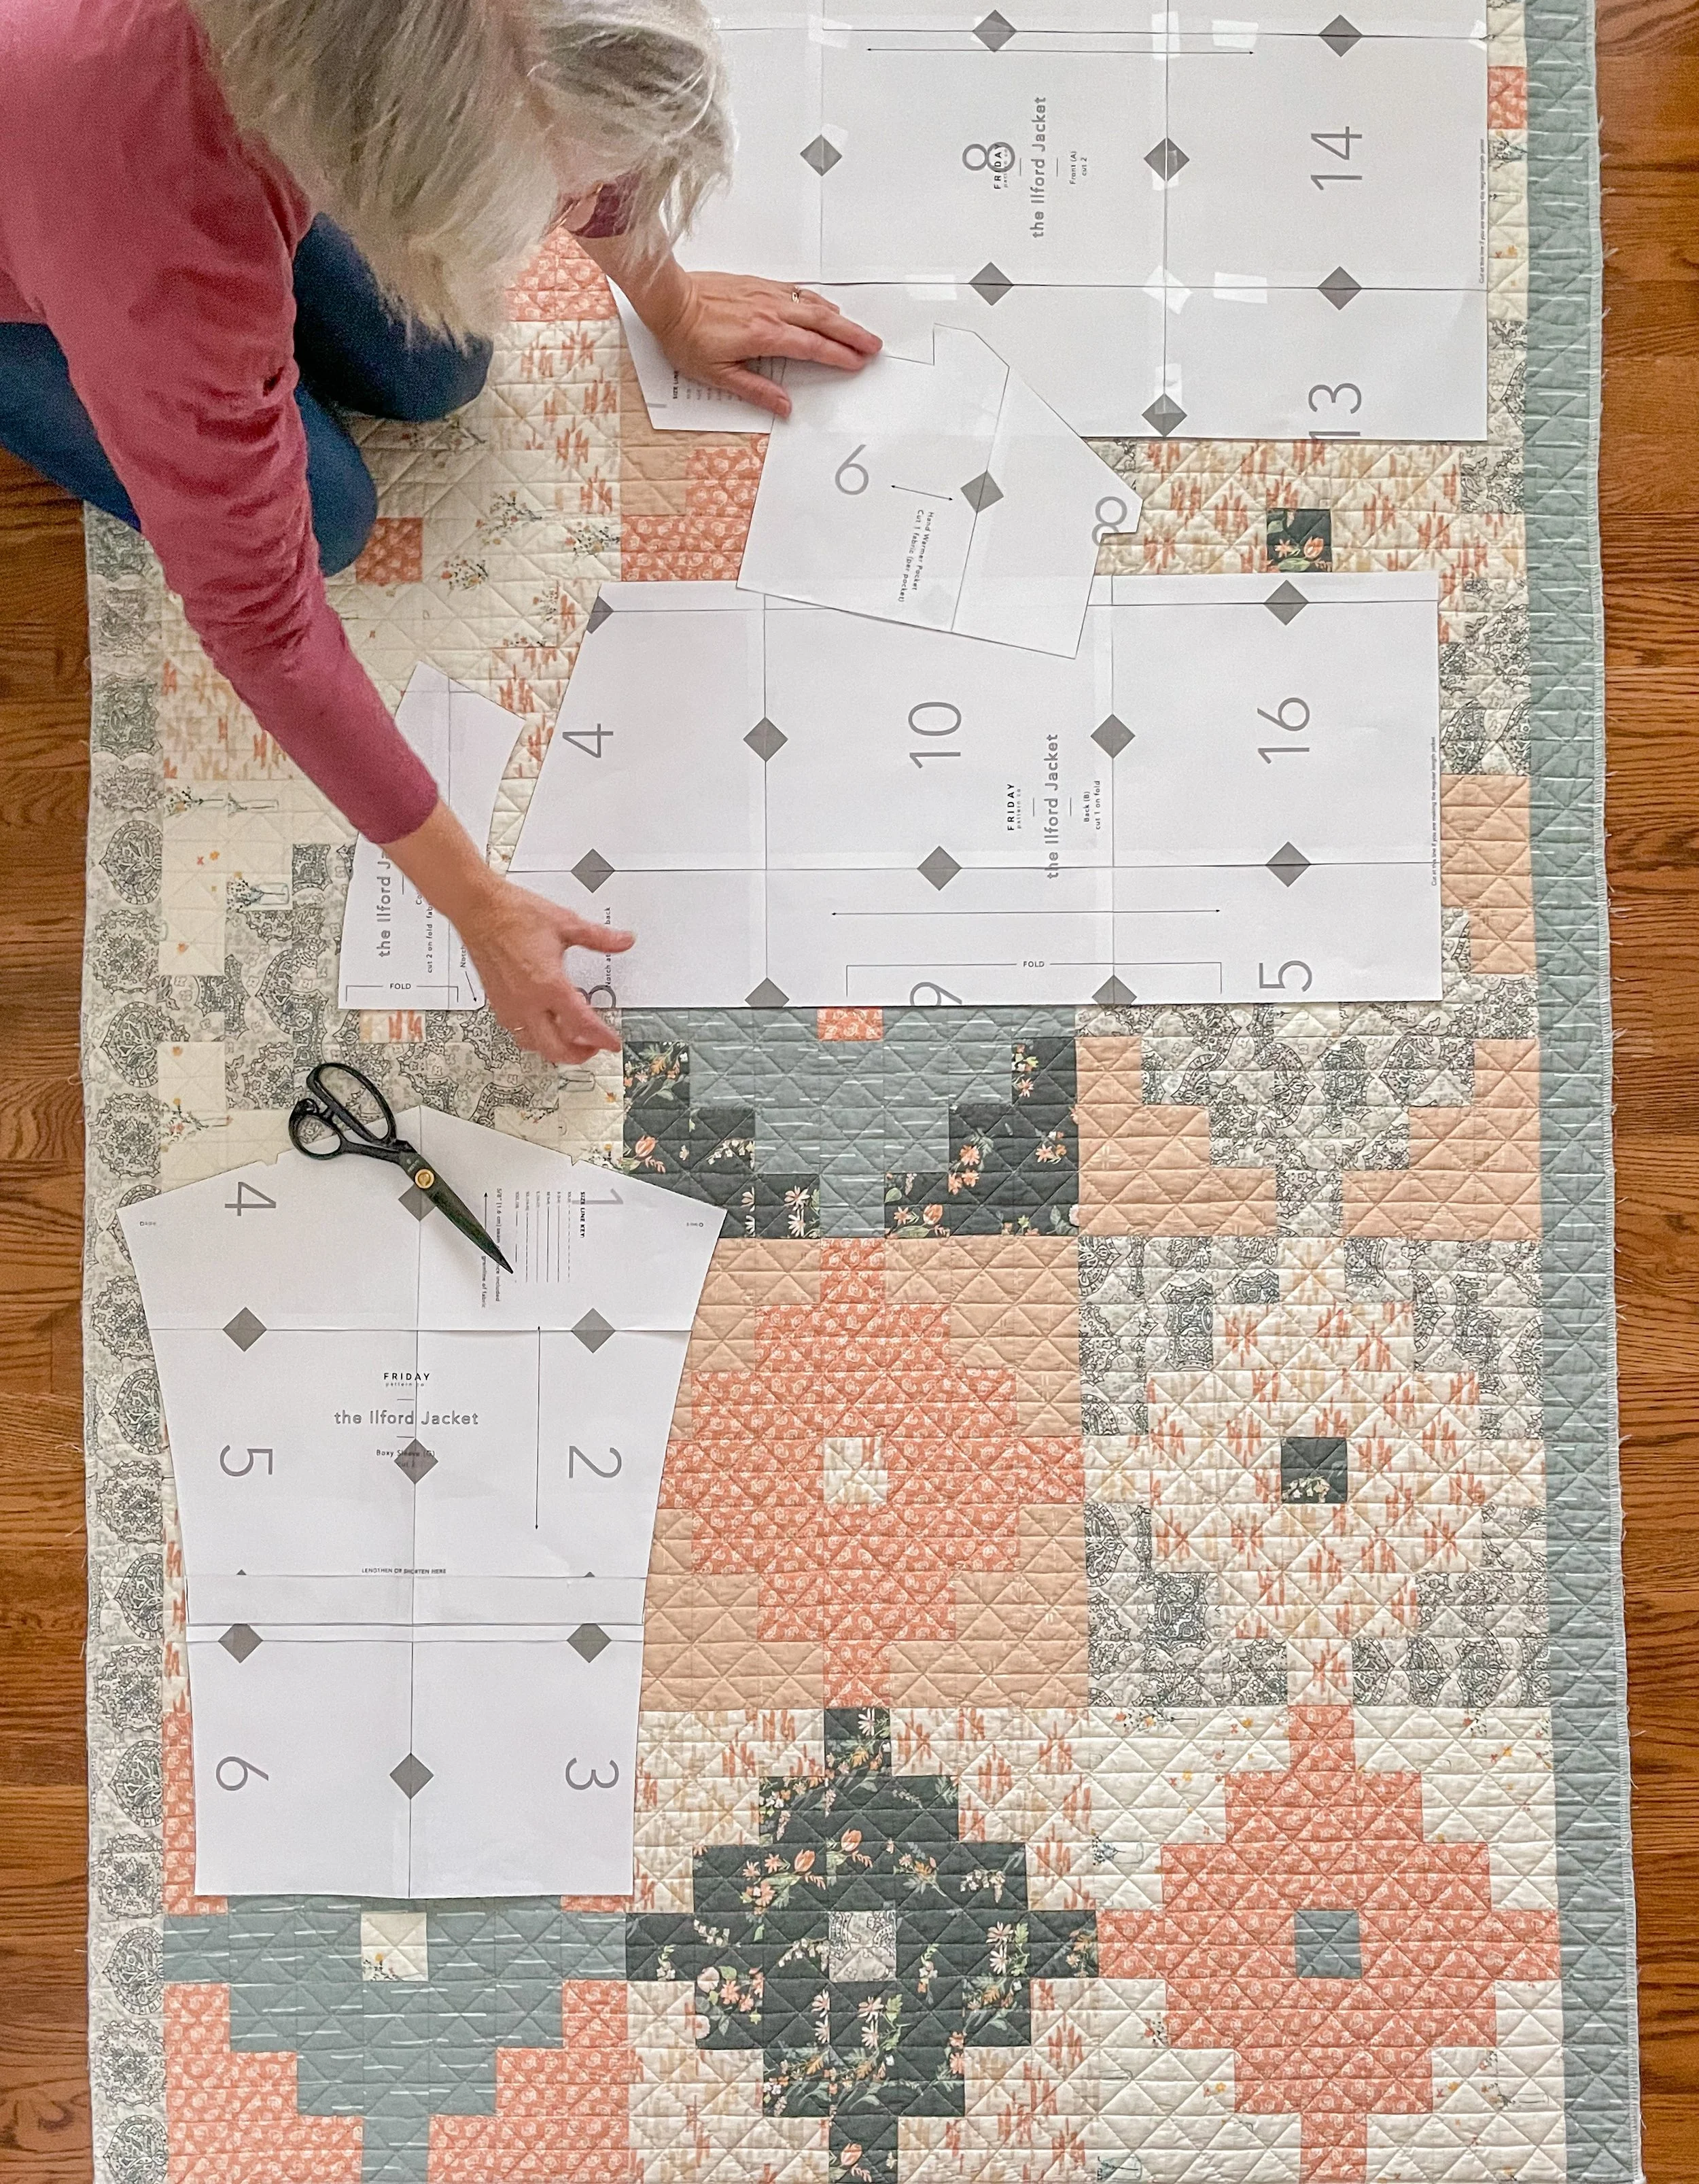
I laid out and arranged my blocks in mirror image thinking about how it would land on the jacket front, back, and sleeves. I’ve never done anything like this before and am glad I put so much thought into it before hand!
Once I had my necessary yardage covered in patchwork, I went ahead and made a quilt sandwich with batting and backing and quilted the fabric. Once the fabric was quilted I serged the edges to secure the raw edges of the patchwork and pre-washed the patchwork to preshrink before cutting out my pattern pieces.
For batting I used Hobbs Batting Tuscany Supreme 100% Unbleached Cotton batting.
Here I’m playing with the pattern pieces to make sure my mirror image idea would work—and it did! The blocks and the quilting lines helped me line up the pieces exactly where they needed to go to line up once sewn together.
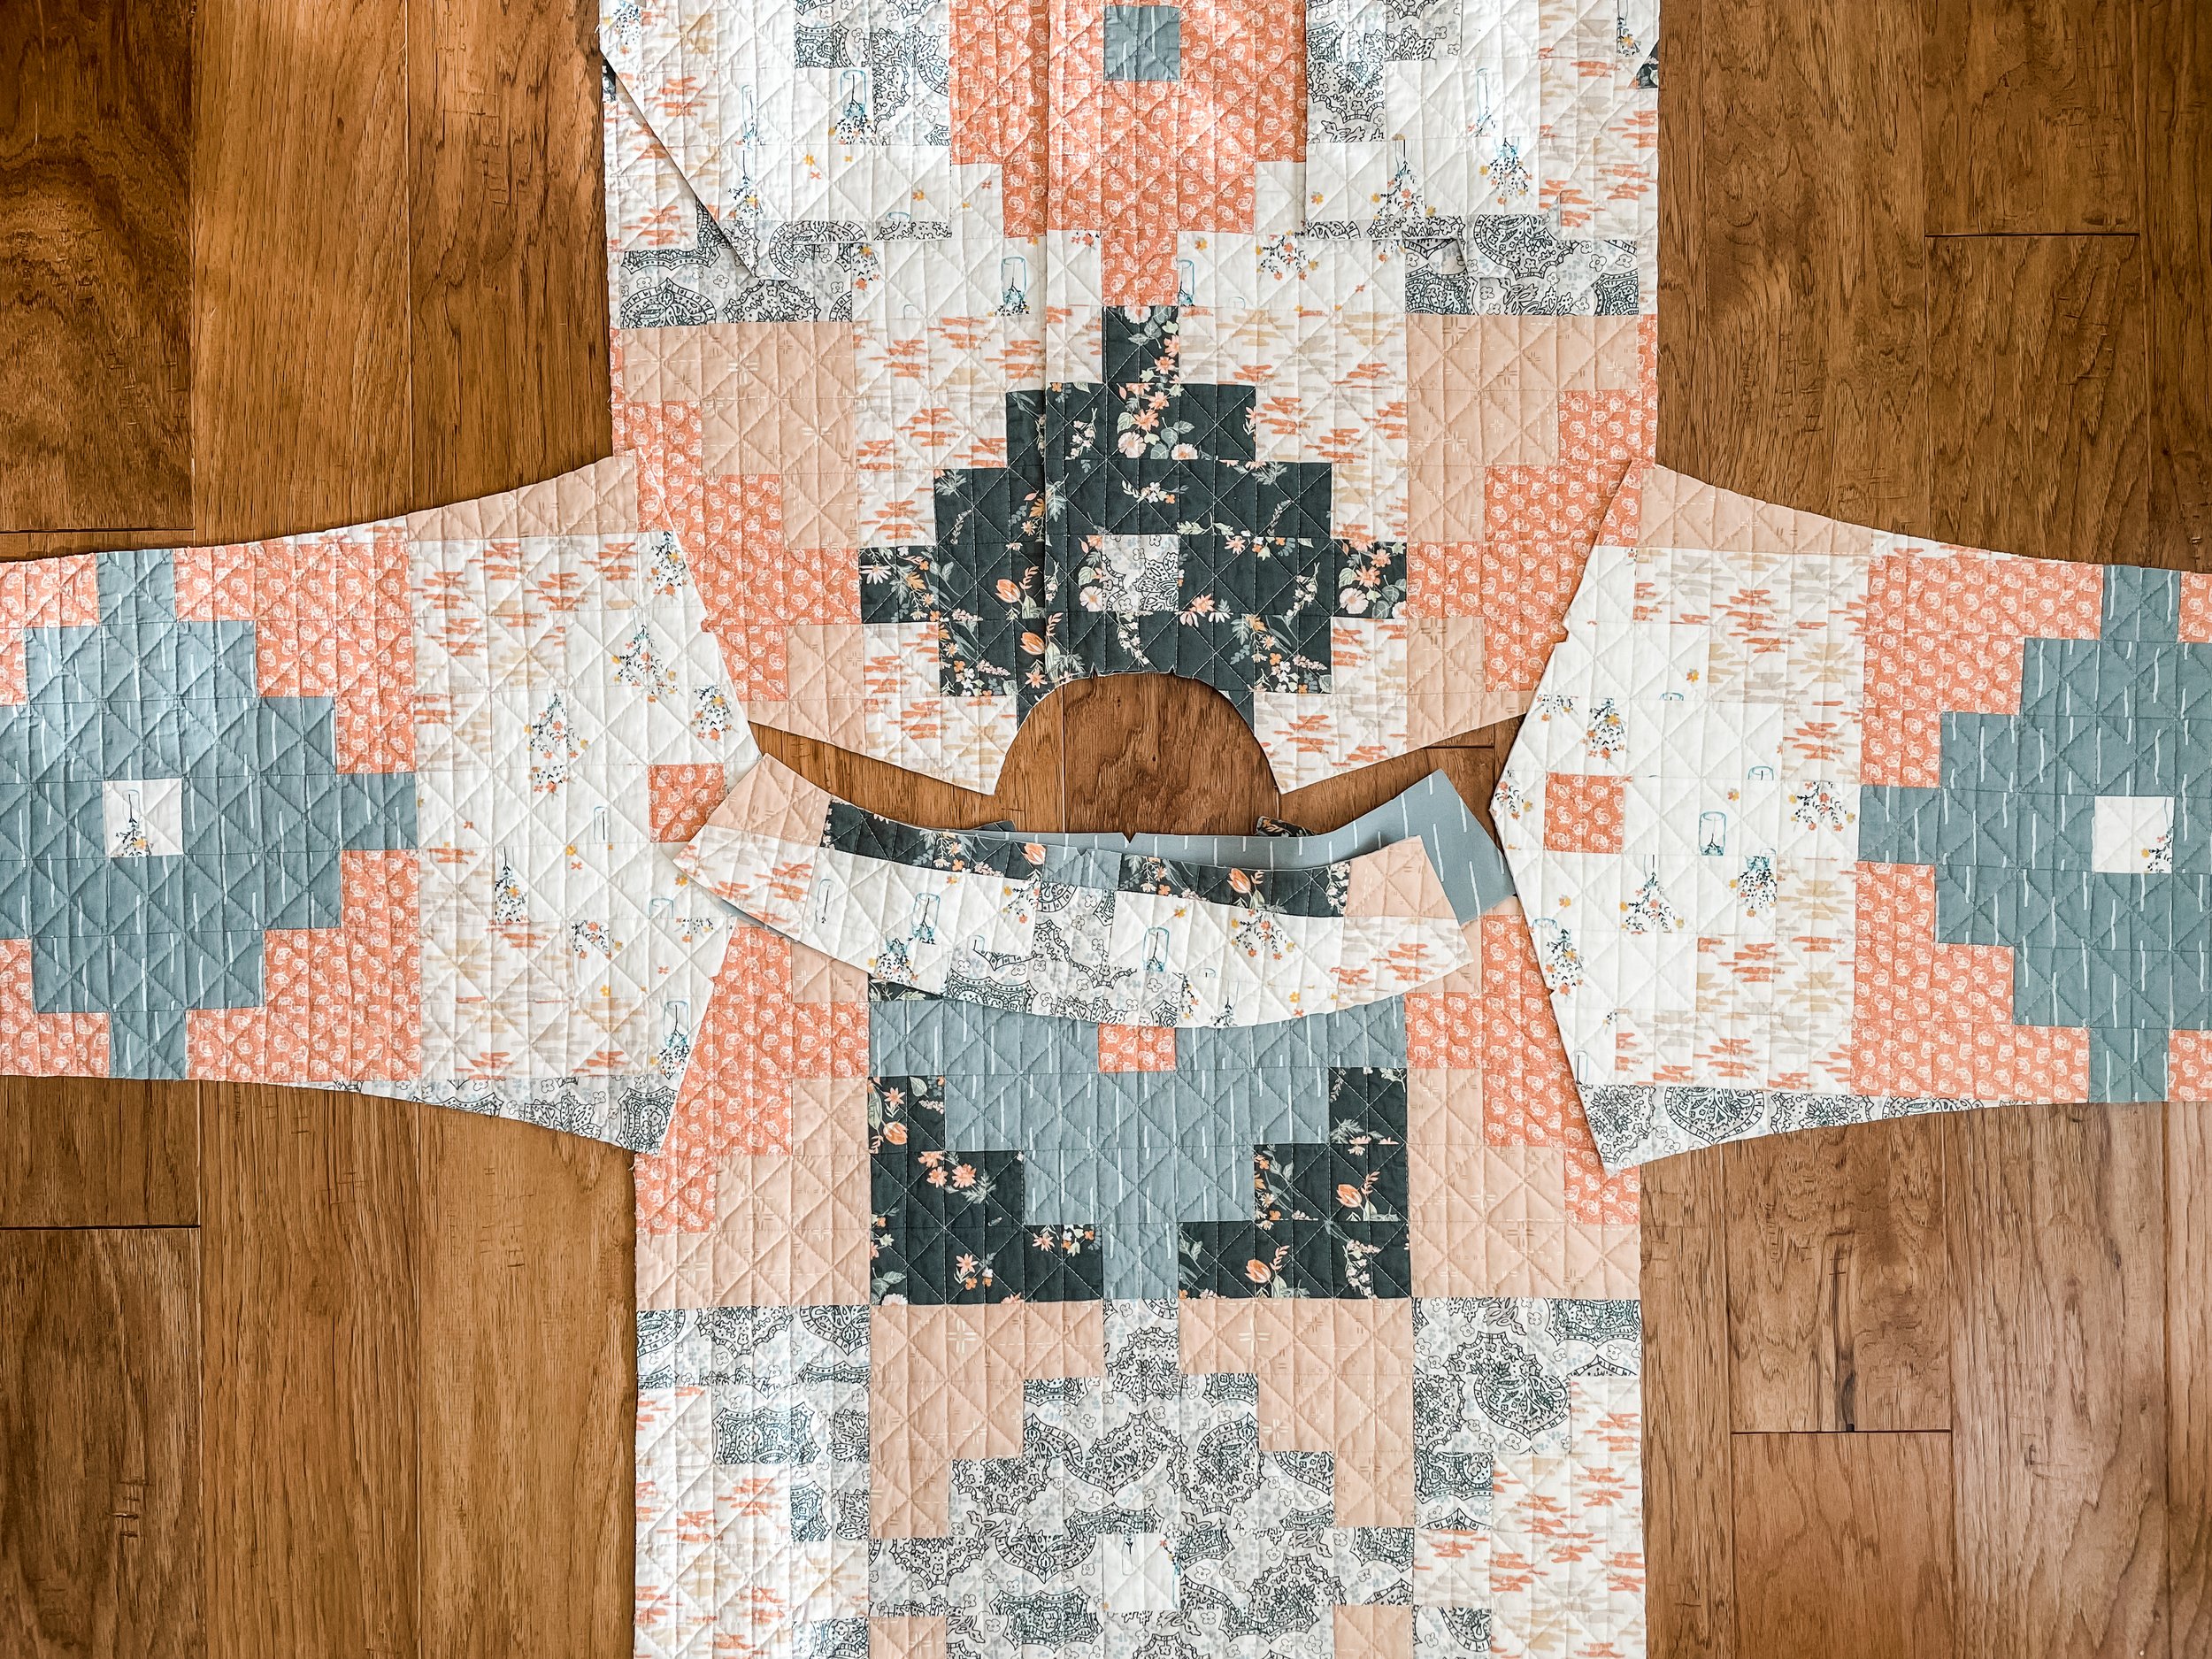
All the pieces cut out and I could see things were looking pretty good already. The Ilford Jacket pattern in not written for working with quilted fabric so I did make some tweaks to the pattern to accommodate the bulk of patchwork. I should’ve made this blog post right after making it but didn’t think there was going to be such a long delay between finishing my coat and the Look Book so forgive me if my memory is a little fuzzy now on my tweaks.
Changes I made to adjust for working with quilted fabric vs. pattern instructions:
I omitted Front interfacing but did add interfacing to the lining (non-quilted) side of my Collar
Hems were serged then folded only one turn on my quilted jacket
I used snaps instead of button/button holes and they were added before securing the plackets
I added a hanging loop inside the jacket during collar assembly
Here you can see the snaps and the inside of the jacket which is the backing of the original quilted fabric. All my seams inside were serged during construction for a neat finish.
My use of the quilted fabric was so thrifty that there was just one handful of scraps leftover. The pre-washed quilted fabric, even in scraps was too precious to waste so I made these 4-1/2’’ square coasters. I wanted them to lay flat so I simply serged the edges and called it done. They have a fun, rustic look to them this way and a no-fuss attitude! I love the random patchwork piecing.
Rolltop Mini Backpack
The Rolltop Mini Backpack is a fun, free project from Vicky Myers Creations and there’s even a video tutorial. I pre-quilted the Renewal print from Shine on for the exterior of my bag and used Art Gallery Fabric Textured Denim for the bag opening. It’s the perfect day trip size or would also make a great backpack for kids.
Tie Something New
Tie Something New made and photographed by Mary Gove
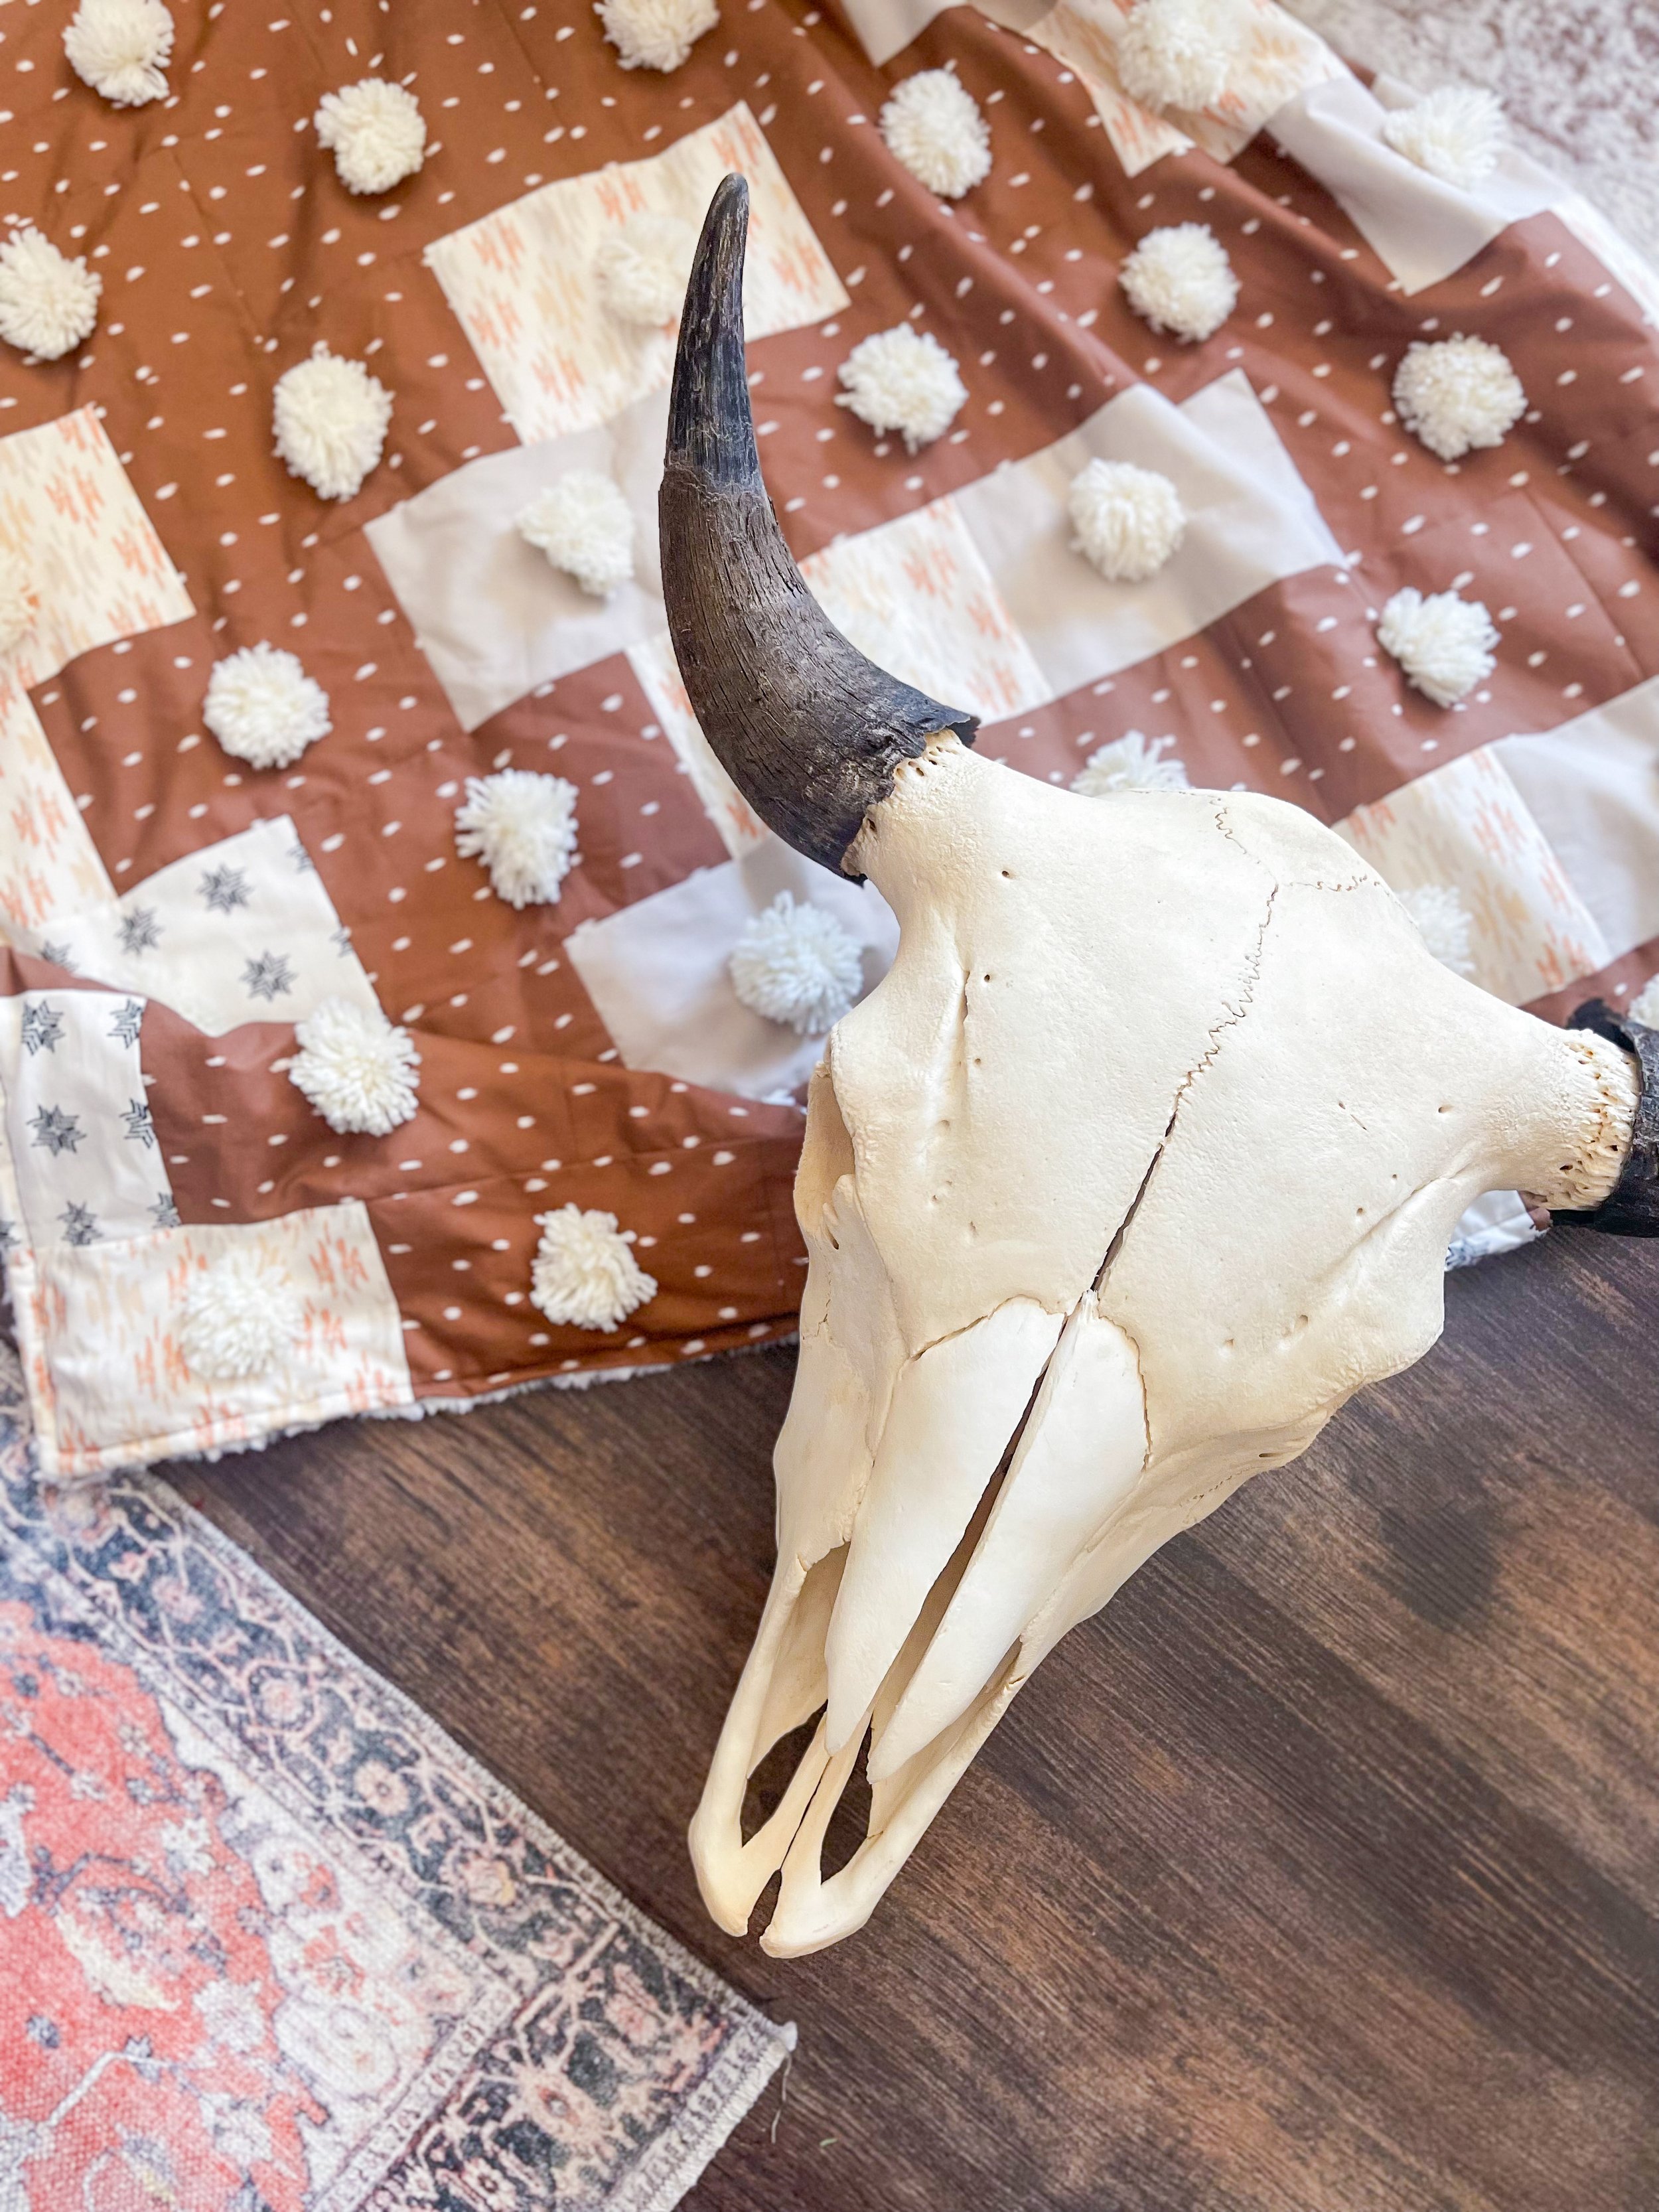
The Tie Something New throw is a special collaboration project with Mary Gove of @thecurlyquilter on Instagram. Unfortunately, you wont find this project in the Look Book, there was some last minute changes and it wasn’t included as originally planned. So, this is a bonus project for you that you will truly love!
This pompom throw quilt was a project I designed originally for the 2018 Winter edition of Quilts and More and is still available as a back issue—so get yourself a copy—there’s two of my projects in that issue.
Photo courtesy of Mary Gove
The real fun of this throw comes from the handmade pompoms that tie the patchwork top to the Shannon Fabrics Minky backing. There’s no batting in this project and the drape is out of this world! You can watch an Instagram Reel tutorial I did @sharonhollanddesigns for how to make pompoms using a fork if you don’t want to invest in a pompom maker.
Photo courtesy of Mary Gove
Mary captured the true spirit of the Shine On collection with this bold throw. The limited palette prints she chose from the collection, the over-sized pompoms, and luxurious Minky backing are sublime for her Wyoming home.
This is such a great project if you’re looking for something snuggly beyond the typical quilt! Oh, and they wash up beautifully. I’ve been using the original quilt made for the 2018 magazine feature constantly since I’d made mine and have laundered it several times on delicate and low dry—pompoms and all!
Photo courtesy of Mary Gove
Just look at all that scrumptious texture!
Find the Shine On collection at your favorite quilt shop! I’ve started a shop list for Shine On on the Fabrics page to help you get started.
I am an Amazon Associate site and earn from qualifying purchases on the products I’ve linked below. The helpful products selected are the same or similar to materials used to make the project(s) in this blog post or related items I think you may enjoy.


