
Each Friday, throughout the Sewcial Bee Sampler sew-along community event that Maureen Cracknell and I co-host, we've lined up a special giveaway with one of our amazing participating sponsors! If you happened to miss the launch of our Sewcial Bee Sampler you can follow this link for all the info and can join us anytime - it's never too late to jump in!

Today's featured Sewcial Bee sponsor is Llama Fabrics!
Our sponsor Llama Fabrics is a wonderful online Etsy fabric shop full of the most beautiful photos of each season's "must have" fabrics! Offerings include collections by Maureen Cracknell, Sharon Holland, Tula Pink, Anna Maria Horner and more, all from our favorite manufacturers Art Gallery Fabrics, Free Spirit, and Cotton & Steel, just to name a few! New fabrics are added often, sure be sure to follow Llama Fabrics!
We hope you enjoy visiting Llama Fabrics!
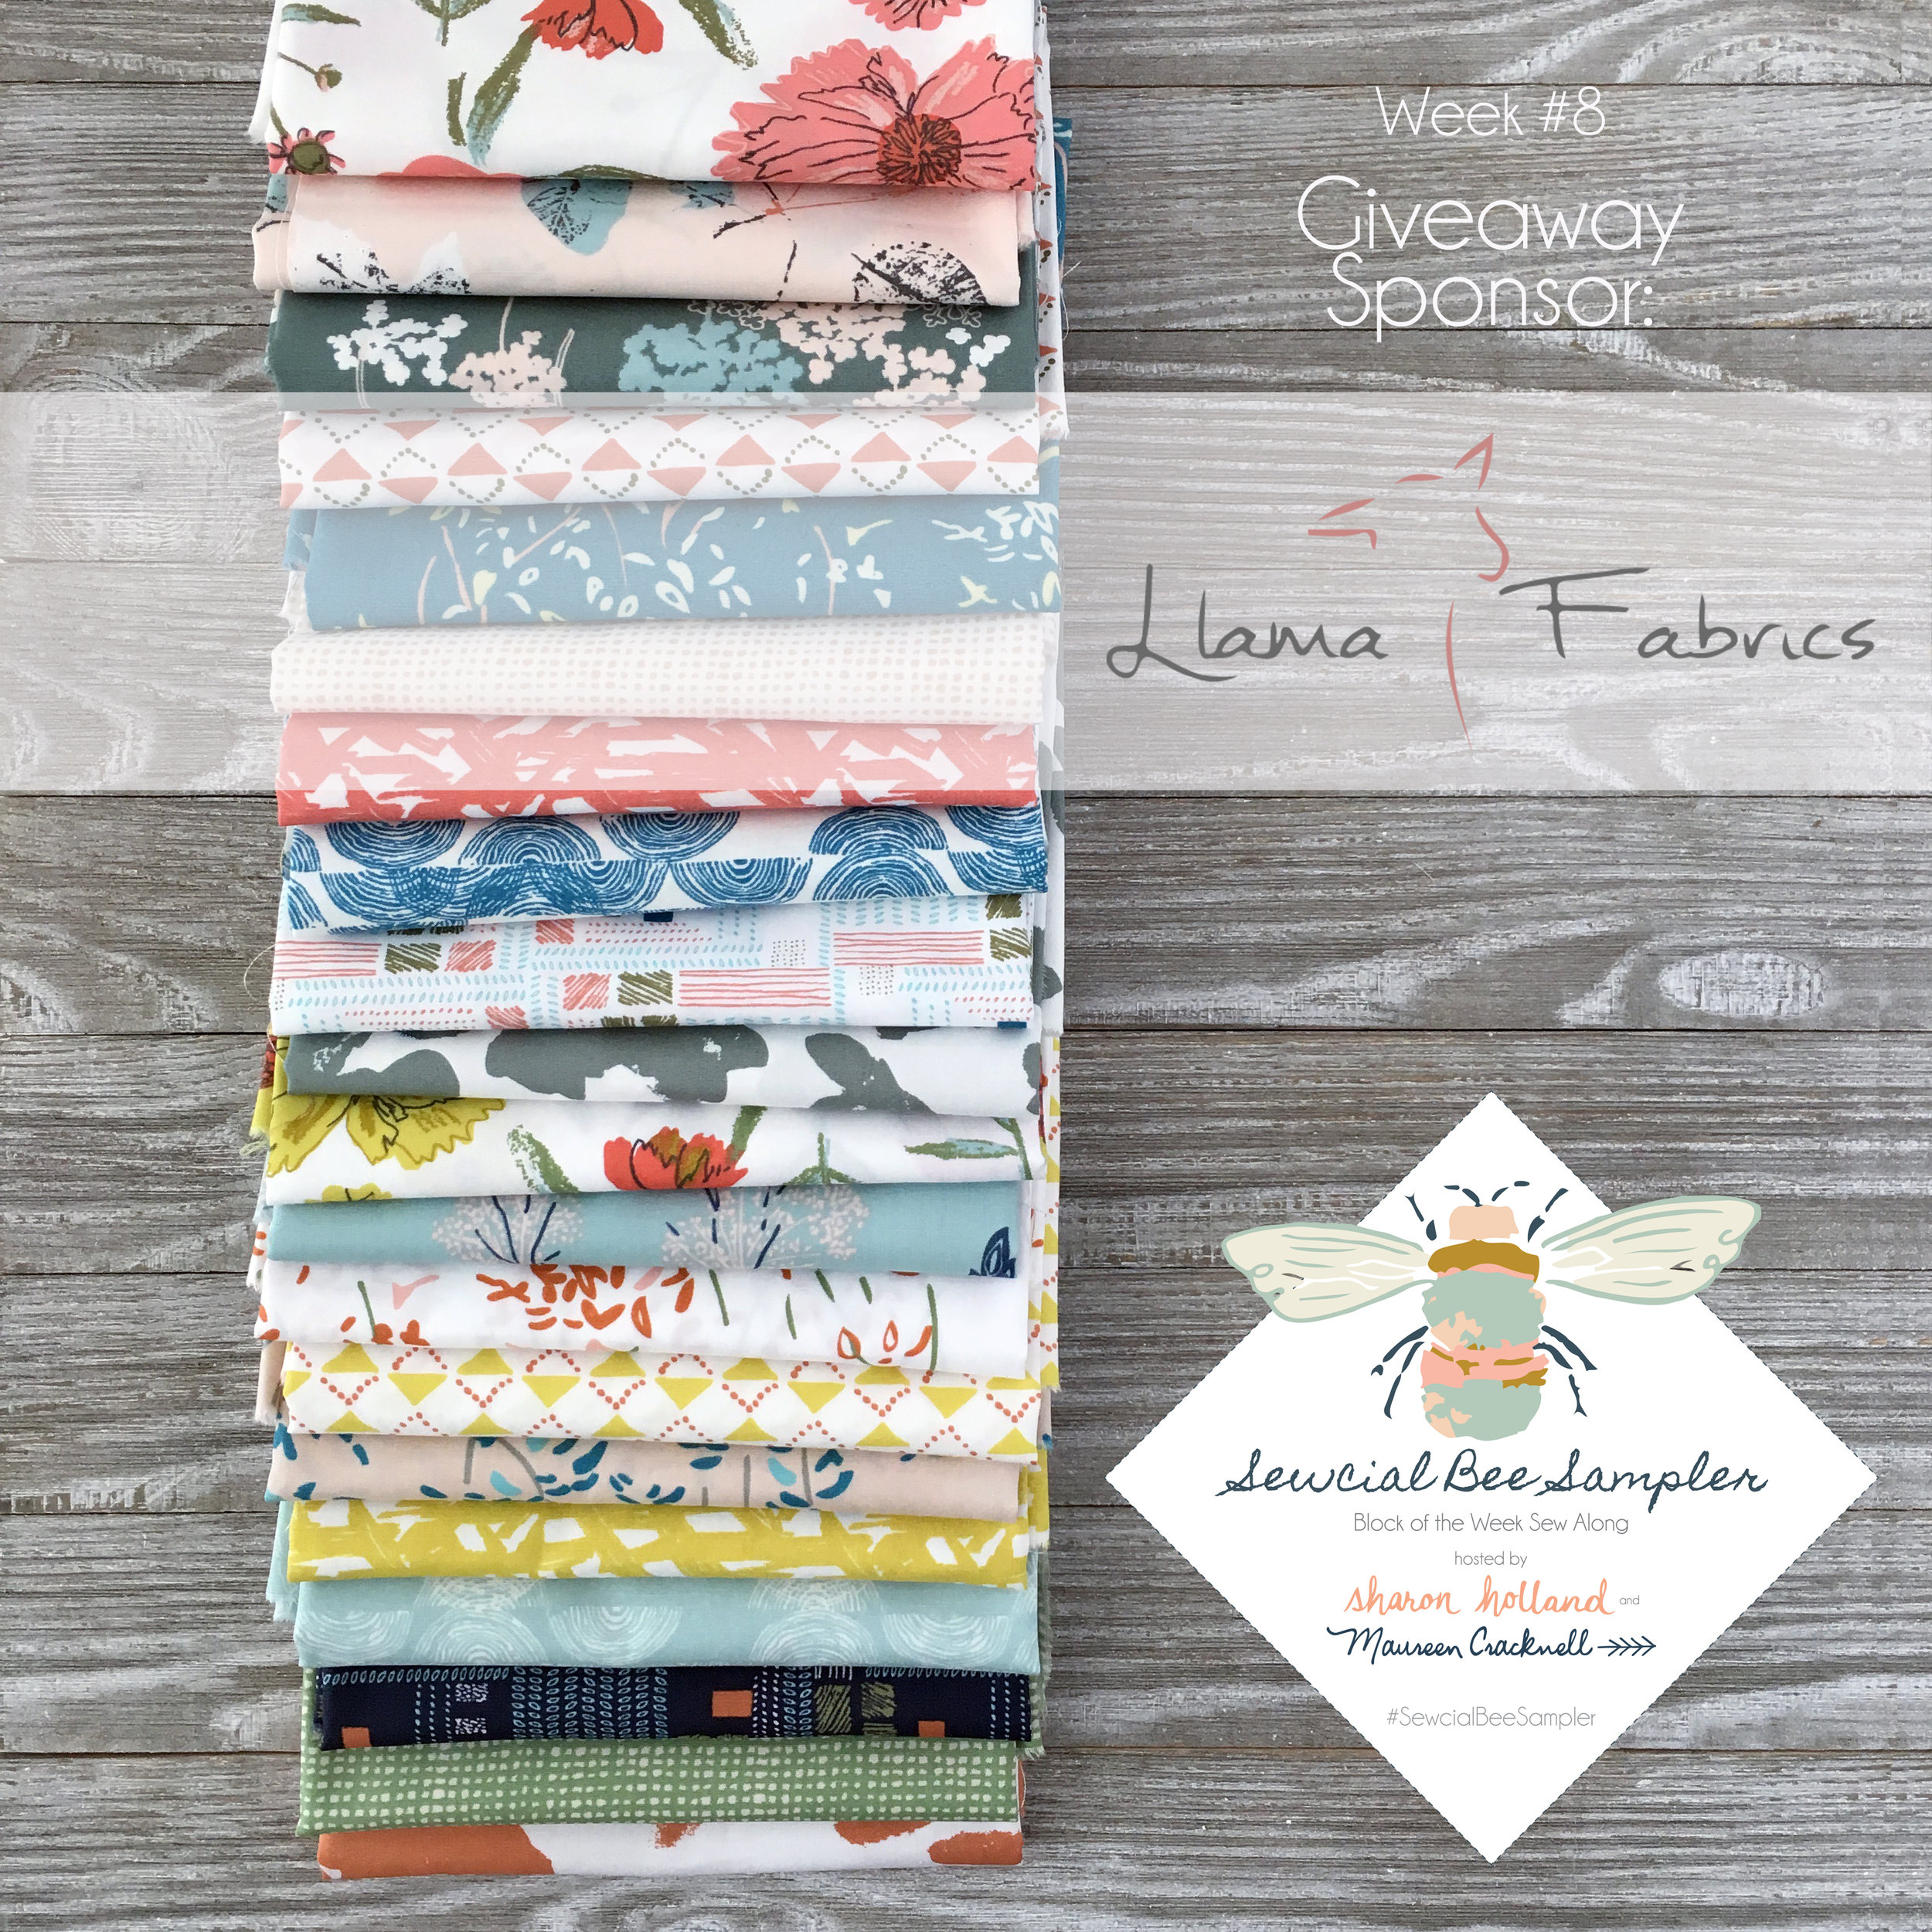
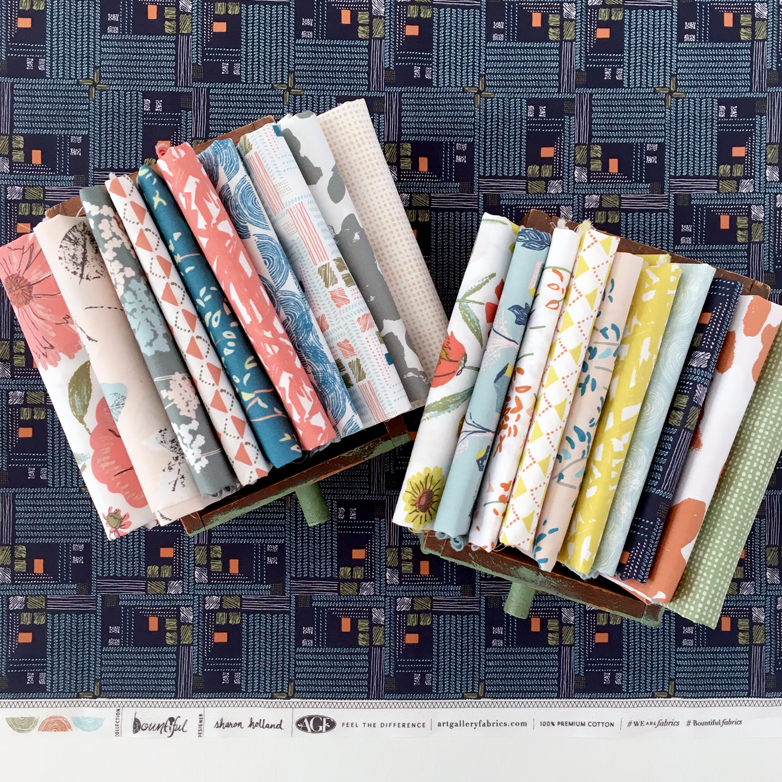
For this week's Sewcial Bee Giveaway, Llama Fabrics is offering to one lucky commenter a gorgeous bundle from my brand new Bountiful collection for Art Gallery Fabrics! This prize includes a complete Fat Eighth bundle of all TWENTY beautiful Bountiful prints! You can find this bundle, a variety of additional bundle sizes, and Bountiful yardage all available now at Llama Fabrics right HERE!
Enter to Win!
Here's how: Since Maureen and I are taking turns hosting the Sewcial Bee Sampler Giveaway Fridays, this week I'm sending you to Maureen Cracknell's blog to enter!
A BIG thanks to all of you who are joining the Sewcial Bee Sampler sew-along and to those who enter our Giveaway!
♡ Sharon