My Signature Sampler Week #11

My Signature Sampler Week #11

MSS Flying Geese.jpg

The weeks are moving along quite fast on this sew along and we're already to block 11 out of 16!

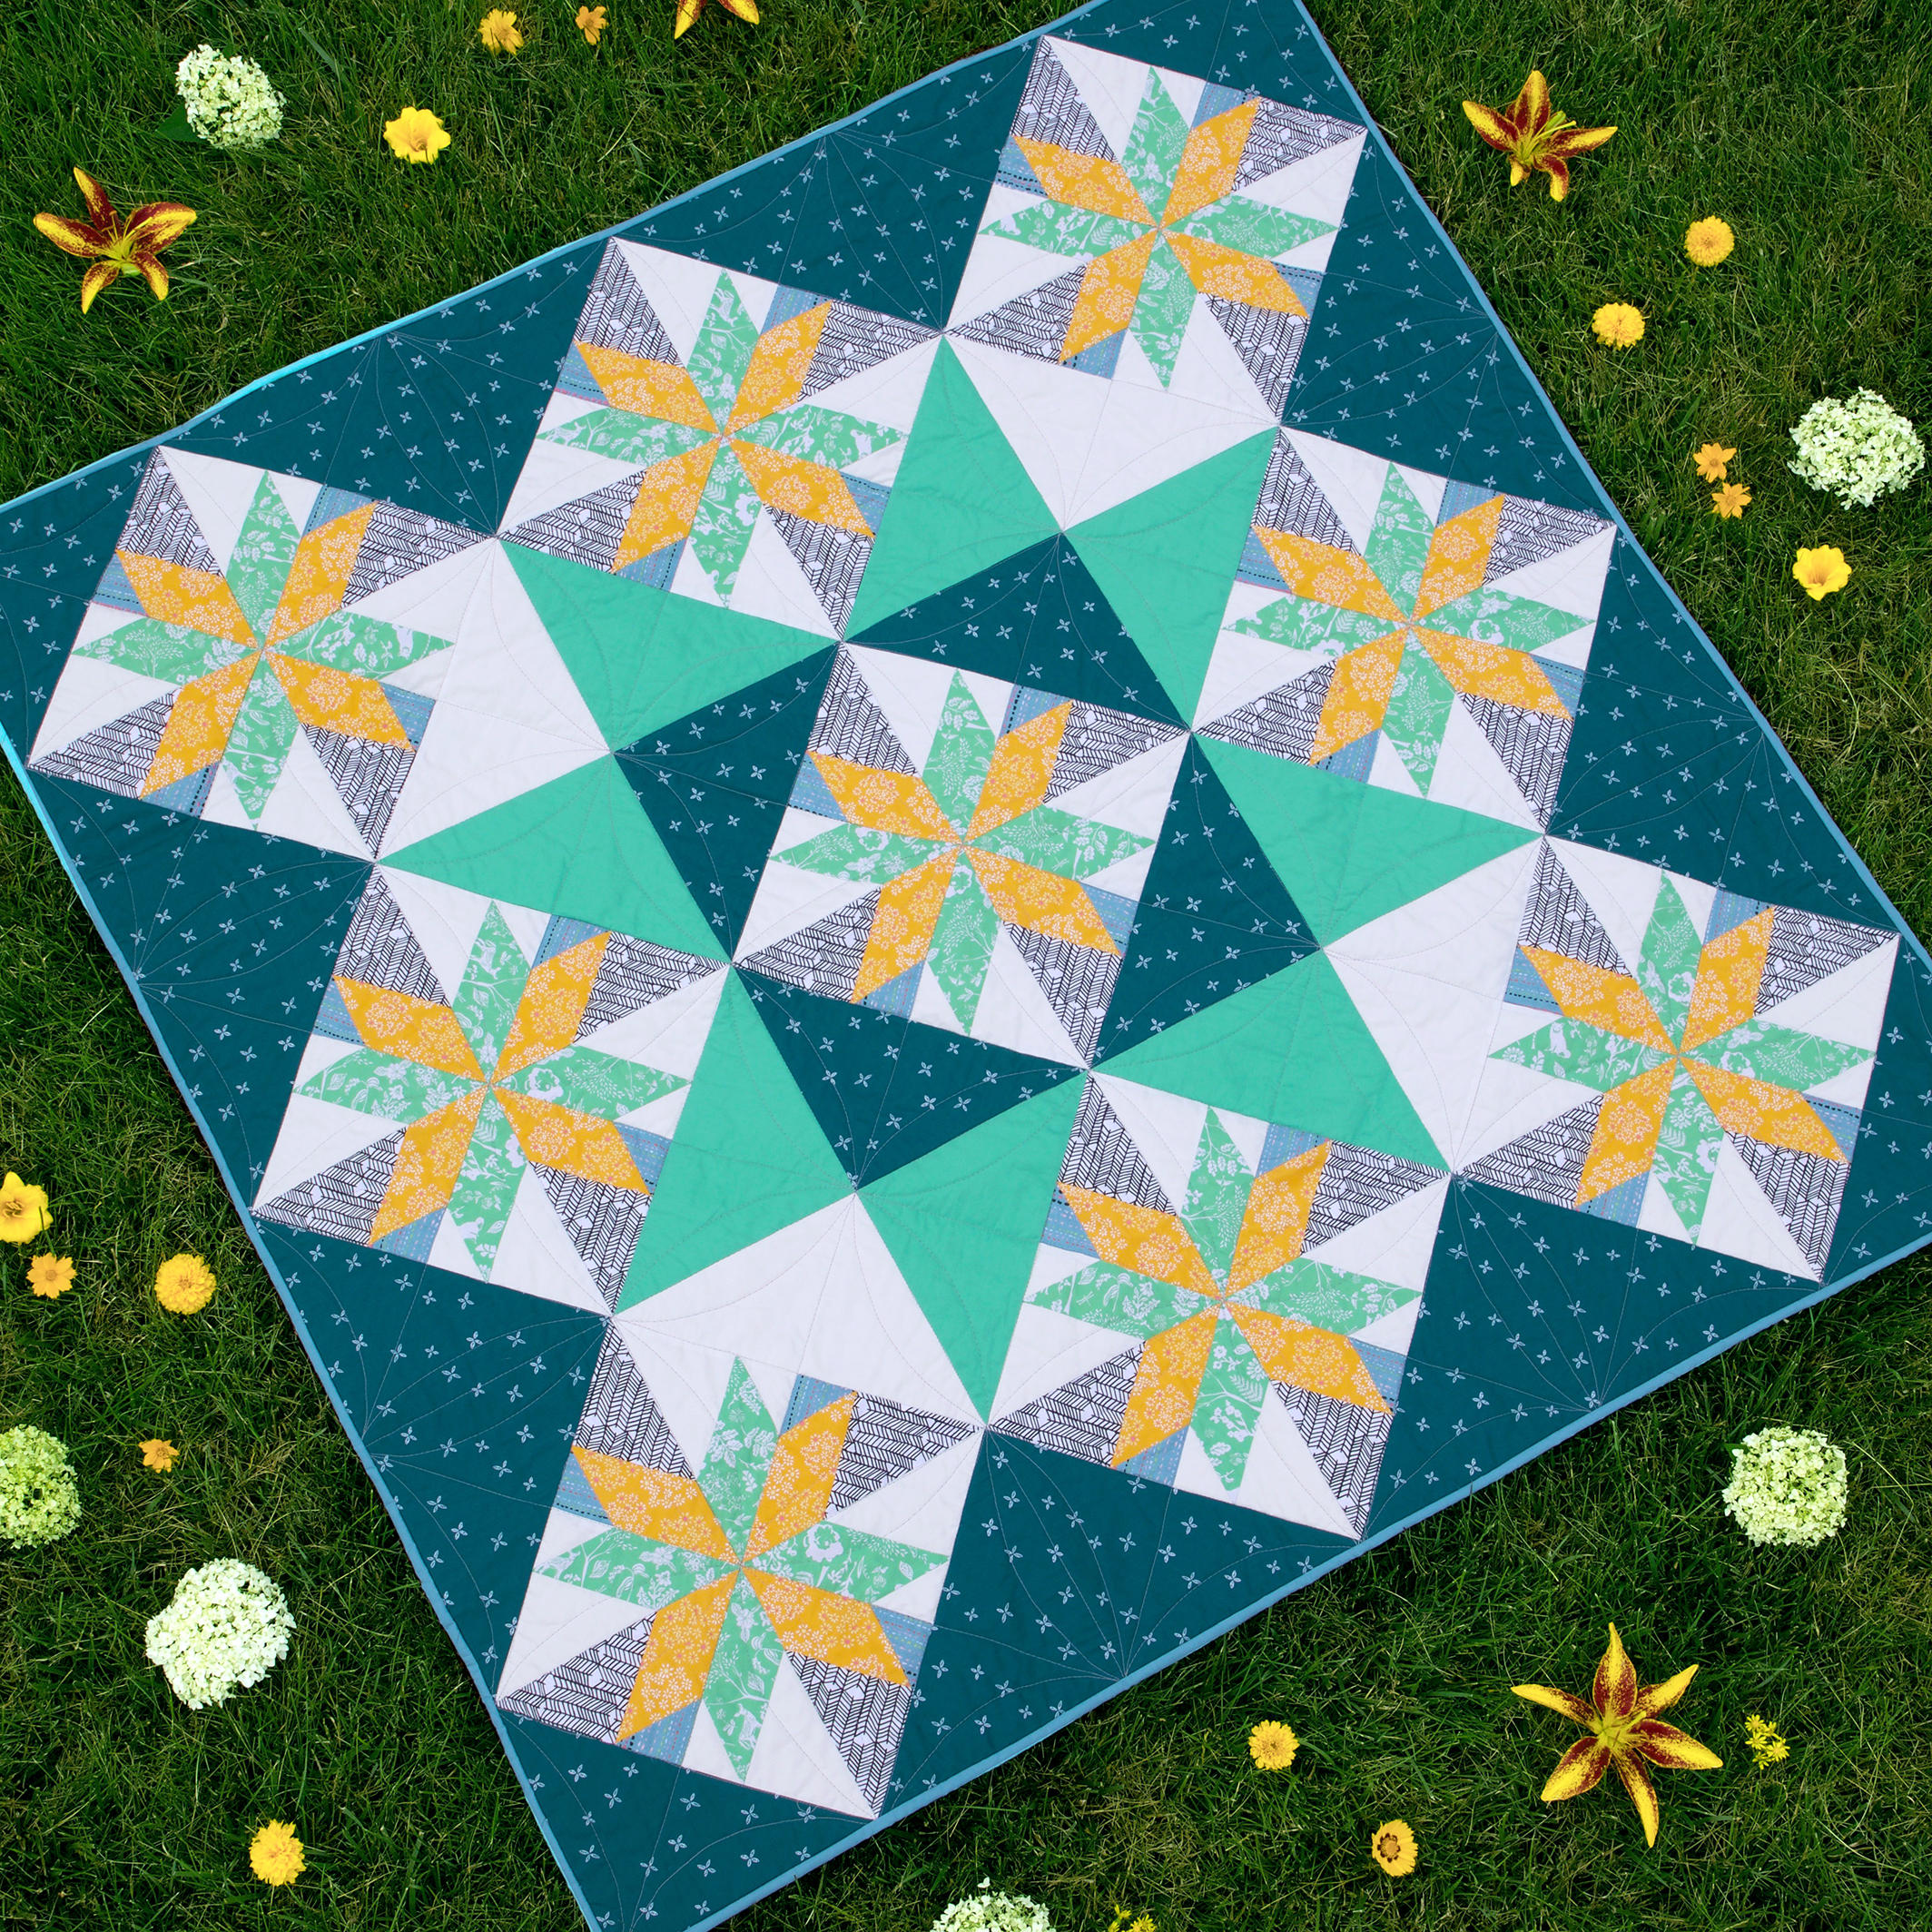
Today's block comes from the Quilter's Planner 2018 magazine (Block 7 in the magazine) and I'm calling it Flying Geese block for this sew along. 

My Signature Sampler Rolls.jpg

If you're just joining in on the fun, take a look at my first post for this sew along and pick up the quilt layout and color book page to start planning your sampler! The My Signature Sampler is based off block instructions from the Sewcial Bee Sampler (SBS), Community Sampler (CS), AGF Quilt Block Collection (AGF), and the blocks from the Quilter's Planner 2018 magazine (QP). If you have different favorite blocks and would rather include them in your quilt, please feel free to make this sampler with your own signature-style. 

If you need extra help with your patchwork or would like to learn how to control the direction of your prints in half-square triangle units and other piecing techniques, visit my Tutorials page for lots of great tutorials all in one place. Also, when making any Sewcial Bee or Community Sampler blocks you can access the original blog posts for each block and find additional tips and tutorials for piecing. If needed, just use the search bar at the top of the this page on the right and simply type in the block name.

Don't forget our blocks will be set on-point so if you have a fussy cut center, cut it on-point for best results. Note: I don't recommend cutting any other pieces of the blocks (other than a center square on-point for fussy cutting) because it will create bias edges along the outside of the block and increase chances of distortion. Keep any bias edges in the center of the block.

MSS Flying Geese.jpg

I love this block from the Quilter's Planner magazine but admit that it's a tricky one to piece. This block is my third attempt at it! But, The Quilter's Planner has you covered on this with additional Hints and Tips for this, July 2018 Block of the Month. Plus, if you're wanting to try your hand at foundation paper-piecing (FPP), they also have the instructions and template for constructing this block by FPP.

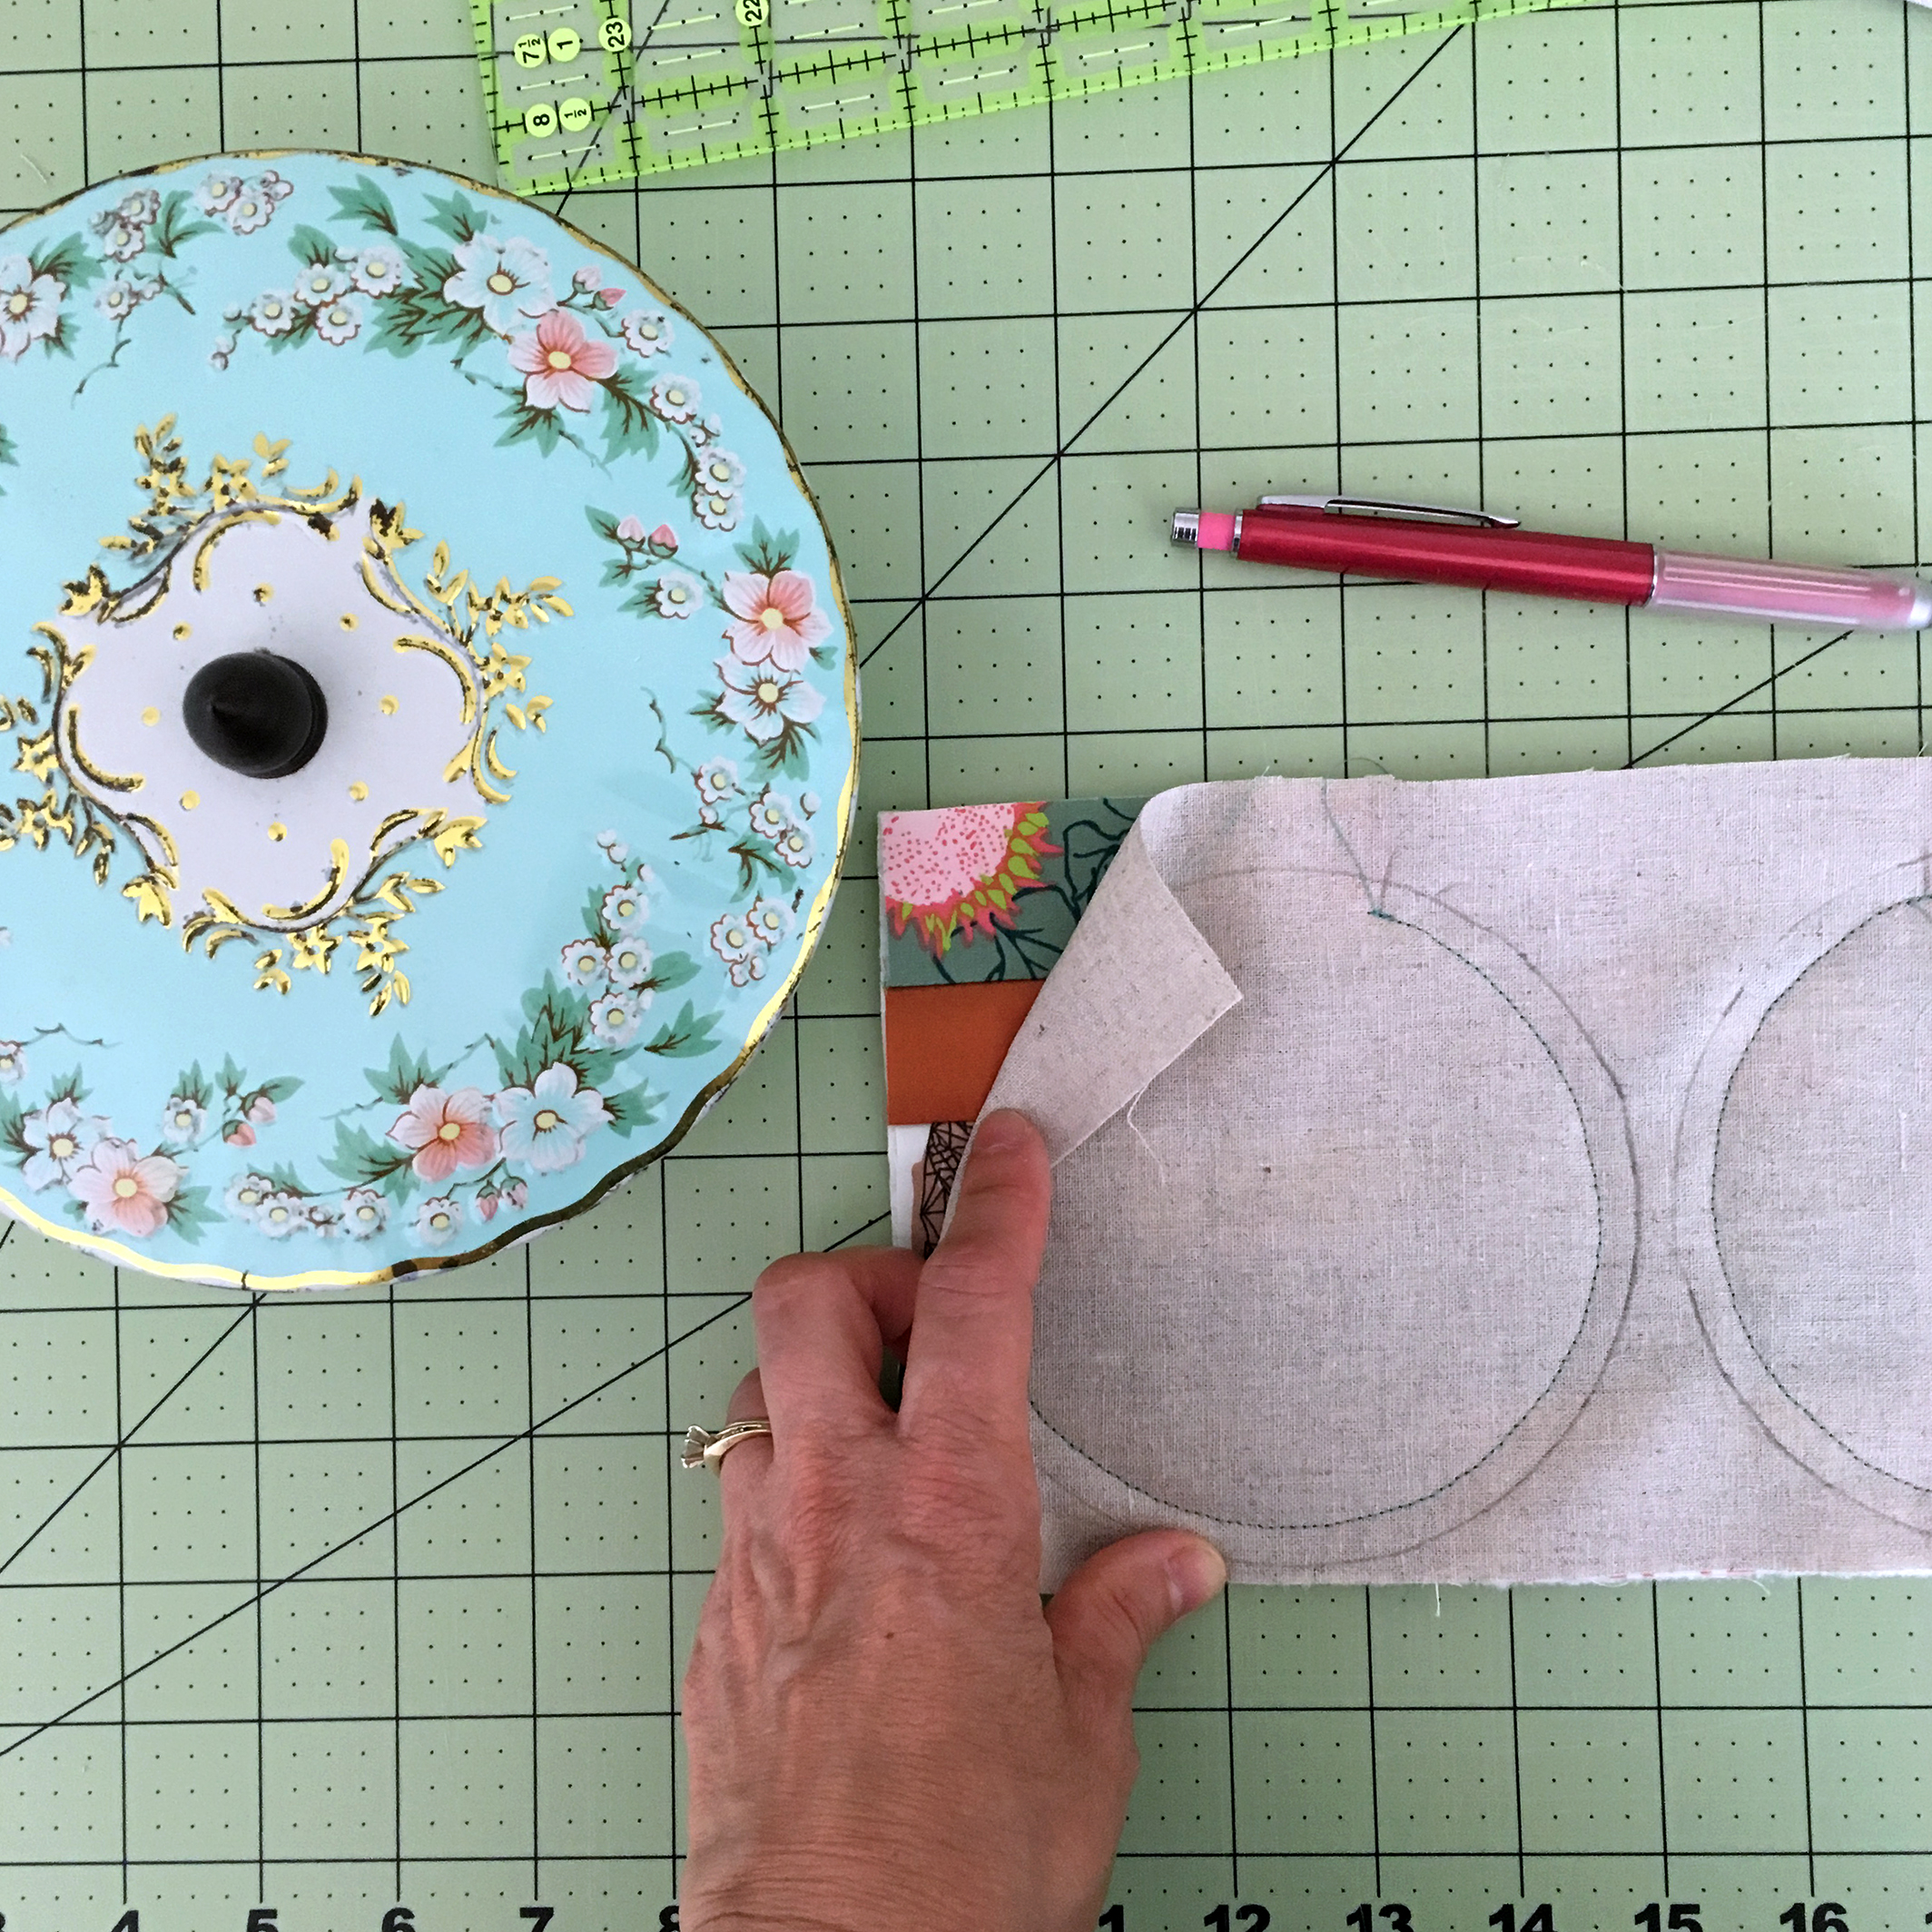
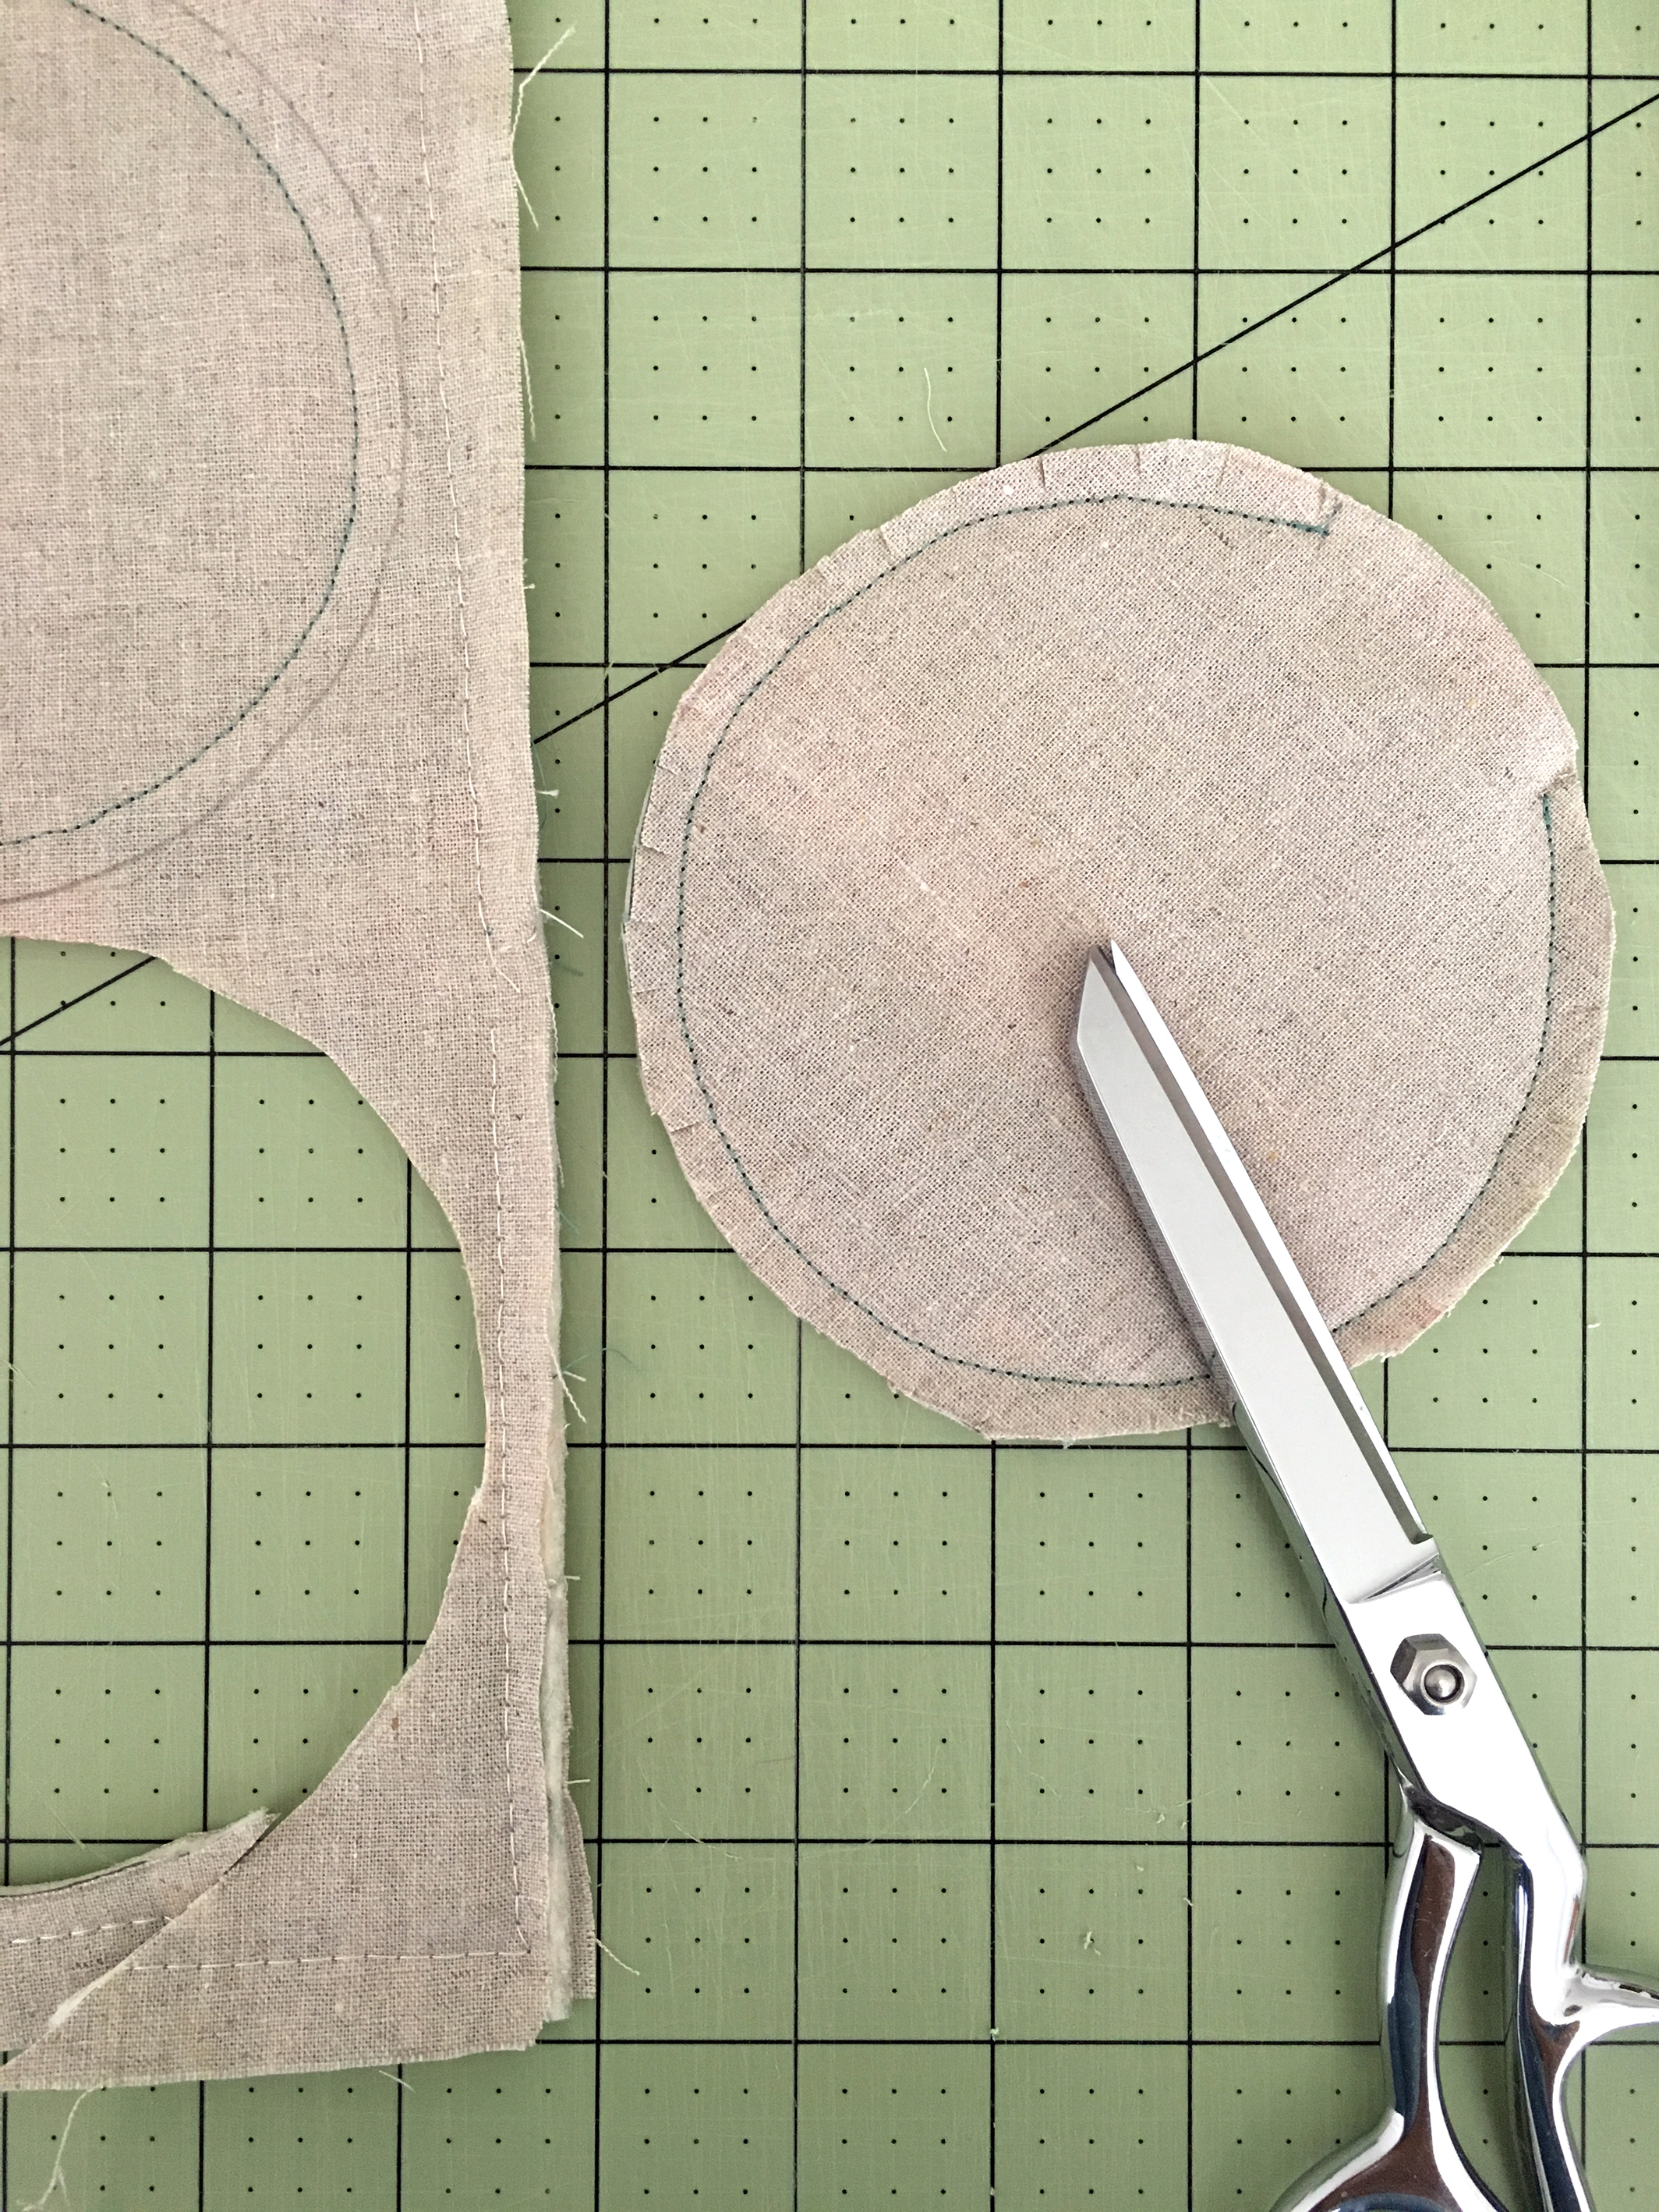
I used traditional patchwork construction for my block. My first attempt, I made the classic mistake of not reading the directions and making assumptions about the construction. For this block you must follow the cutting and piecing instructions to the minute details (accept for one part I'll discuss in a bit). Cut and make the Flying Geese units as directed in the magazine as these are set on point into the block and don't comply to standard dimensions. DON'T trim down to a standard size like I did the first time around!

My suggestion for deviating from the instructions comes with the 3-7/8" squares that will be cut in half diagonally and used as the corners of the Flying Geese sections. 

Quilter's Planner 2018.jpg

I suggest that instead of cutting the squares 3-7/8" you cut them 4" square. That way, after you attach the three triangles to make a quarter section of the block you have a tiny bit of wiggle room for squaring it to 6-1/2" square. 

2019 Quilter's Planner

2019 Quilter's Planner

Orders are now being taken for next year's planner and you have a choice of two cover designs for the planner plus they come with the Quilter's Planner 2019 magazine loaded with projects from the calendar plus and new sampler quilt project. 

signature stack 2.JPG

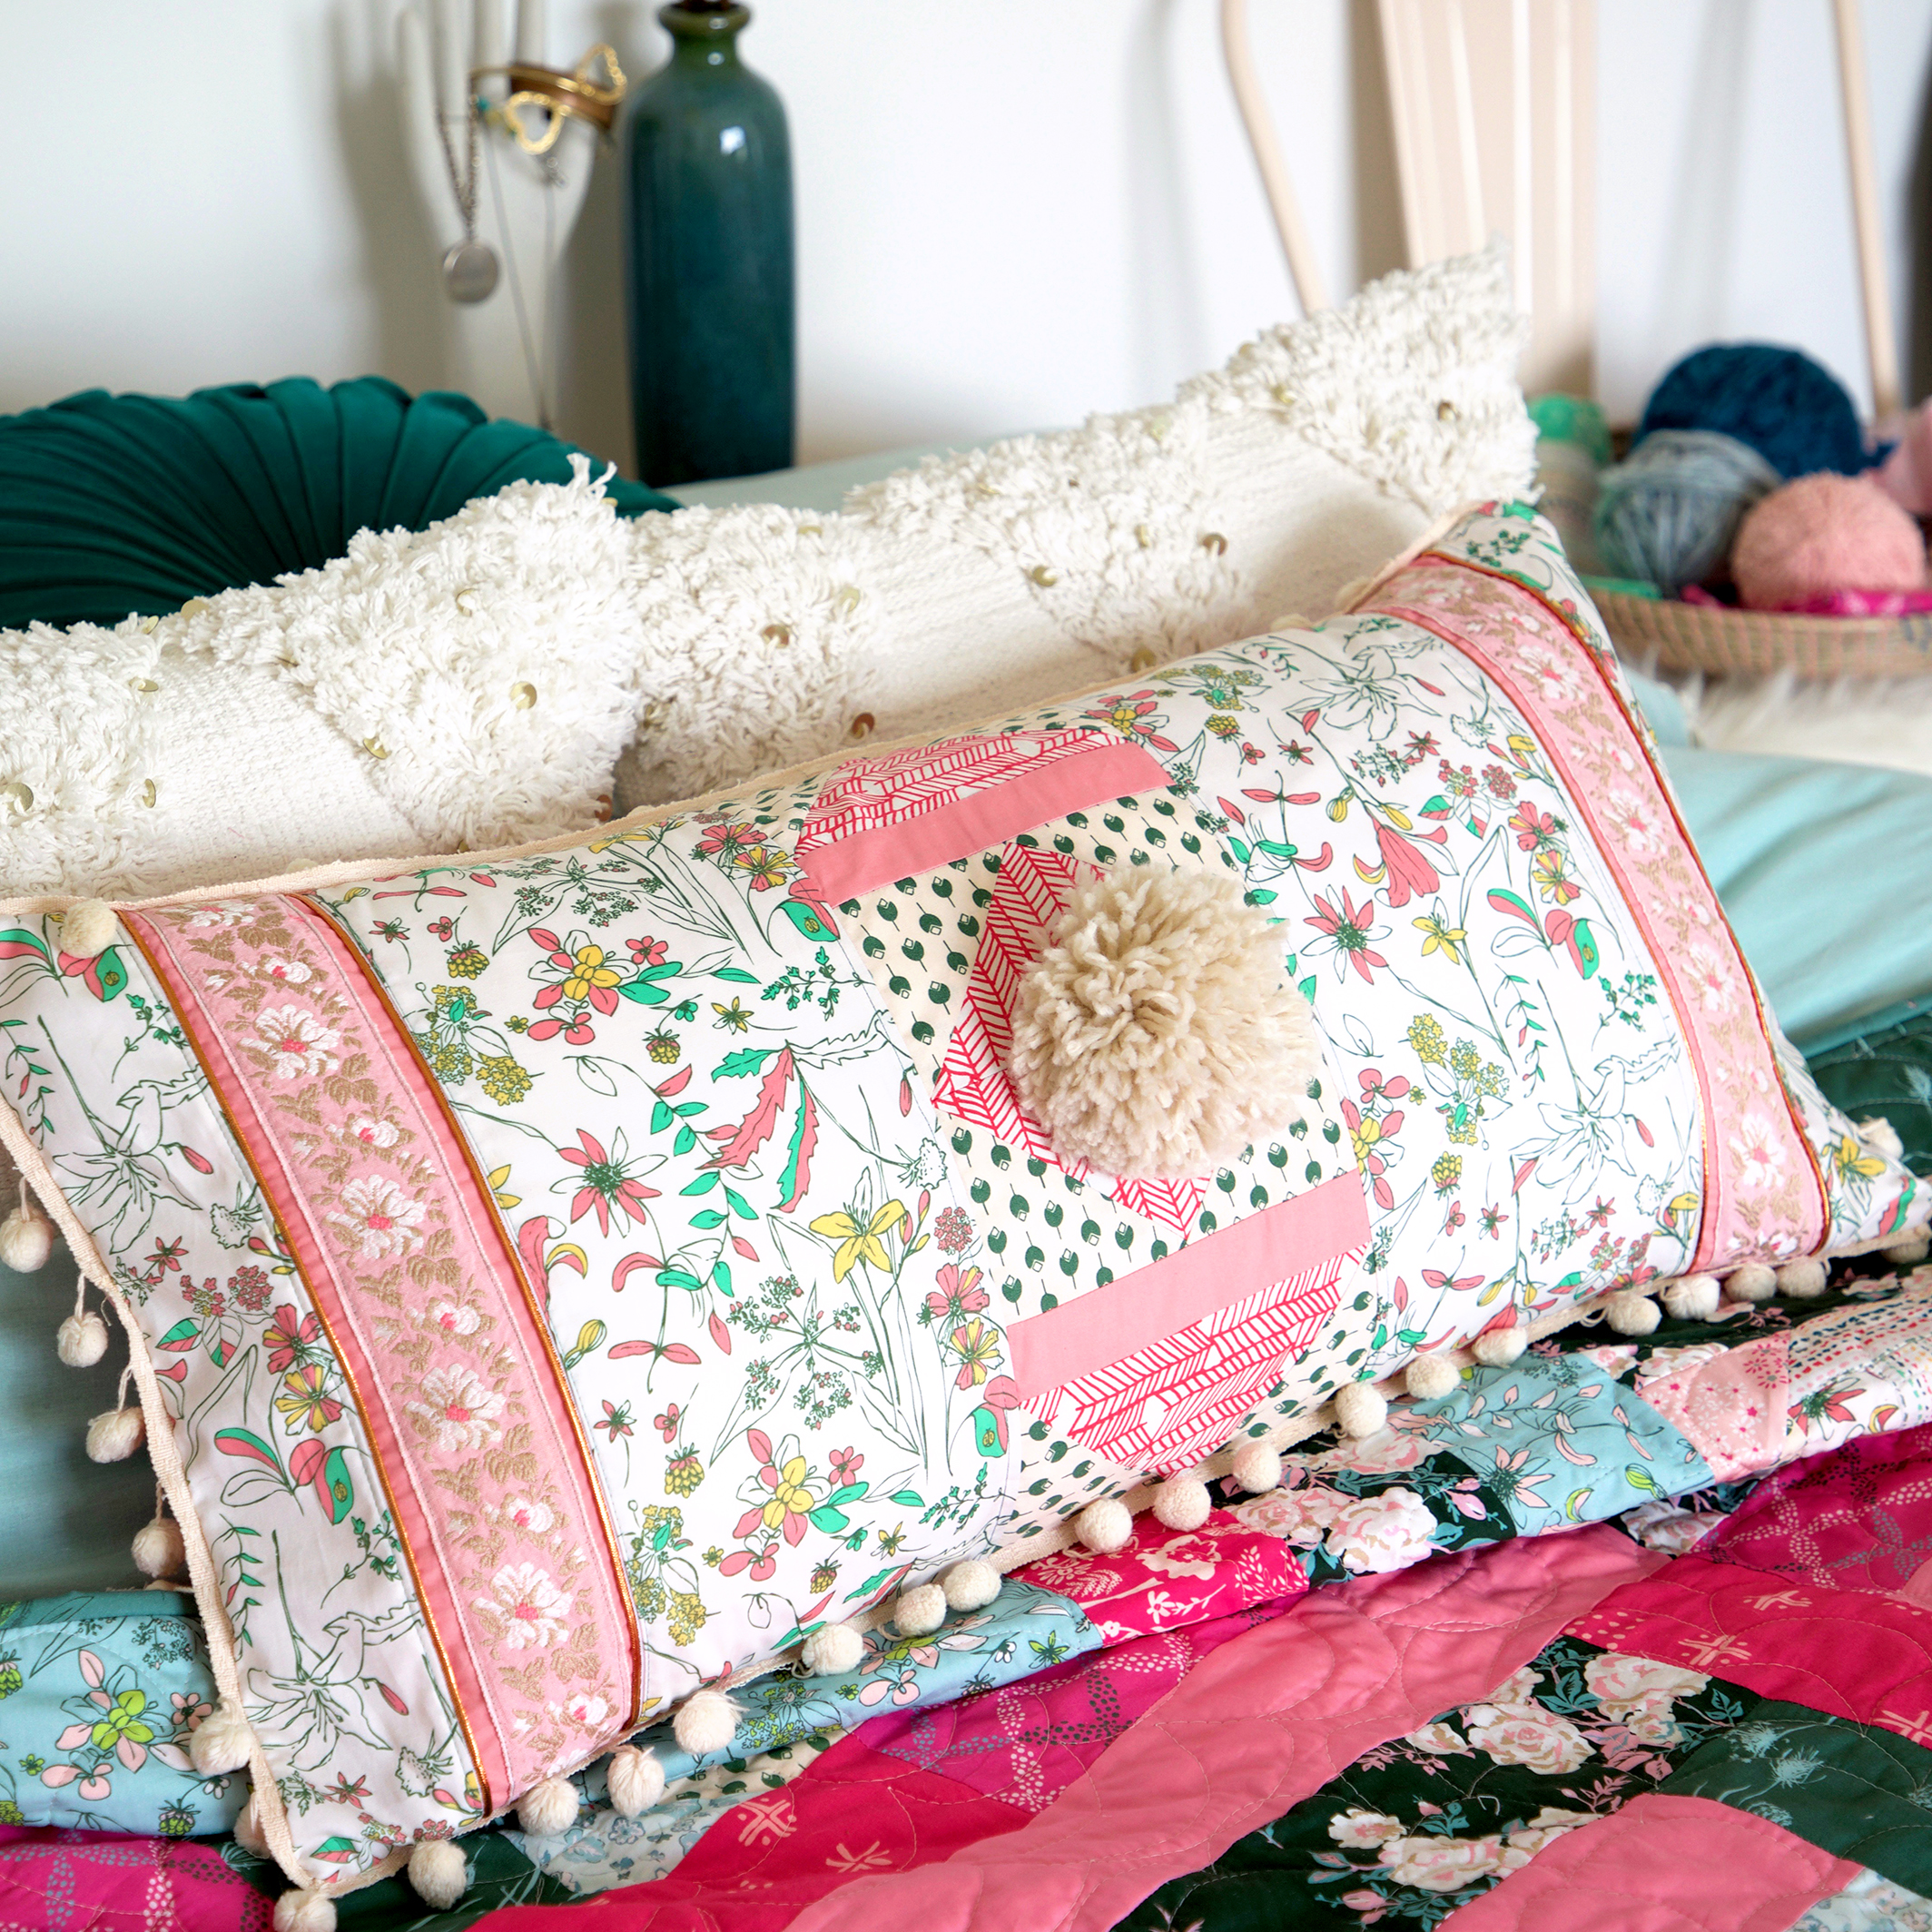
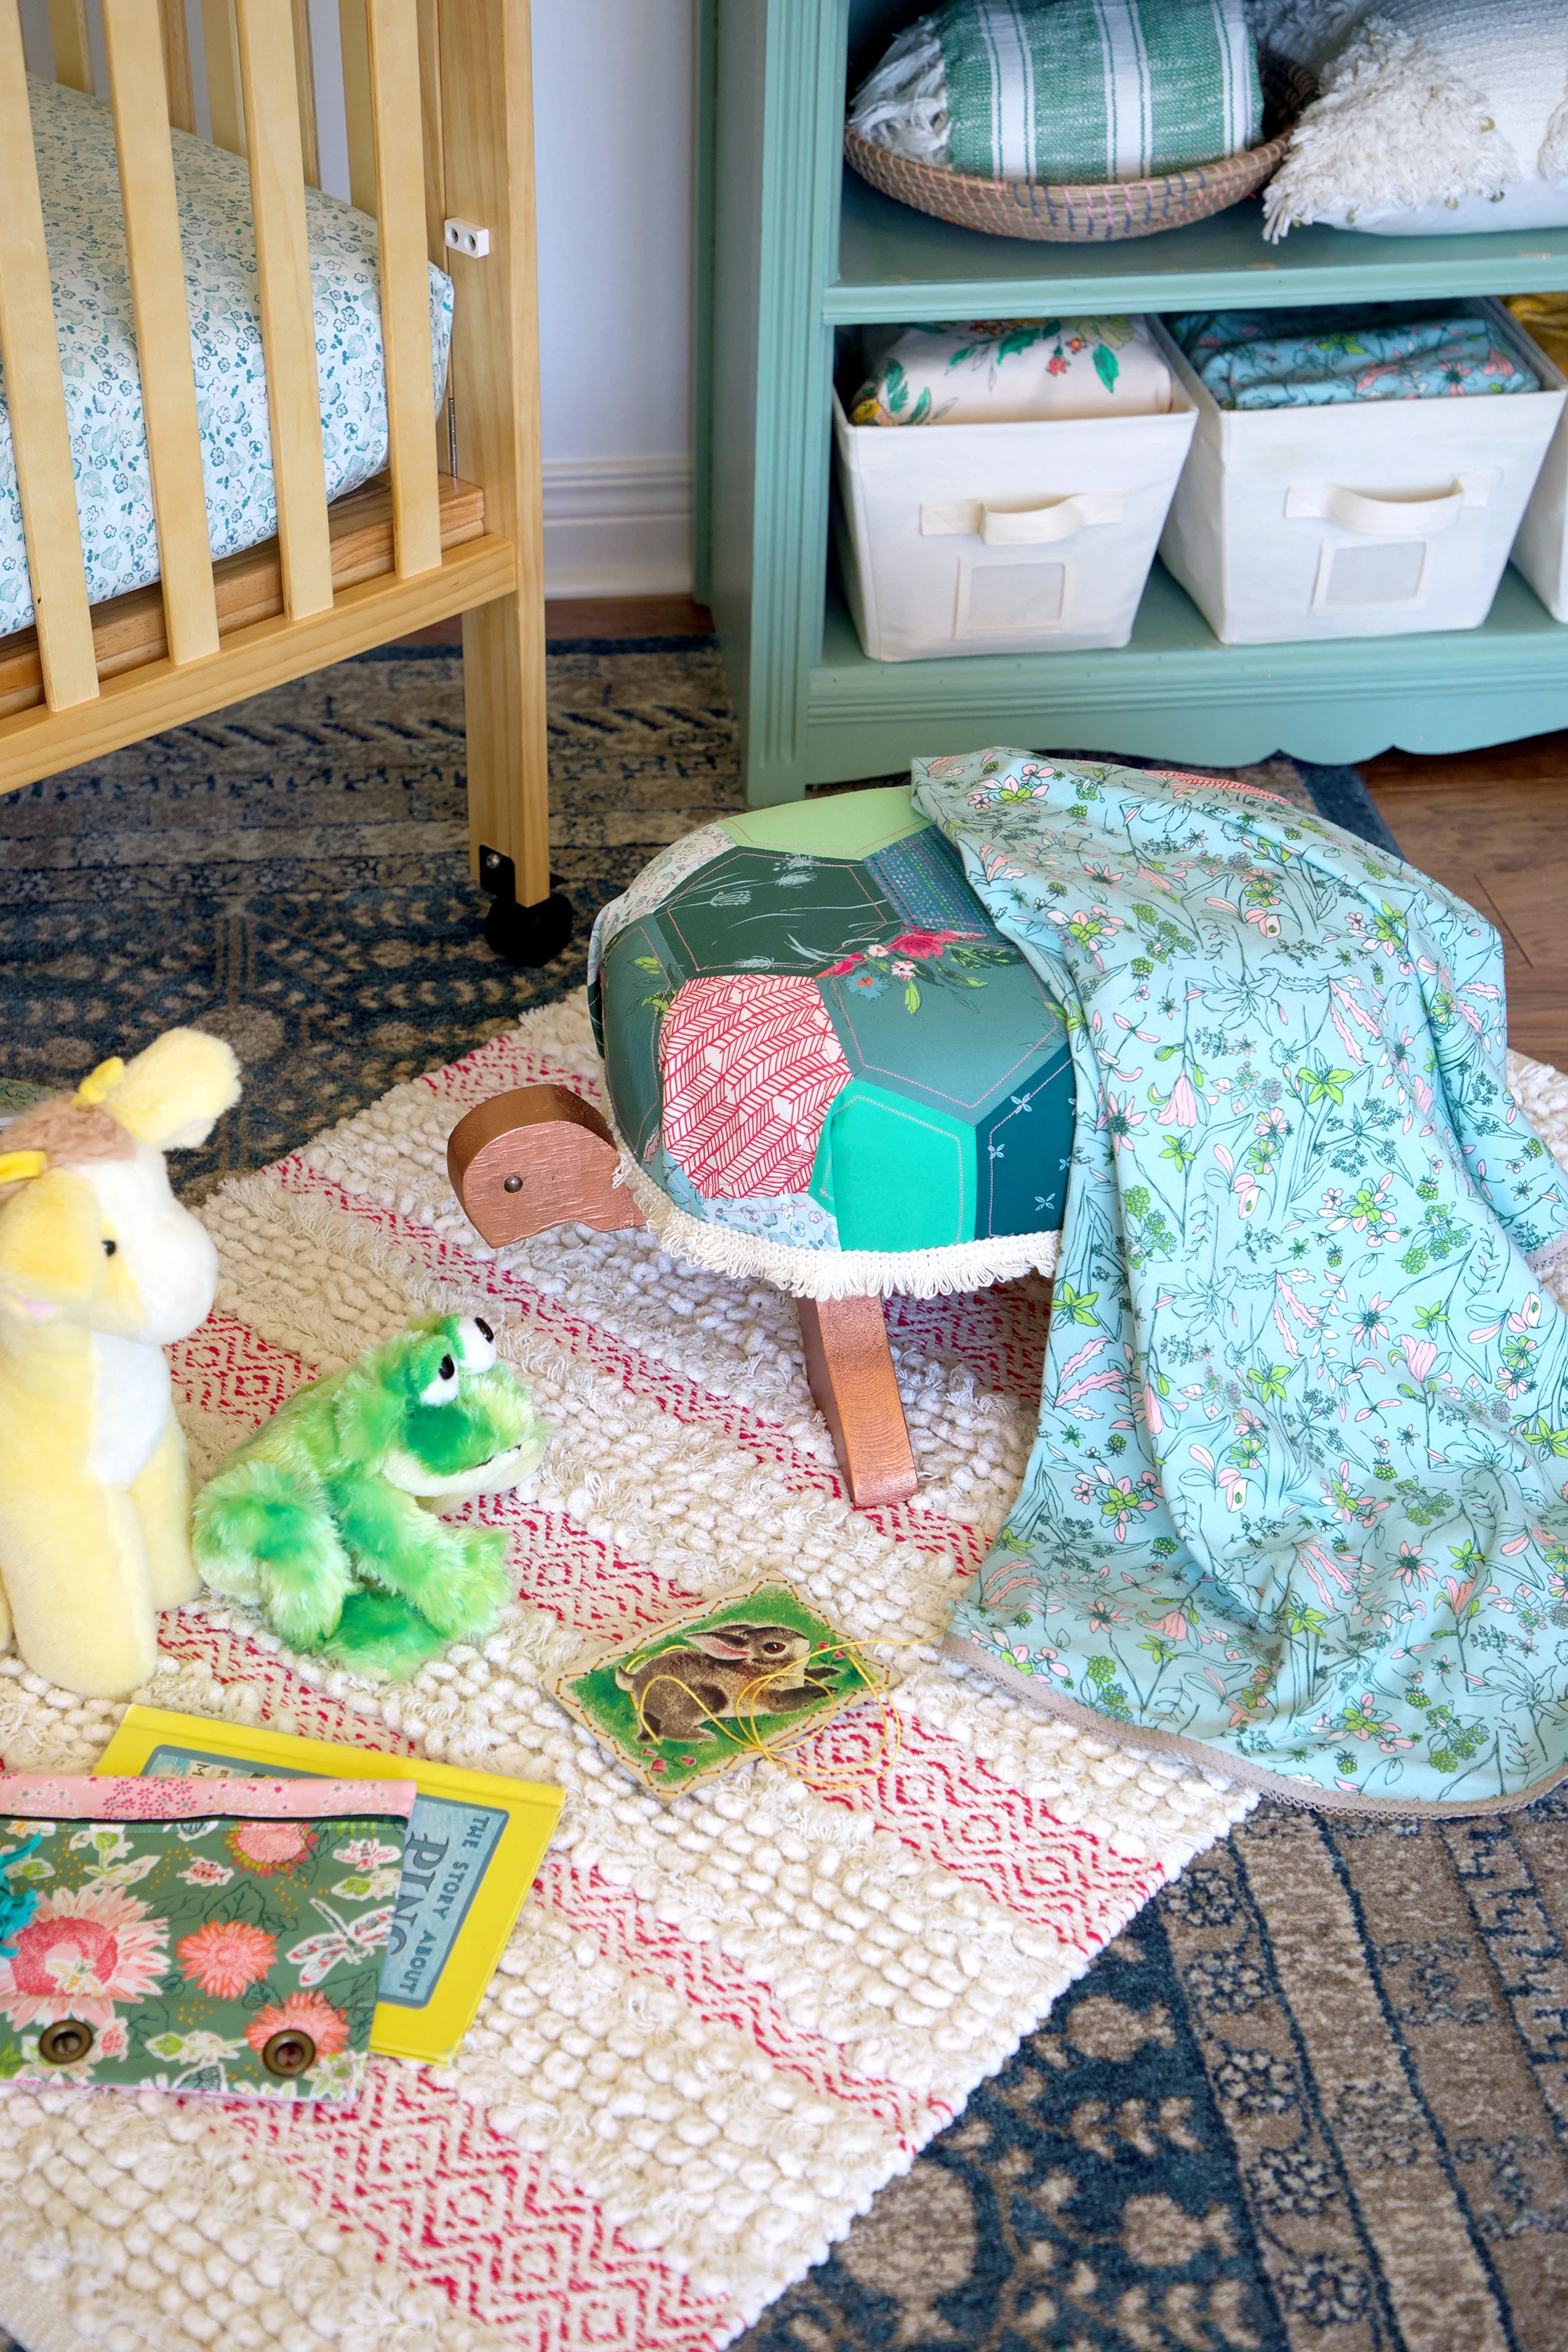
My blocks are made using Art Gallery Fabric Pure Elements for the solids together with prints from the Signature fabric collection that I designed for Art Gallery Fabrics. For stock lists of online shops that carry my Signature and other collections I've designed for AGF, visit my Fabrics page or the Where to Buy page on the Art Gallery Fabrics site.

MSS Week #11.jpg

I've been adding my setting triangles to my finished blocks as I make them and have been sticking to original layout in the first week handouts. I'm using a combination of my Perennial print from Printemps Fusions and Untamed Beauty Daybreak from Signature as the background setting of my quilt but because this block will be in the middle of the quilt it only uses the Untamed Beauty print in the setting triangles. 

The setting triangles are made by cutting a 9-1/2'' square on the diagonal to make two setting triangles. Be mindful of print direction, if applicable. See Community Sampler Week #13 for block setting instructions. 

If you're interested in adding a chevron border to your sampler quilt, take a look at the week #6 blog post and pick up the border supplement PDF. I'll review the border option closer to the end of this sew along but just in case you wanted to sew or plan ahead, you have the information now.

GIVEAWAY

Every Friday when I reveal a new block to My Signature Sampler, I'll also be posting the weekly giveaway. This sew along is being sponsored by the most amazing companies and have generously donated incredible prizes to share with you. 

OUR SPONSORS

THIS WEEK'S GIVEAWAY SPONSOR IS: ART GALLERY FABRICS

AGF-LOGO-highRes.jpg

Art Gallery Fabrics was started in 2004 by Pat and Walter Bravo. Since then creativity, beauty, and design have been their passions, and to this day, they have not changed--bringing a chic and modern perspective to the quilting industry.

When it comes to designing a fabric collection, AGF always keeps originality and uniqueness on the top of their list. Find your favorite fabric designers who create enticing color palettes and artful, intricate prints that make AGF collections one of a kind. Art Gallery Fabrics designs modern fabrics that keep up with ongoing trends and at the same time it encourages customers to use new colors and patterns so they venture out of their usual comfort zone.

Art Gallery Fabrics believes strongly in the quality of the fabric which is transcended in their superior thread count and fine weave making premium cotton as soft and smooth you can get. You really feel the difference with just one touch!

Blog  *  Facebook *  Instagram  * Pinterest

color-master-boxes.jpg

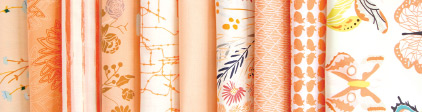
AGF has created a collector’s box of fabrics like no other! Hand-picked for makers to use in a multitude of creative projects. An explosion of color and design made of unique groups of AGF’s signature quality cotton paired up with an original and collectible box made exclusively for them! Color Master boxes include a selection of 10 prints in two choices: FAT QUARTERS or HALF YARDS. CHECK YOUR LOCAL STORE FOR AVAILABILITY OR BUY IT ONLINE.

AGF Color Master Week 11.jpg

This week's My Signature Sampler giveaway will put this beautiful Quite Peachy box of 10 fat quarters into one lucky winners stash! 

color-master-n4.jpg

Giveaway now closed. Congratulations to Michele!

Note: This giveaway is open to EVERYONE! If you're a "no reply" or anonymous commenter, please remember to include your email address in your comment--you can't win if I can't get a hold of you!

1. Simply leave a comment here under this post! (First comment entry).

2. Follow Art Gallery Fabrics on any of their social media platforms (see links above). Just let me know that you did by making a separate comment here to record that entry. (Separate comment-second entry). 

3. My followers get a third entry! If you follow me via subscribing to my posts, on Pinterest, and/or Instagram, just let me know by making a separate comment here to record that entry. (Separate comment-third entry).

4. Help spread the word!! I know that many of you already do, so I thought it would be nice to add that as another way to enter! Spread the word about the My Signature Sampler sew along on YOUR instagram, Facebook, Twitter, Pinterest by pinning any of my pretty images in this post, etc... (separate comment-fourth entry). 

That’s FOUR possible entries! Enter now through Monday, September 3rd! The winner will be picked at random around 4pm Eastern. I will post the name of the winner on this post once they've been notified and responded to my email.

Don't forget to enter into this same giveaway on Instagram by posting images of your sampler inspiration, sampler fabric pull, or blocks. Use the official #mysignaturesampler hashtag every time you post your My Signature Sampler makes (to a public account) and you're automatically entered into the weekly IG drawings as well! See my Instagram giveaway posts @sharonhollanddesigns for full details. 

Happy Labor Day weekend!

Sharon

Table Scraps

Table Scraps

Stacked Strips Runner 1.jpg

Okay, that blog post title was funny, wasn't it!!?? What did you think I was going to blog about, composting? No, silly, this post is about using up those left over fabric strips to make something beautiful for your table!

Stacked Strips Runner 2.jpg

I definitely have a thing for quilted table runners--they're just fun and fast to make, plus quick for changing up the look of your table for the different seasons. 

Stacked Strips Runner 3.jpg

This is my second time making my Stacked Strips Table Runner. See the original tutorial with instructions, HERE. I stitched this one exactly the same as the first, with 2"-wide strips but the finished size of this second runner is larger and finishes out at 18" x 84". The beauty of this pattern is you can easily customize the size to fit your table. 

Stacked Strips Sewing.jpg

The fabrics used in this runner are all Art Gallery Fabrics and include prints from all six of my fabric lines. Here's the list: Pure Elements solids, AGF linen, Gossamer, Sketchbook, Coastline, Tapestry, Bountiful, Signature, and Ink Outburst from Woodland Fusions.

Stacked Strips Runner 5.jpg

The other variation I made from my original pattern was to utilize Quilt As You Go (QAYG) when sewing the strips together. By doing this, not only was I assembling the runner top, but I was quilting the runner as I sewed the strips!

Stacked Strips Runner QAYG.jpg

Using QAYG for a table runner is a great way to try this method on a small project. I used my favorite Tuscany Silk Blend batting and AGF linen for the backing to give the runner a nice weight and feel. To learn how to sew the QAYG method for quilts and other projects check out my dear friend and sister AGF designer Maureen Cracknell's QAYG Craftsy class

Stacked Strips Runner 6.jpg

This was really fun to make and since I had some strips left at the end, I decided to make some matching coasters!

Stacked Strips Coasters 2.jpg

My coasters finish at 4-1/2" round and I trimmed the strips to 1-1/2" wide to start with so the scale would be better proportioned. You could even start with 1" wide strips if you wanted even more fabrics in the coaster.

I used the same strip assembly method of sewing strips short ends together before trimming to the desired size and sewing together QAYG-style to a batting and backing foundation.

Stacked Strips Coasters Assembly 1.jpg

After I had the strips sewn into a large enough piece to cut out 5" circles from, I placed another piece of linen, right sides together with the QAYG piece and marked out circles with the bottom of a tin that was the right size. 

I sewed a 1/4" inside the drawn line, back stitching at beginning and end, and leaving and opening for turning. 

Stacked Strips Coasters Assembly 2.jpg

Cut out on the drawn line. Clip curves and turn right side out through the opening. Turn opening under 1/4" and press. Blind stitch opening closed by hand. 

Stacked Strips Coasters 1.jpg

I did not do any additional quilting or stitching to my coasters once turned. This method has four layers: patchwork top, batting, and two layers of linen. 

Stacked Strips Coasters 4.jpg

I think next time I try this I will make some placemats. It's really very addictive and I'm sure we all have a bunch of left over fabric scraps begging to be turned into something useful and beautiful!

Signature Bedroom

Signature Bedroom

Signature Soho Bedroom wall.jpg

Today I'll be taking a closer look at the Signature fabrics Soho bedroom I put together for a photo shoot to show off my new Signature fabric collection for Art Gallery Fabrics. This room was another mock-room setting I put together in my studio and I had so much fun sewing and decorating for this scene. See the Signature Baby Room posts Part 1 and Part 2.

Tracery Rose Quilt reduced.jpg

For this mock-room to make sense, it had to tell a story. I wanted something fun and flirty, just like the fabric collection so I came up with the idea to create a Soho loft bedroom from a 20-something girl who loves sewing, flowers, vintage finds, and a little bit of bling. 

Signature Fabrics Bedroom 1.jpg

I didn't want a fussy bed frame so I put the mattress and box spring directly onto the rug-layered floor and stood two same-size, narrow boxes on end. You can't see the boxes because they're covered with a wood boards that made a temporary bench of sorts that I could use as my headboard/shelf. This created the perfect look for my bed and kept everything low and modern. 

Signature Fabrics Bedroom 2.jpg

The quilt on the bed is called Tracery Rose and is an adaptation of the Tracery quilt pattern from my Utility-Style Quilts for Everyday Living book (Landauer 2017). I wanted layers of fabrics with texture and vintage charm as well as doable DIY projects that my creative girl would want to make for her room. 

Find a tutorial for the fun Fabric Fringe Wallhanging on one of my earlier posts as well as instructions for the Improv Boho Pillow tutorial. These are both great projects to get the kids involved in sewing something for their room.

Signature Pillow 1.jpg

Crafty touches include vintage pompoms, my grandmother's Singer sewing machine on the desk, knitting yarn in the Bucket Bag tote (another free pattern on this site), Art Roll Up caddy for knitting needles or other art supplies (see Free Patterns page), thrifting treasures of vintage jewelry and furniture, and of course florals to bring the garden inside.

Signature Craft Girl.jpg

Pile on the layers and let the photo tell a story! I can just image my younger self busy working on crafts in my room and rearranging and decorating my space with pretty things.

Signature Fabrics and yarn.jpg

This photo of the basket with yarn and fabric is one of my favorite shots because of all the yummy textures, layers, and colors. I had the last minute idea to throw a piece of faux fur on the chair seat and that added a bit of glam to the look plus more texture and interest!

AGF Signature Sewing.jpg

This petite desk's was something I picked up at a garage sale almost 20 years ago! I painted it gold after I bought it and it's normal spot is as a nightstand by my bed. Because I wanted to bring in different metal elements into my Soho bedroom like gold, copper, and silver I thought it would make the cutest sewing table for this scene. The sewing machine was my grandmother's and it still works like a dream. I have it as a backup machine and don't sew with it much but it's comforting to know it's here with me when I need it. 

The chair is another garage sale find and it has a big hole in the caned seat. I've hidden the hole with a piece of faux fur to repeat the look on the other side of the room. 

Signature Kimono.jpg

Although I am obsessed with so many of my sewing makes for the two mock-up rooms, the project that's gotten the most wear is my Signature Extempore Rayon kimono. This garment was an easy make for a non-garment sewer like me and AGF rayon is the perfect fabric for a flowie cover up like this. I used Simplicity pattern 1108 and chose the cropped cut because I'm only 5'2'' and it's a good proportion for my frame. 

AGF Signature Rayon Kimono.jpg

I hope you enjoyed this look into some of the photos that went into the Signature Look Book and my styled photo shoot. Are you getting lots of inspiration? What would you sew with these prints--quilts, clothes, or something else?

Signature Baby Room Part 2

Signature Baby Room Part 2

Signature Baby collage.jpg

Sometimes my life gets moving so fast, I'm onto the next project like a machine, forgetting to slow down, enjoy, and post about all my accomplishments. My new Signature fabric collection has been such a joy and with each project comes little surprises and great photo ops that I've taken lots of beautiful photos. I thought I'd spend more time with each of these makes and post some additional stories about what I sewed in June for the Art Gallery Fabrics Signature Look Book. I hope you'll enjoy these between the projects posts.

Signature Baby Room View.jpg

It was so much fun to put together a baby room of Signature fabric projects! Signature is my newest fabric collection for Art Gallery Fabrics and came out this May. Ask your local shop for this line or shop the many online stores that carry it. See my Fabrics page for online stock lists. 

Last week in Part 1, I showed you behind the Look Book projects in a bit more depth and links to the tutorials for the pretty projects. I'll wrap up this week with Part 2 plus a fun stuffed turtle make I stitched up last week as a gift for my granddaughter. 

Signatrue Fabrics Crib Sheet Set.jpg

Possibly to two easiest projects stitched for my Signature Baby Room were the crib sheet and the knit blanket. Find a tutorial for my Ruching Rose pillow HERE.

I wish I'd known how easy it was to make crib sheets when my kids were little! Dana Willard, friend and also an Art Gallery Fabrics designer sister has a fun You Tube video for how to make a fitted crib sheet. AGF fabric is so soft and the perfect designer prints to customize the look for baby's room.

Signature Fabrics Baby Room 3.jpg

The knit blanket not only is cuddly soft with AGF knits but is another easy make. You wouldn't even have to finish the edges if you didn't want too because knit doesn't fray but to dress it up a bit I added some pre-made bias tape with a crochet edge for a sweet little touch. A nice tutorial for making a knit blanket can be found at Kitchen Table Quilting.

Star Light sq web.jpg

Earlier, in June, I blogged about my free Star Light baby quilt pattern. The inspiration for this quilt came when I was making the Cactus block for the Community Sampler. This shows how you can take a block you love and run with it to make a completely new quilt. Find the free pattern HERE.

Signature Butterfly.jpg

Even though my Signature Baby Room was intended as a gender neutral room I still couldn't help seeing it through my granddaughter's eyes. Because she loves butterflies and this fabric collection is about nature and includes butterflies in some of the prints I made several fabric butterflies and used them in various decor projects. Read more about how I created these HERE and learn how to make them. 

Signature Turtles Stacked.jpg

There are so many Signature makes I'm obsessed about but maybe the one that brings on the biggest smile is the turtle footstool I wrote about in my Part 1 post. Since this guy is staying at my house for the grandchildren to visit I thought I'd make my granddaughter a turtle of her own. 

Softie Signature Turtle 5.jpg

I found the cutest free softie pattern on the Make it and Love it blog and of course had to make a version in Signature fabrics!

Signature Turtle Love.jpg

To add just a little extra to my turtle I stitched some Dritz Make Your Own Chenille to the shell before adding the feet and added a fabric heart outlined with chenille to it's tummy before assembling the body. 

Signature Turtle Feed 2.jpg

Turtle, as he's called, now has an honorary spot in her bed and she love's her new friend!

Signature Turtle and Baske 2.jpg

Because every turtle needs a home, I painted an old basket up to give it a fresh new look (that coordinates, of course with my fabrics) and made the turtle his own blanket. I had as much fun making this as she's having playing with him!

Signature Turtle and Basket 1.jpg

And, way too much fun photographing this turtle. 

Sunflower Quilt from Art Gallery Fabrics.jpg

Don't forget to check out the Art Gallery Fabrics Look Books that come out with every new fabric line and all the oodles of free quilting and sewing patterns like the Sunflower quilt I designed for this collection and the AGF Studio Butterfly pillow pattern. 

Butterfly-Pillow-Instruction 1.jpg

Have a wonderful summer!

Love,

Sharon