Community Sampler Week #10

Welcome to week #10 of the Community Sampler sew along where we not only work on our patchwork piecing techniques but also share our makes on Instagram and have fun with a like-minded community of quilters. My co-host and sister Art Gallery Fabrics designer Maureen Cracknell and I are so happy to have you sewing with us and look forward to seeing your sampler quilt come together.

We're coming down the home stretch with making our blocks and this is number nine out of eleven.
Each Wednesday will be a new PDF block release or finishing step for the quilt. If you are just joining us, pick up the Introduction PDF on the Sew Along page and you'll get a material list along with coloring pages so you can get started planning your quilt. Then, work your way through the first Community Sampler post to the present.
Many of the patchwork units (like Quick-Corner, Flying Geese, Half-Square Triangle, and Square-in-Square units) used in this year's sampler have already been oversized to allow for trimming and squaring of units before assembling your block. Please cut your pieces EXACTLY as given in each of the PDF instructions because bumping up the size of the pieces from the measurements give will not bring great results in some cases. Take advantage of my in-blog tutorials for each of the different quilting techniques used in our sampler.
Accurate cutting and use of a true 1/4'' seam allowance is a must for successful patchwork piecing. All your blocks will measure 12-1/2'' square (unfinished). Review how to cut strips, sew with a true 1/4'' seam allowance, and other helpful piecing tips on my "Are You Ready to Sew" post.

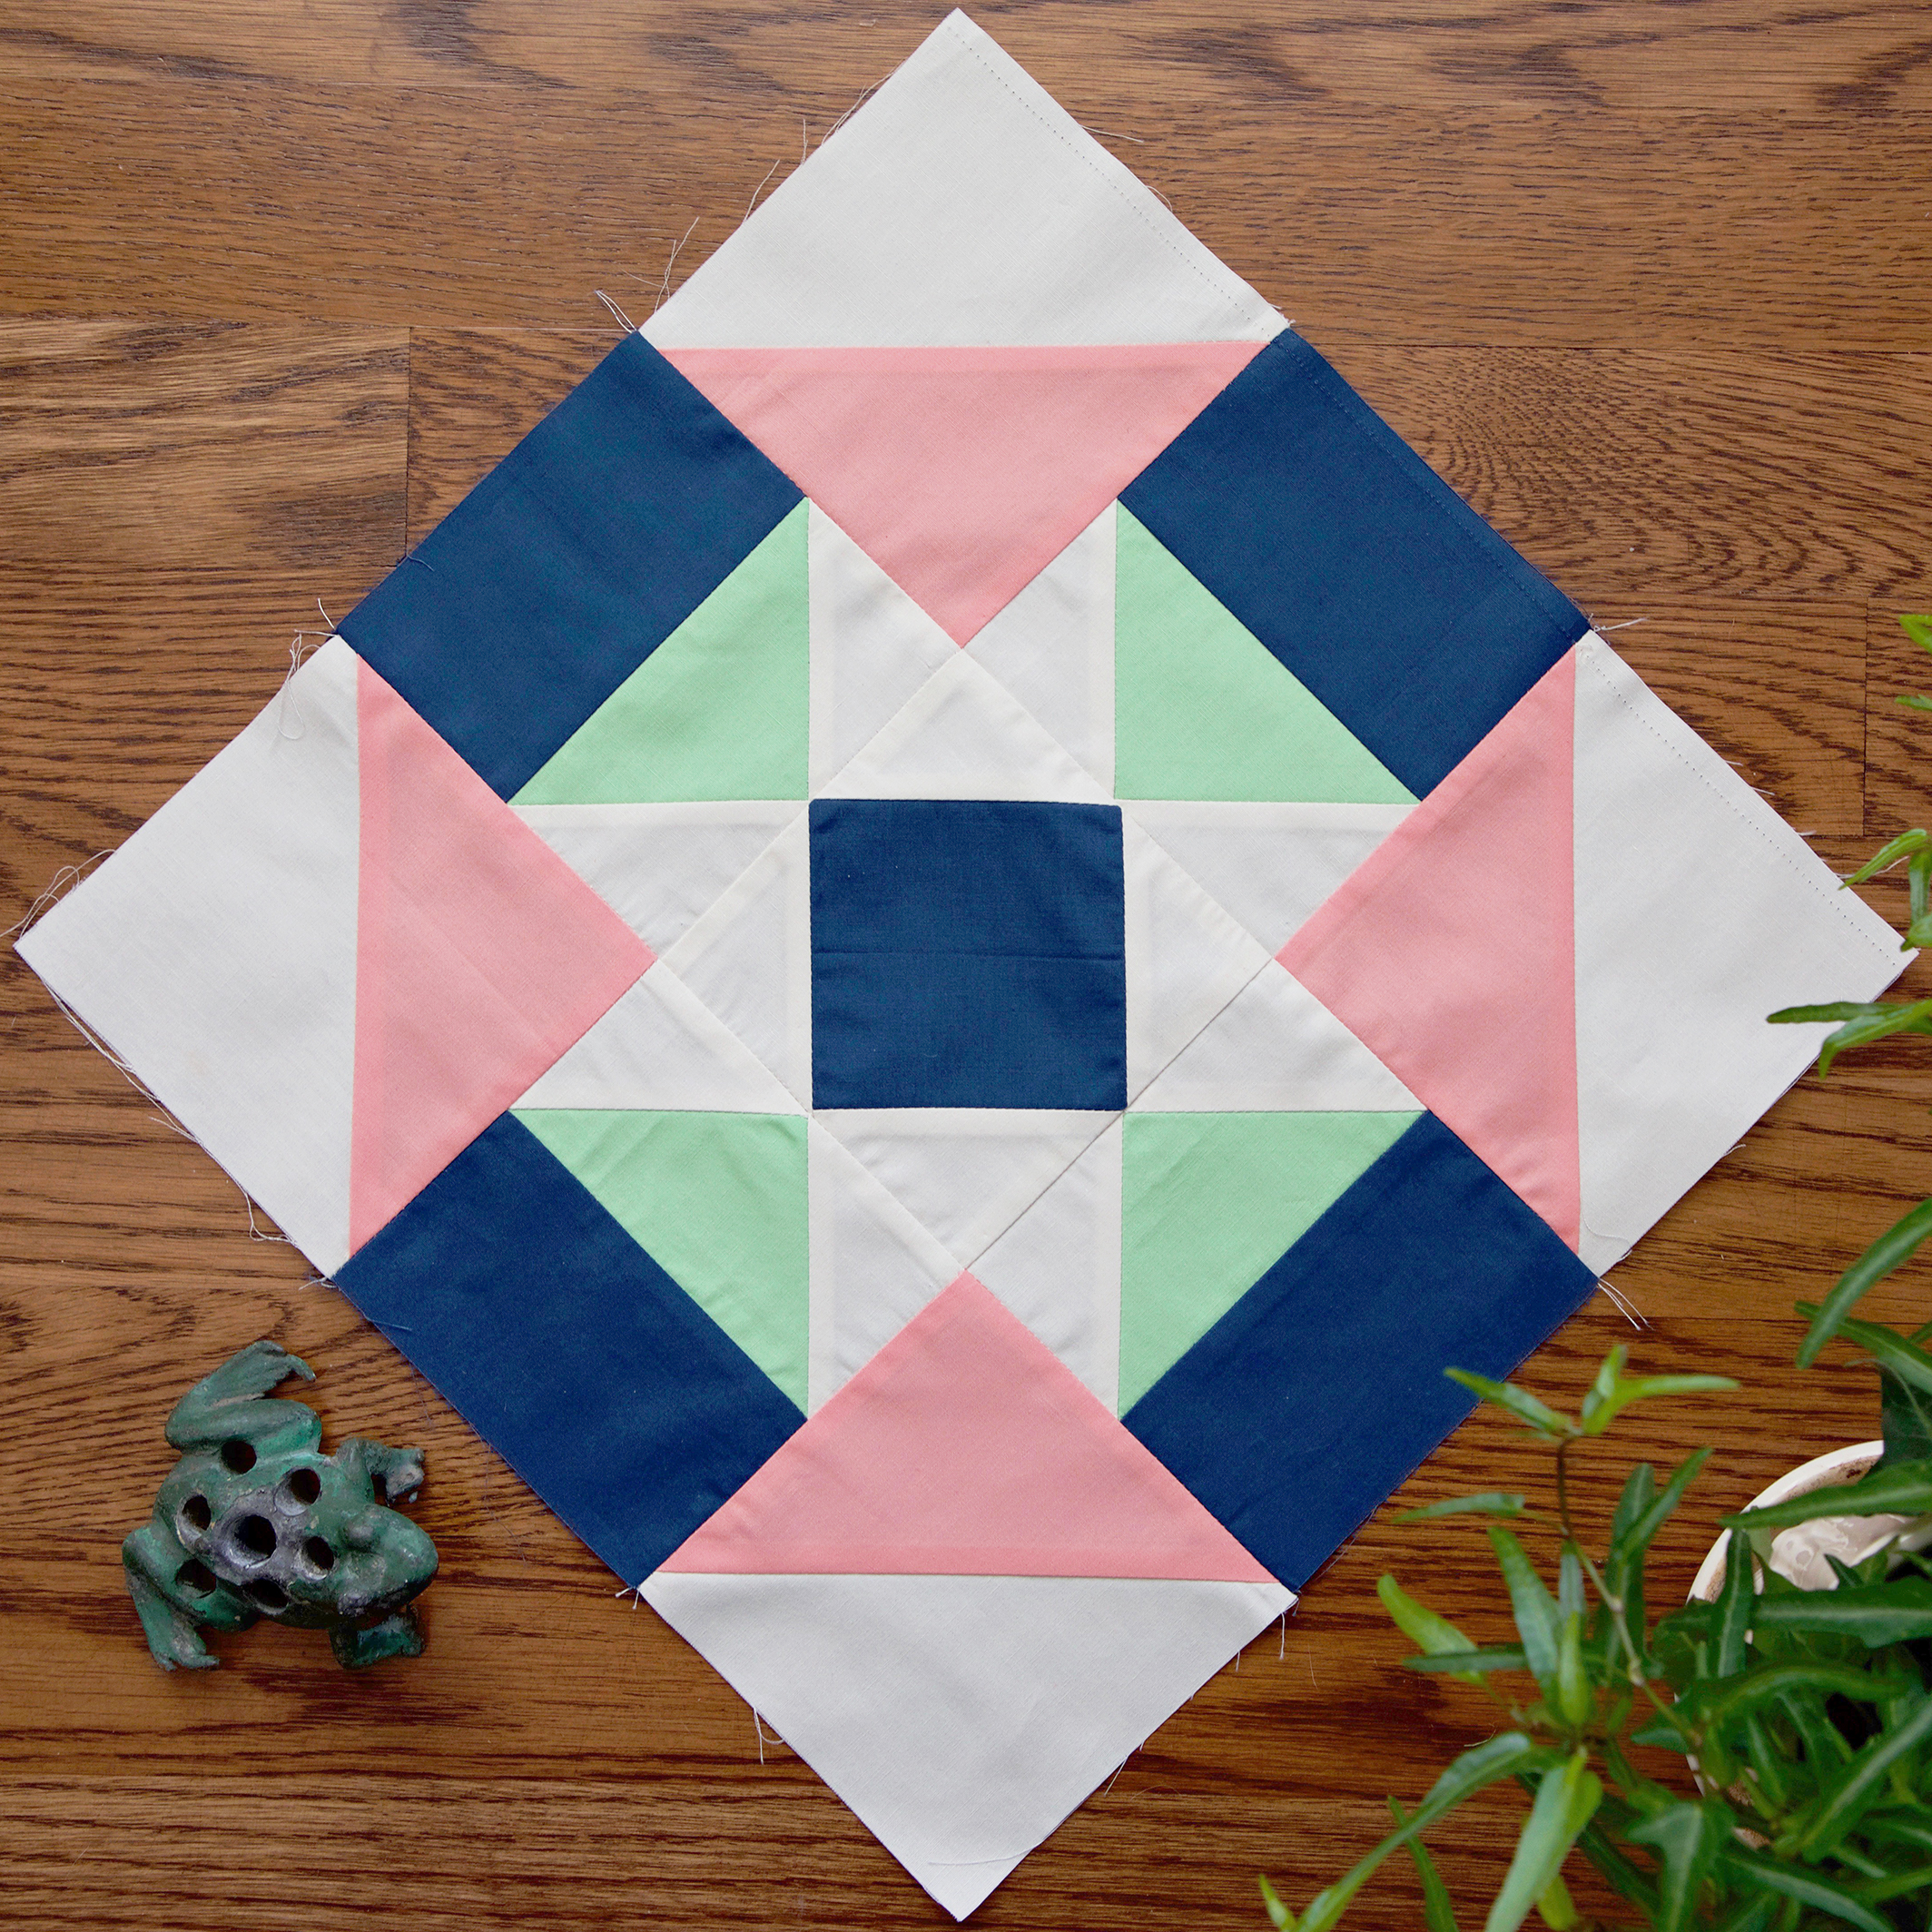
Download the free PDF on the free Double-T block from my Sew Along page and let's get sewing!

Our block this week is all review as far as piecing techniques. I'm sure you can do this in your sleep by now but if you need a refresher, use the following link for review how to make Half-Square Triangle (HST) units and No-Waste Flying Geese units that we've already used in earlier Community Sampler blocks. Accuracy is always our goal so make sure all cut pieces are true to size as you work and maintain an accurate 1/4" seam allowance when sewing and the pieces will go together beautifully.
If you're wanting to use directional prints for either the HST units or the Flying Geese units you may want to check out my tutorial for controlling directional prints that was posted during the Sewcial Bee Sampler sew along.

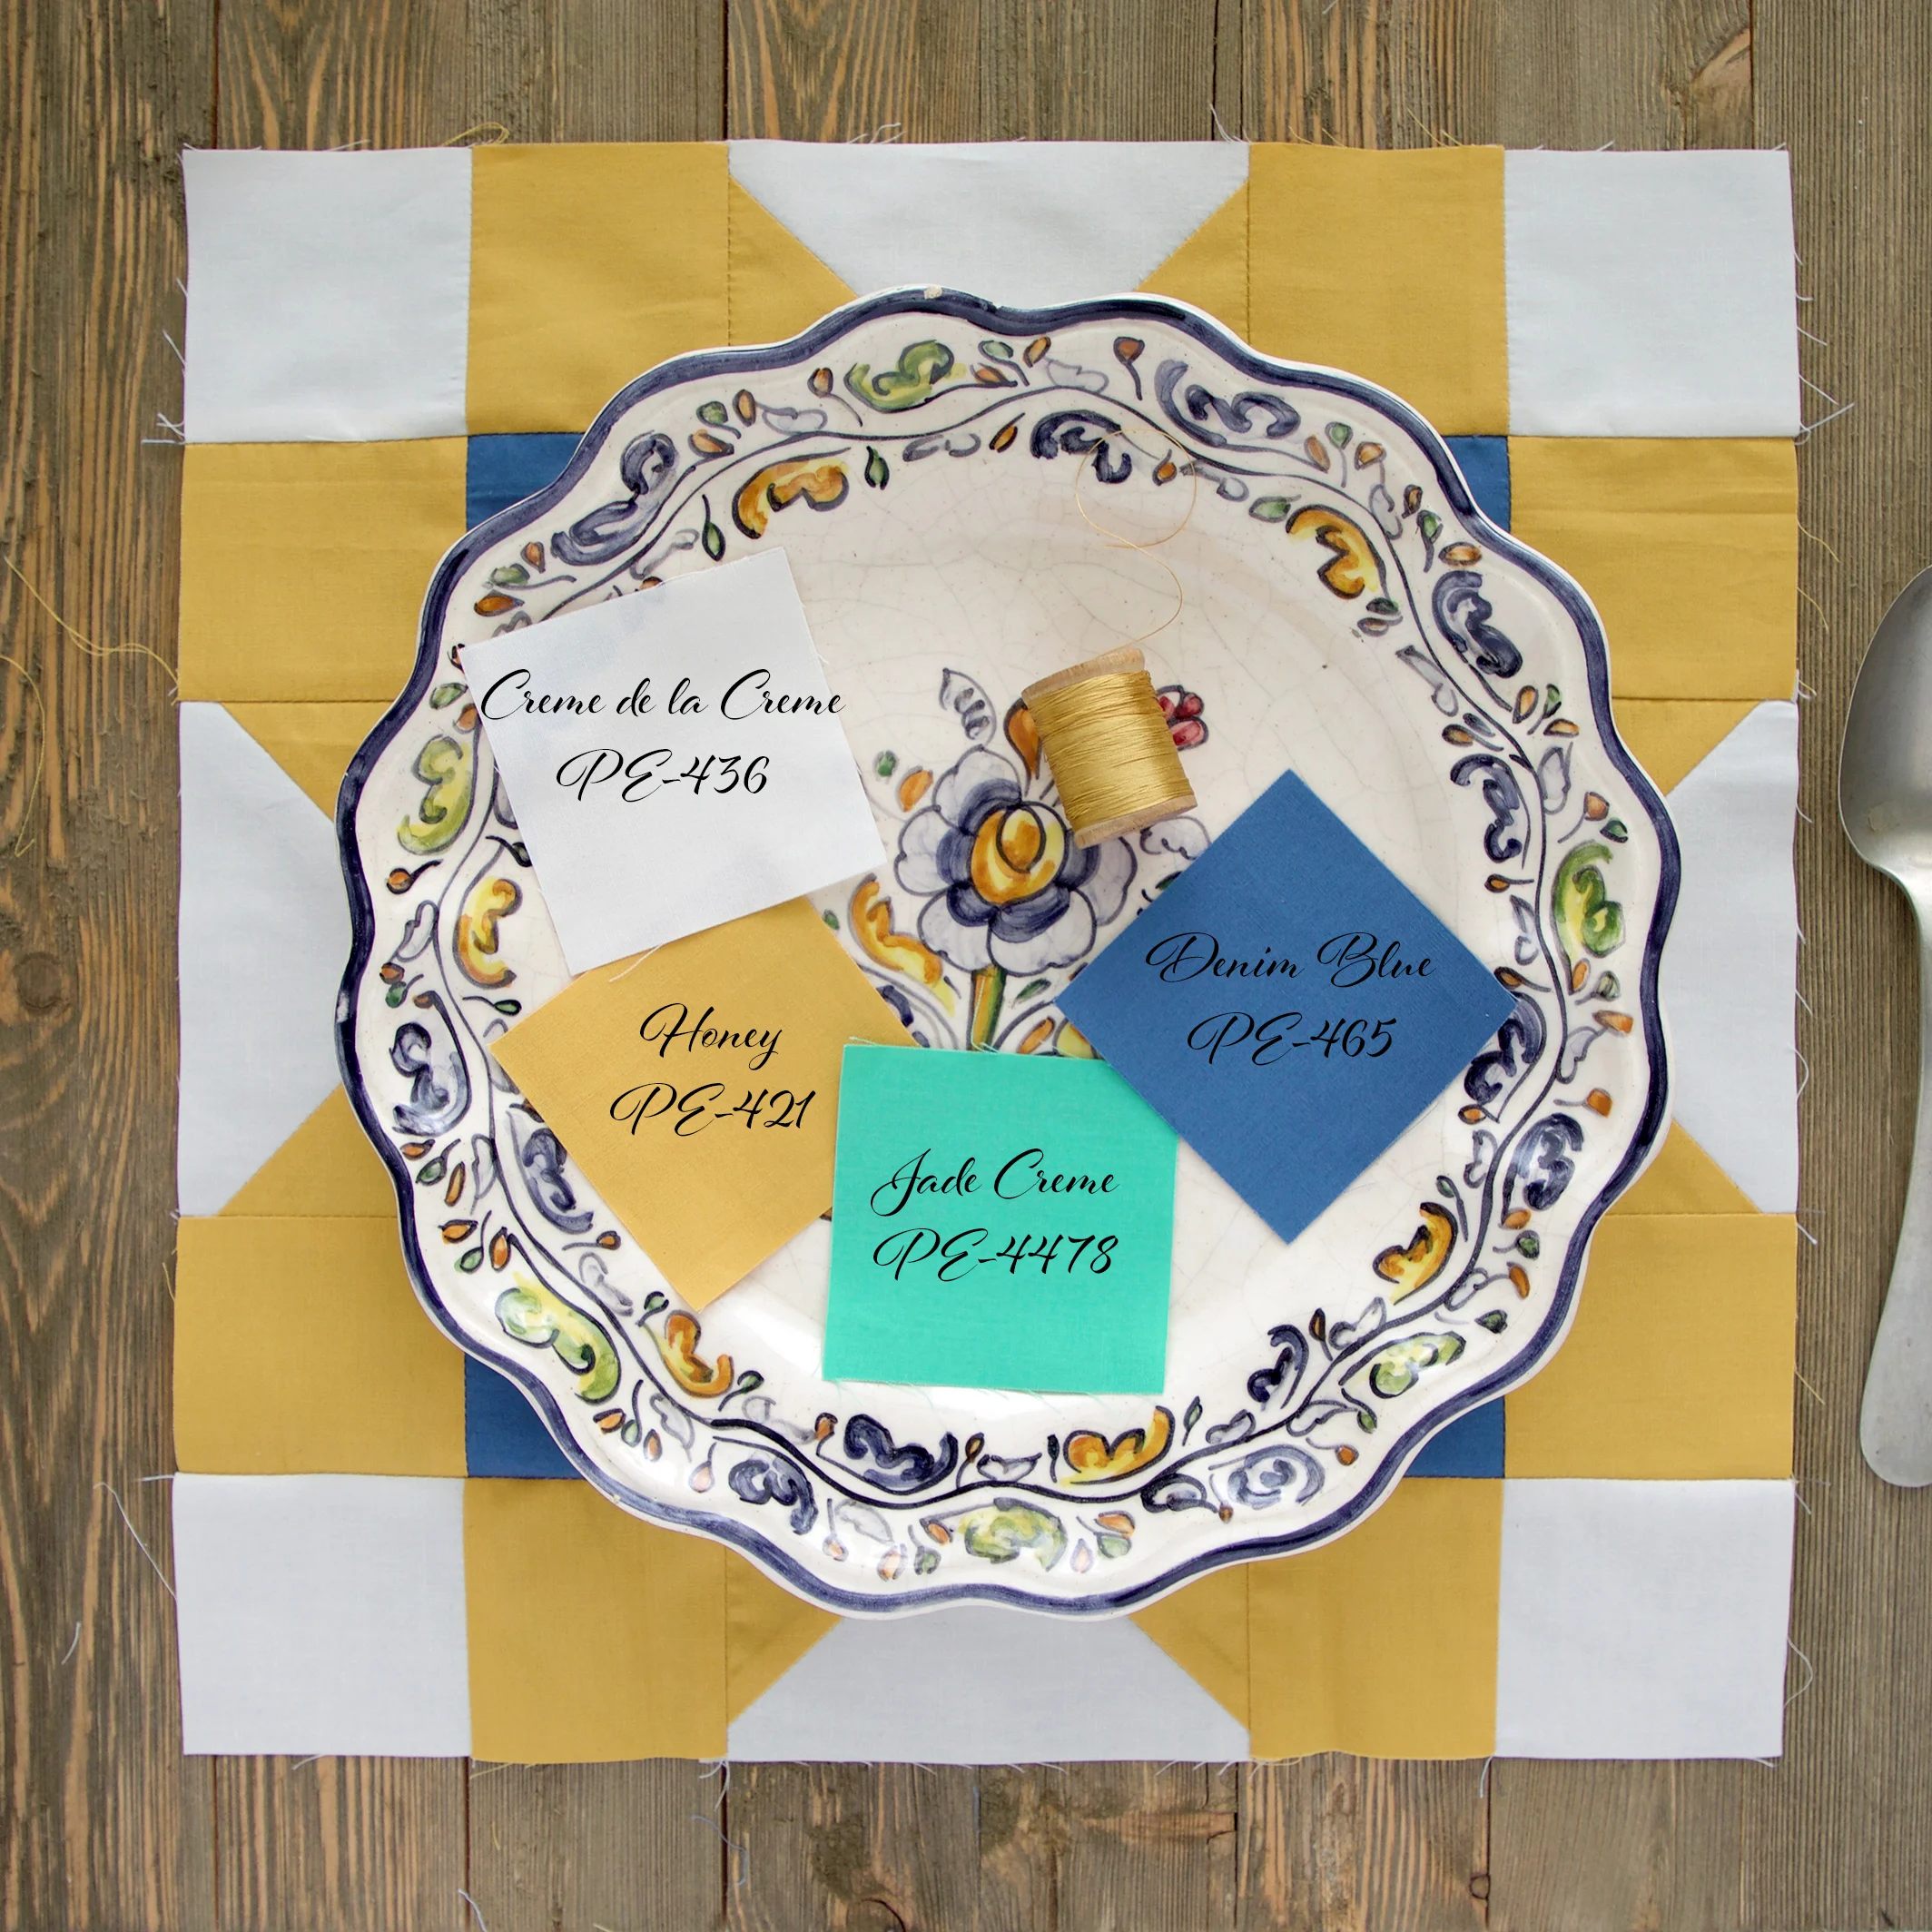
I kept my block real simple this week and love how these Art Gallery Fabrics Pure Element solids look together. If you're curious as to the exact colors I've used I'm including the fabrics name and sku number so you can easily get the same look.

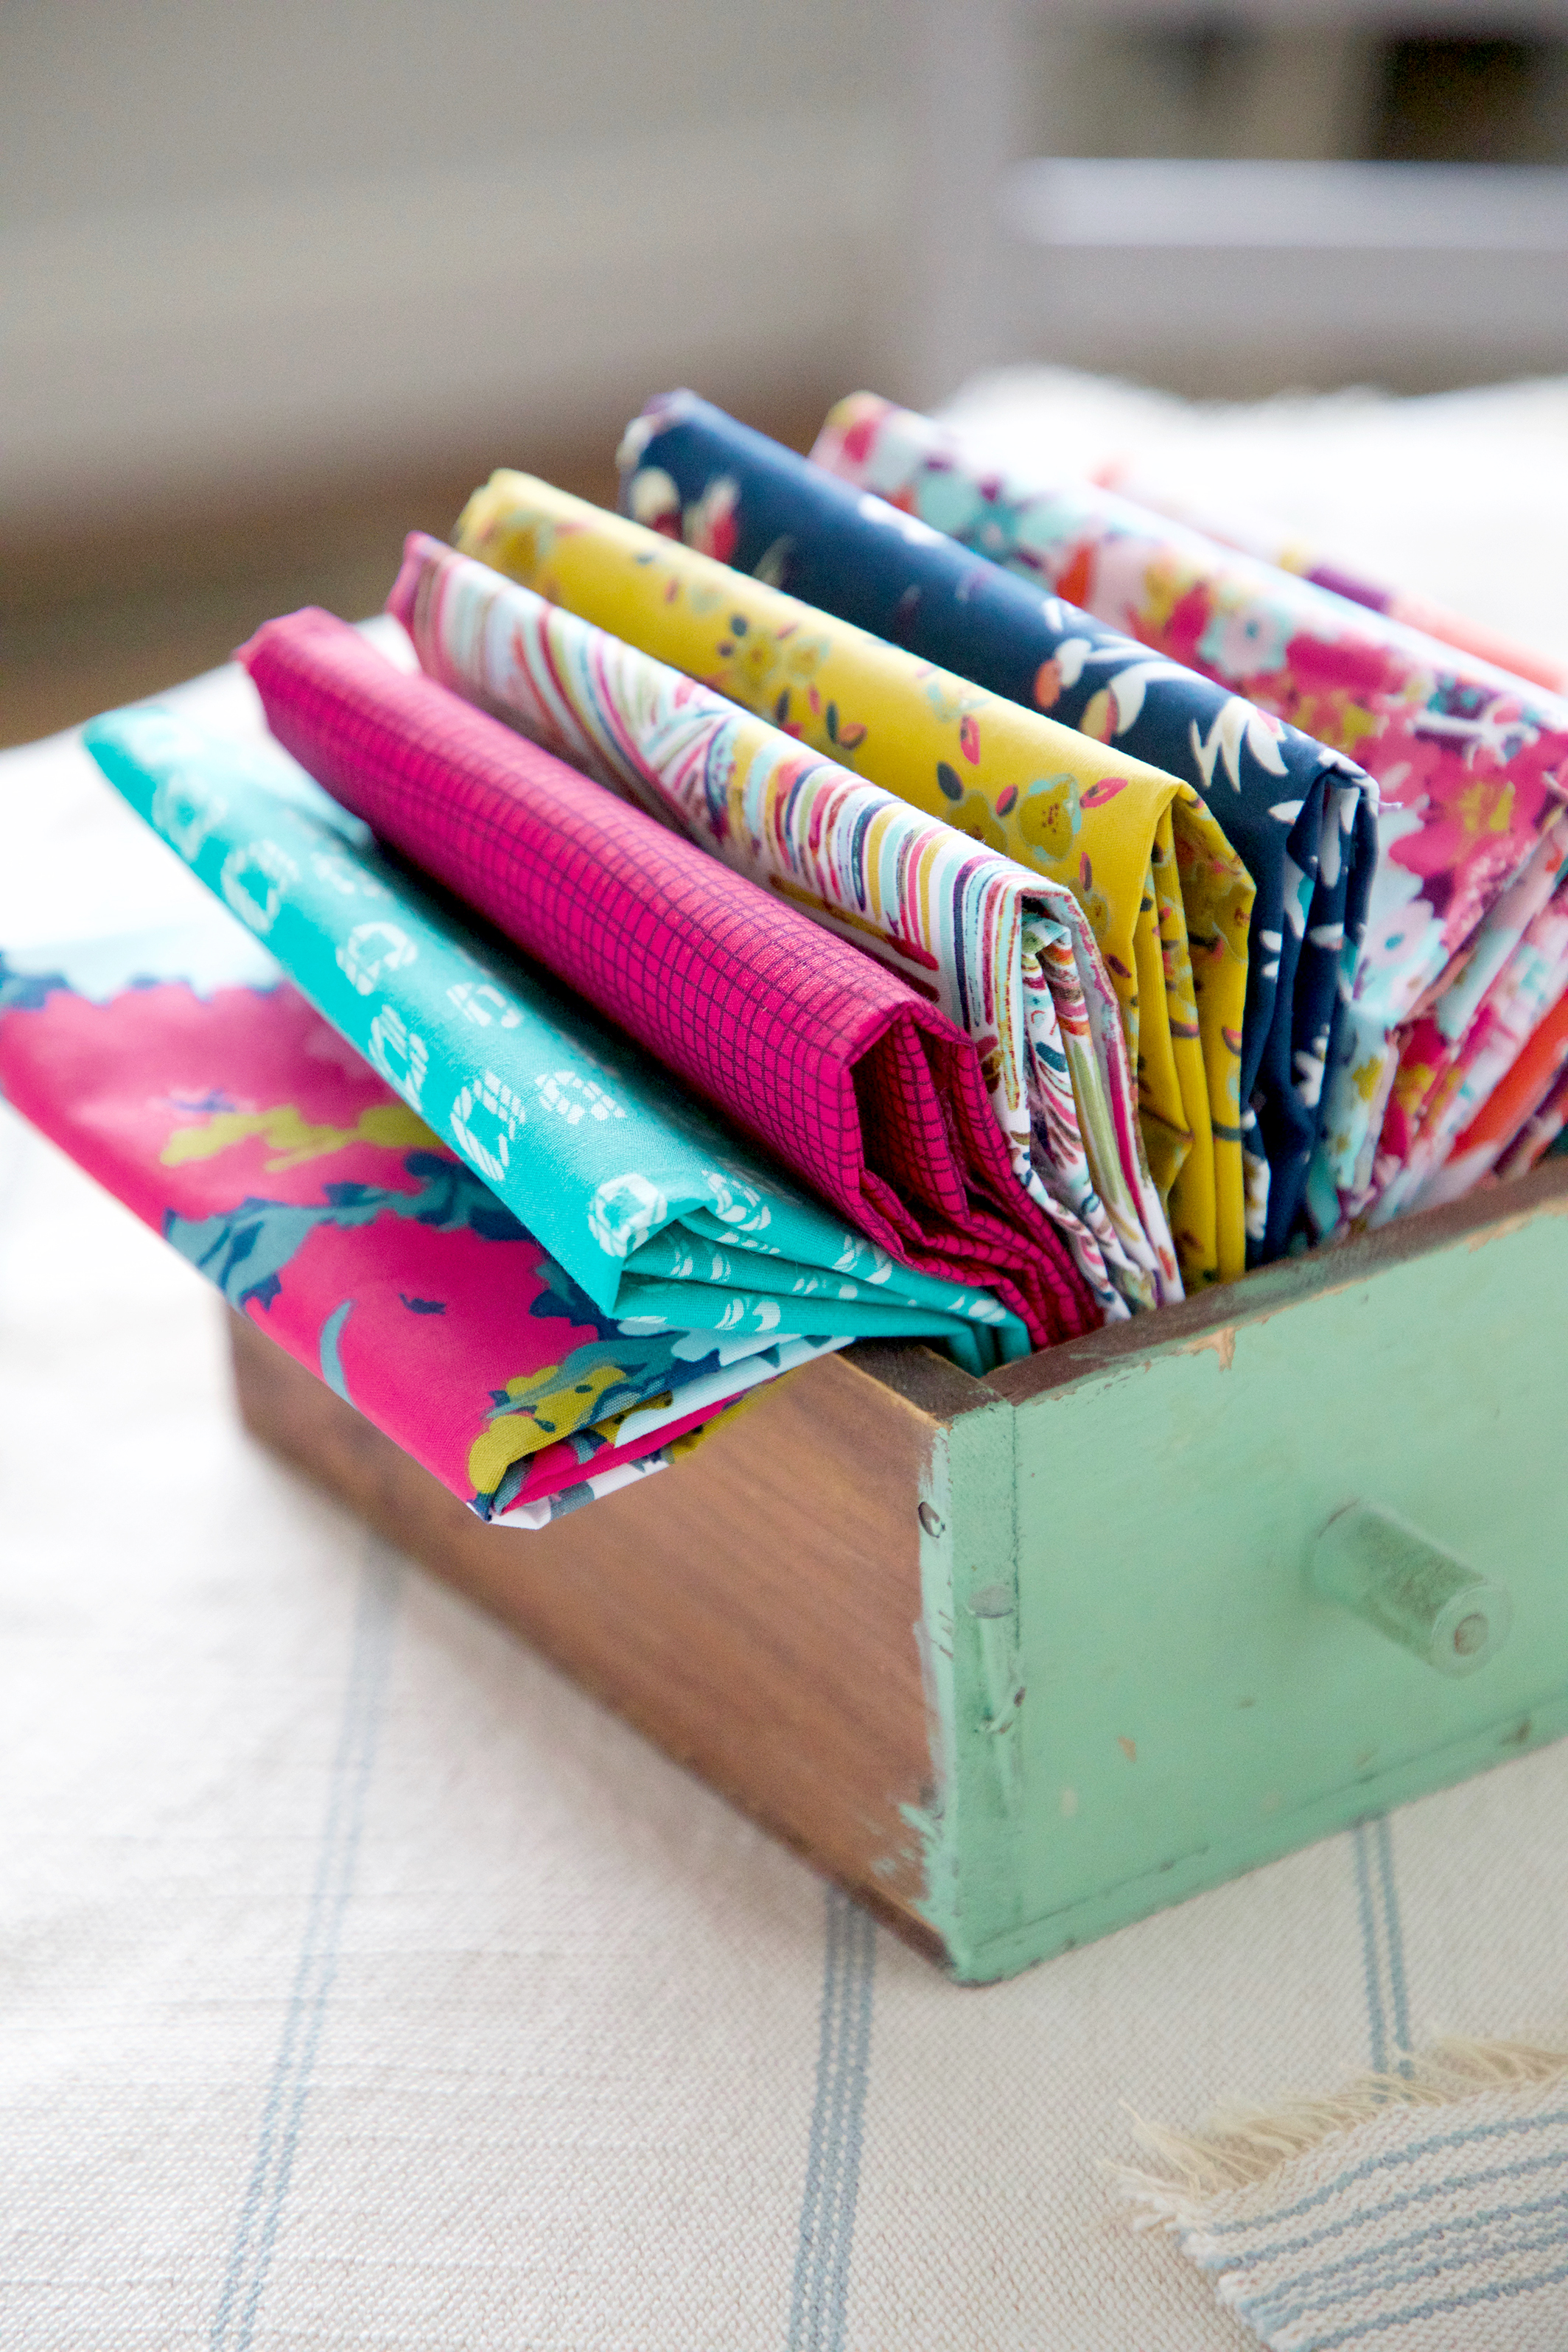
Other fabrics of interest included in my photos this week are the Splendid Fusions prints from Art Gallery Fabrics (now is shops) that include reprints of my Petally and Woodblock prints (first two from right to left on the above photo). Also, under my Double-T block I used my Mudcloth Blue print from Tapestry as a backdrop. It's hard not to include some pattern in my posts! :)
Be sure to stop over at Maureen's blog to see her lovely blocks being made from her Art Gallery Fabrics Love Story collection.
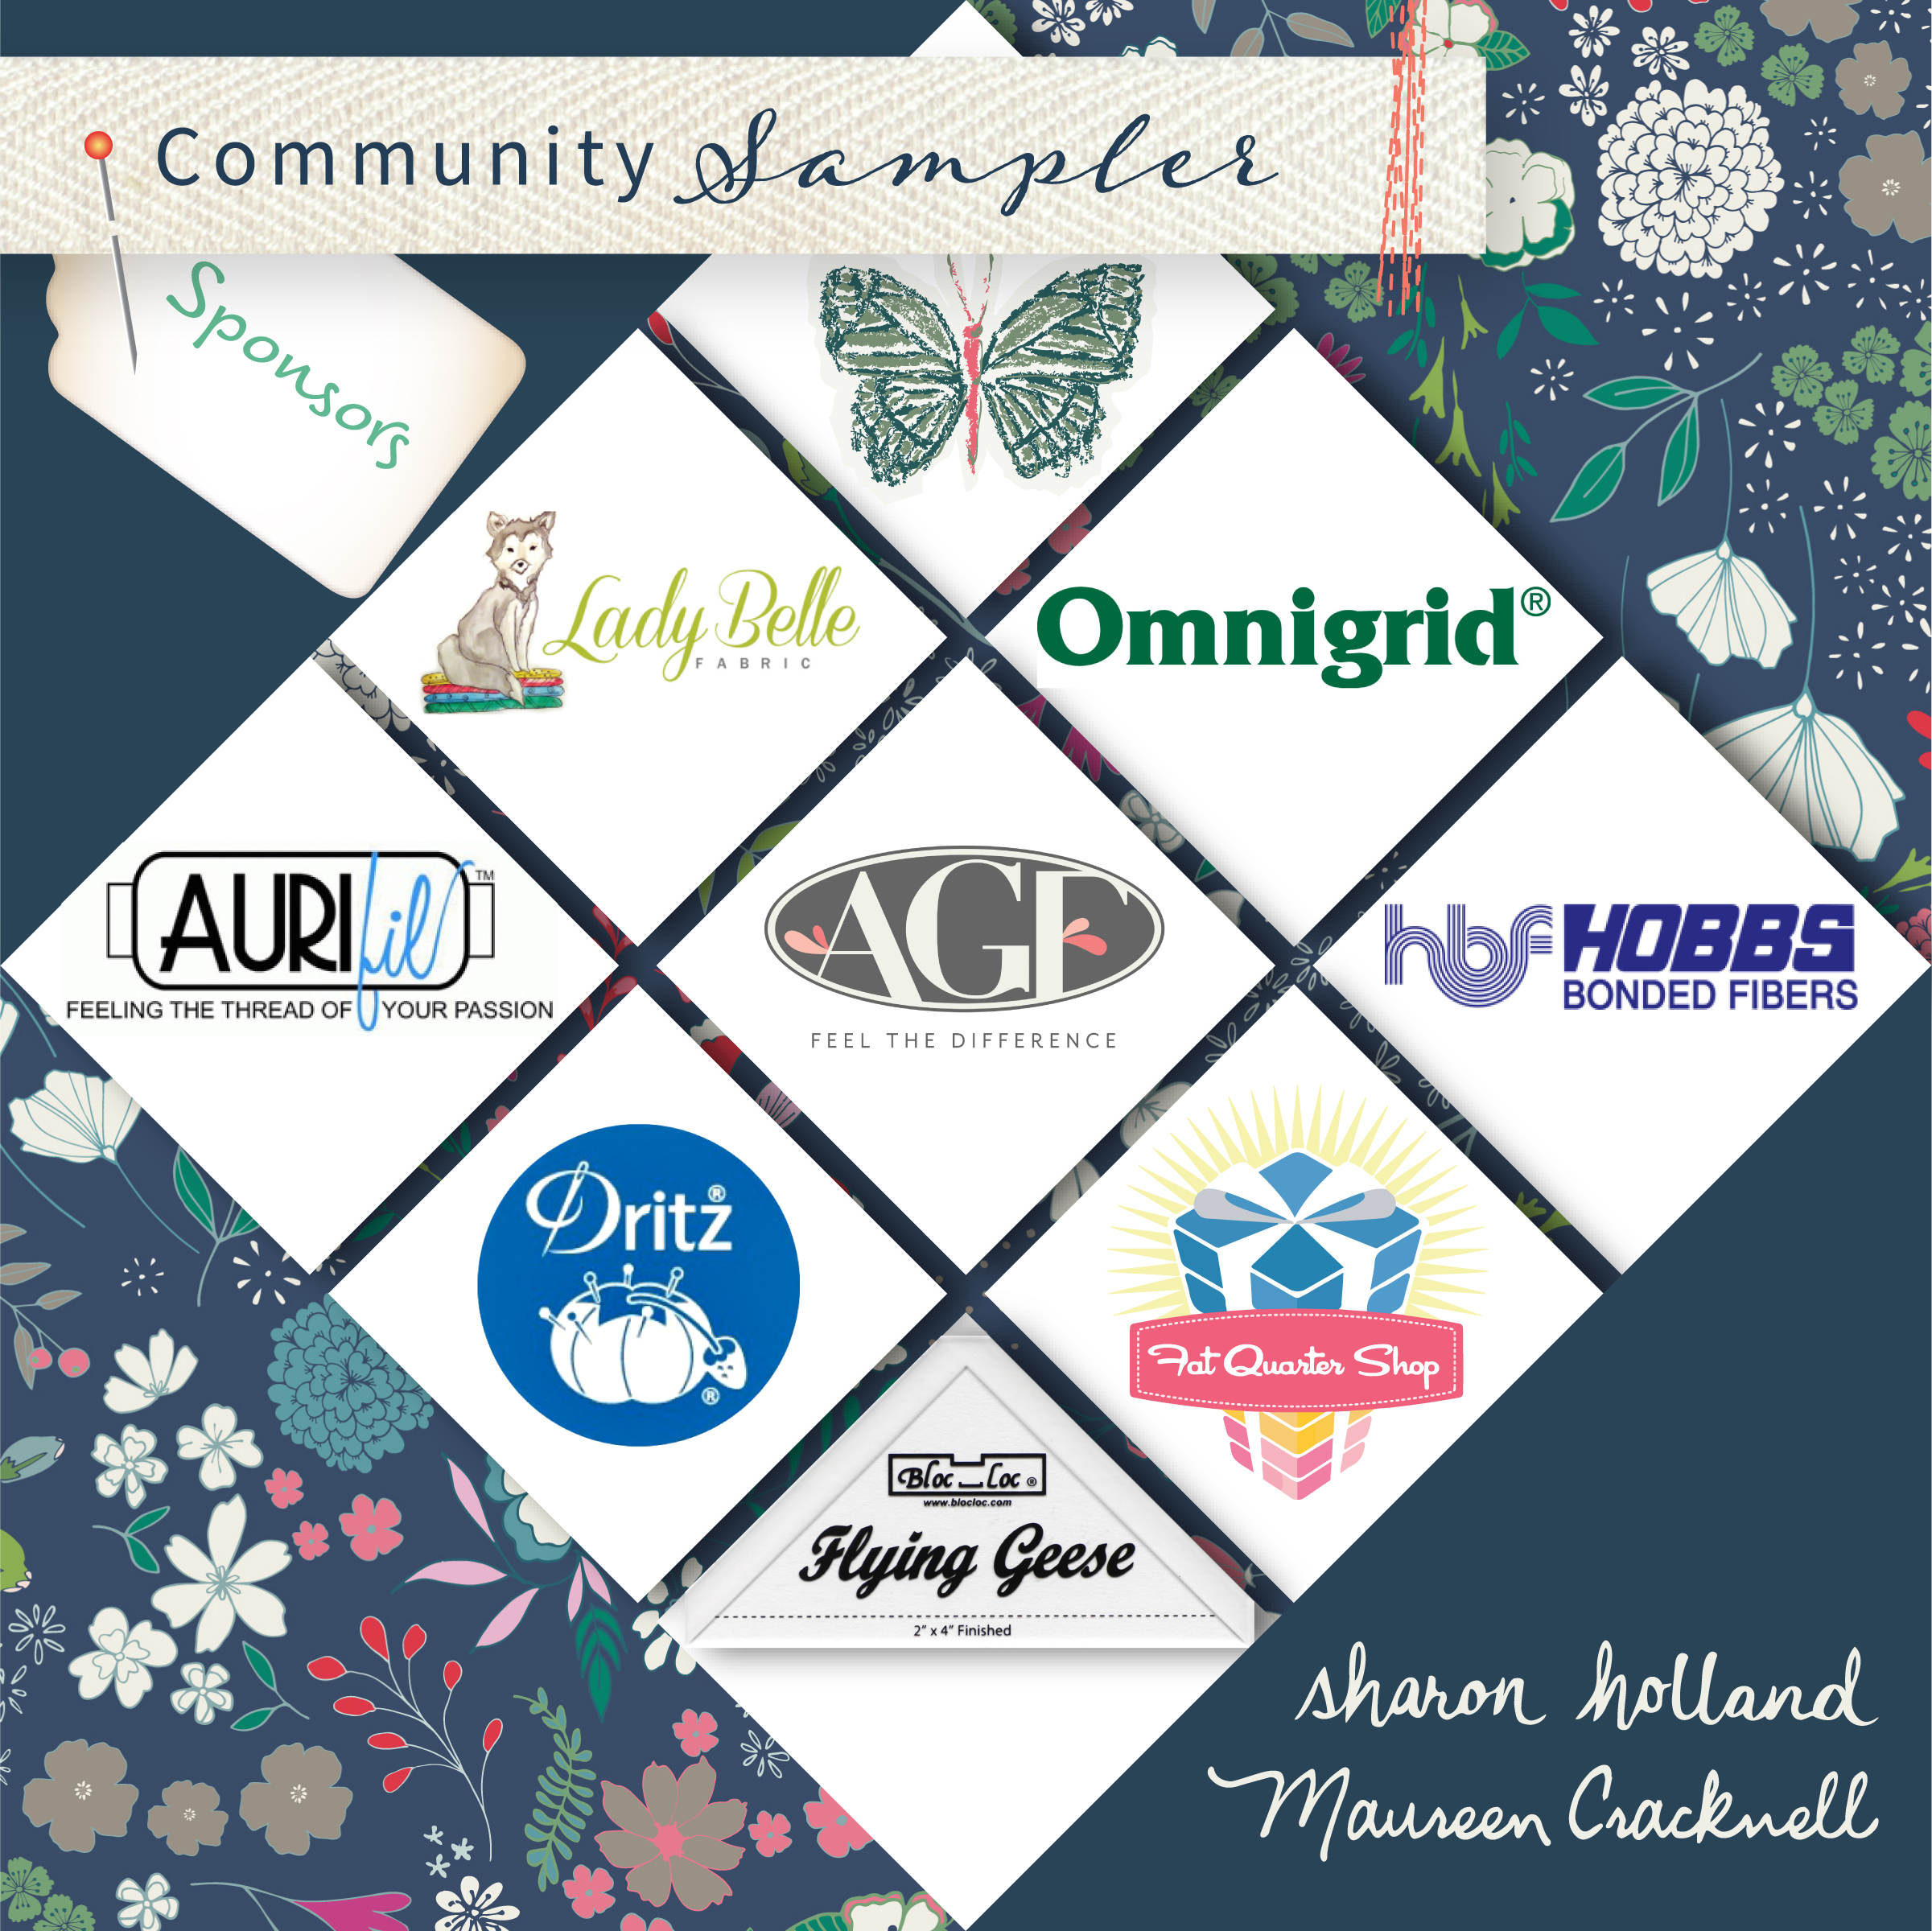
COMMUNITY SAMPLER SPONSORS

My co-host Maureen Cracknell and I are continually amazed by the joy and excitement each of you bring to our virtual community. Thank you for making this sew along so special. Please visit Maureen's blog and see the progress she's making on her sampler quilt, using her beautiful AGF fabrics Love Story collection. Be sure to use the #CommunitySampler hashtag when posting your blocks to Instagram and tag both my @sharonhollanddesigns and @maureencracknell so we don't miss any of your beautiful work!
Don't forget that this Friday's a Giveaway Friday on the Community Sampler sew along. Maureen and I will take turns hosting a giveaway each week where one of our generous sponsors will be featured and offering amazing prizes both here on our blogs and also on Instagram. I will be hosting the giveaway this Friday and you'll be instructed how to enter at that time.
Happy sewing!