
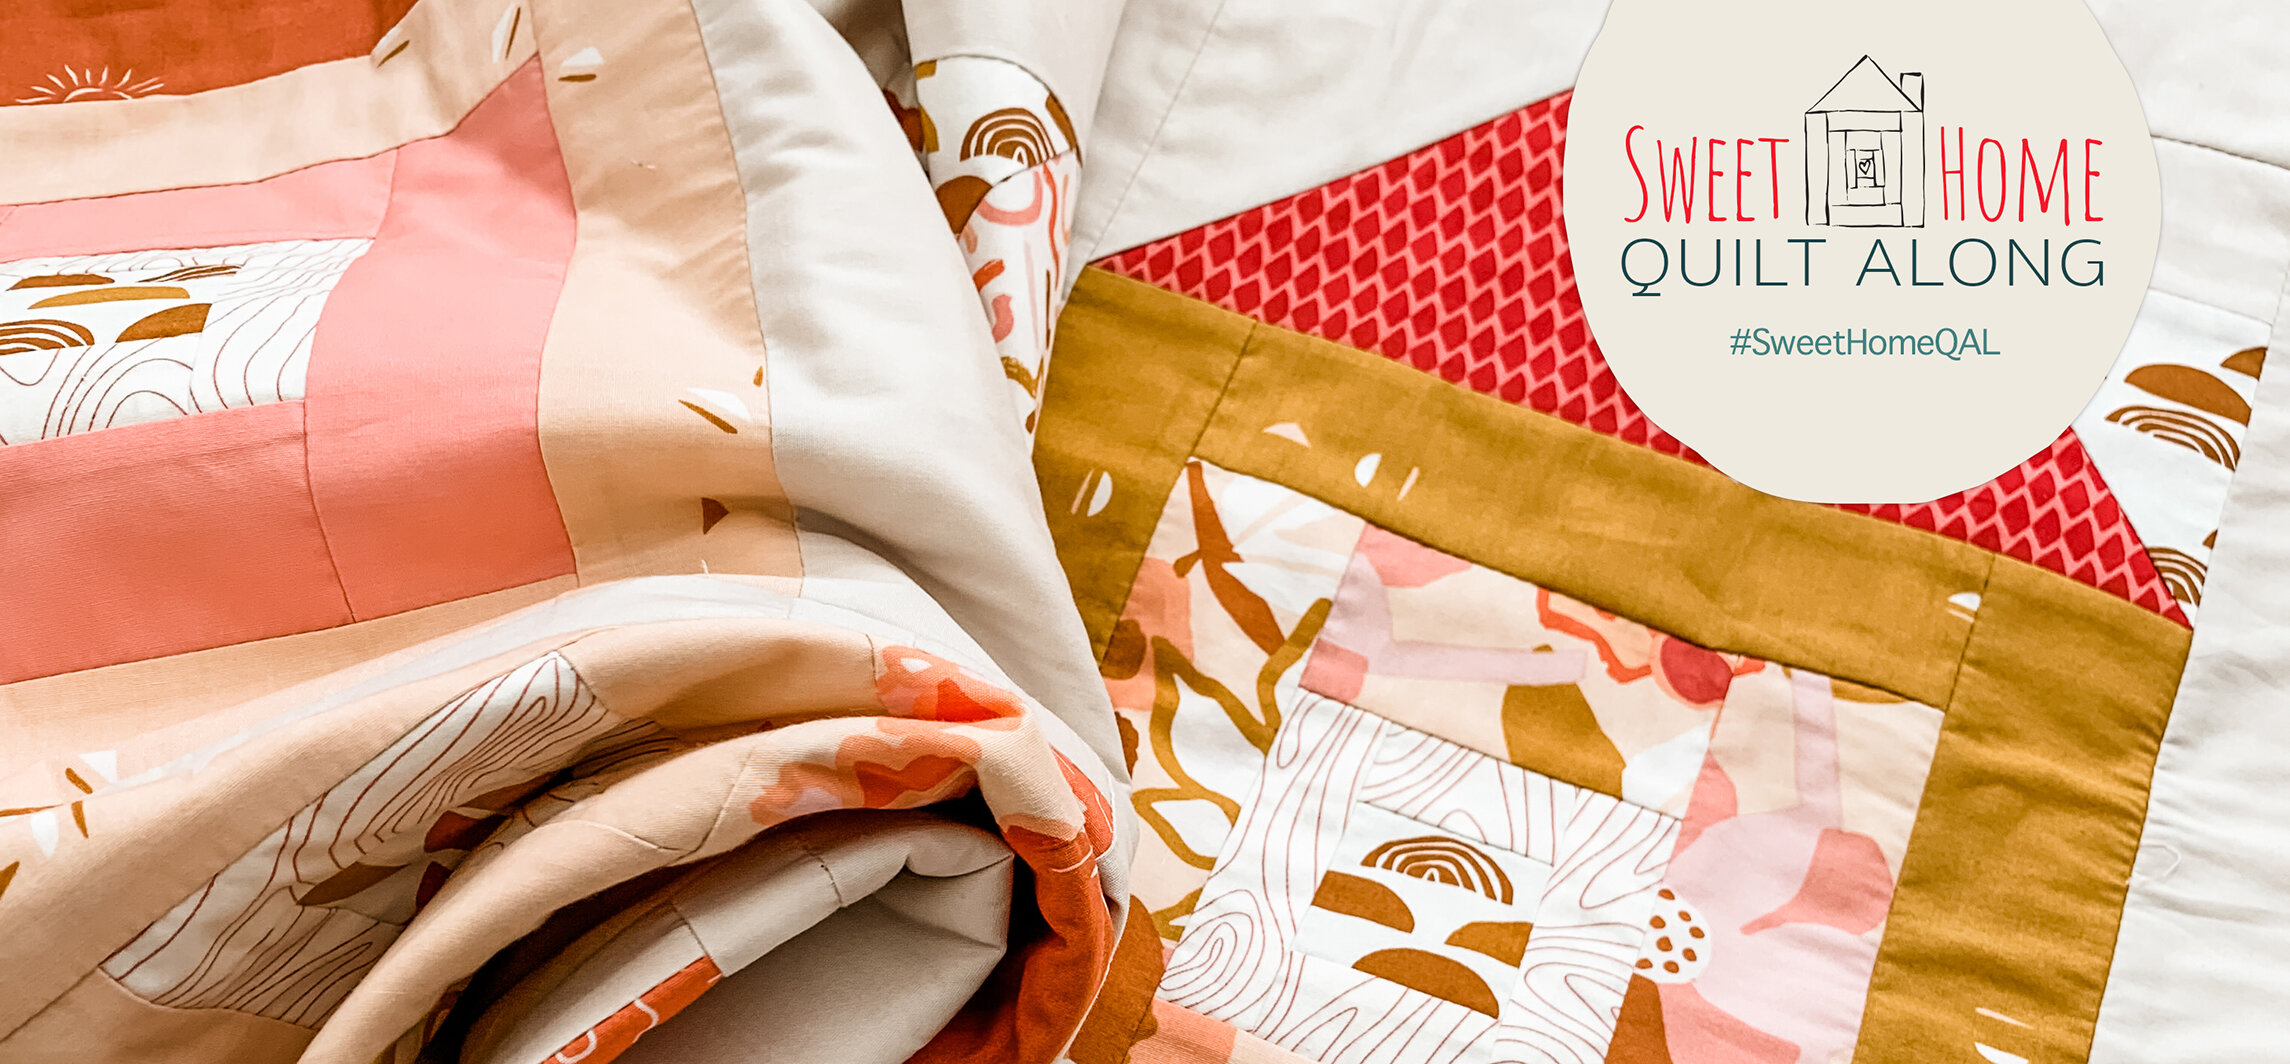
Sweet Home Quilt Along - Week 5
Welcome to the fifth week of the Sweet Home Quilt along hosted by (me) Sharon Holland, Maureen Cracknell, and Jennifer Jones. It’s been fun to connect with the Sweet Home quilt makers on our Instagram community and here on our blogs. The quilts being made are so adorable—see what I mean when you search the #SweetHomeQAL hashtag on Instagram.
If you’re just joining us you’ll probably want to pop over to the Sweet Home Quilt Along - Week 1 post to get caught up. You can purchase the Sweet Home quilt pattern from my SHOP here.
The quilt along will run six weeks total and we’ll cover a different aspect of piecing or finishing for that week. Some of you are working ahead and that’s wonderful—it’ll give you more time for the quilting and finishing portion. This quilt along is very relaxed. If you feel like completing the top in a week—go for it! But, if you’re a beginner and want more instruction along the way—we have that too in the form of LIVE and recorded Instagram tutorials over on my IGTV channel on Instagram. I’ve recorded step by step tutorials for you to access on my @sharonhollanddesigns IGTV channel on Instagram and so far the Sweet Home Quilt series covers fabric selection, Log Cabin block, and Bungalow block construction.

Assembly and Finishing
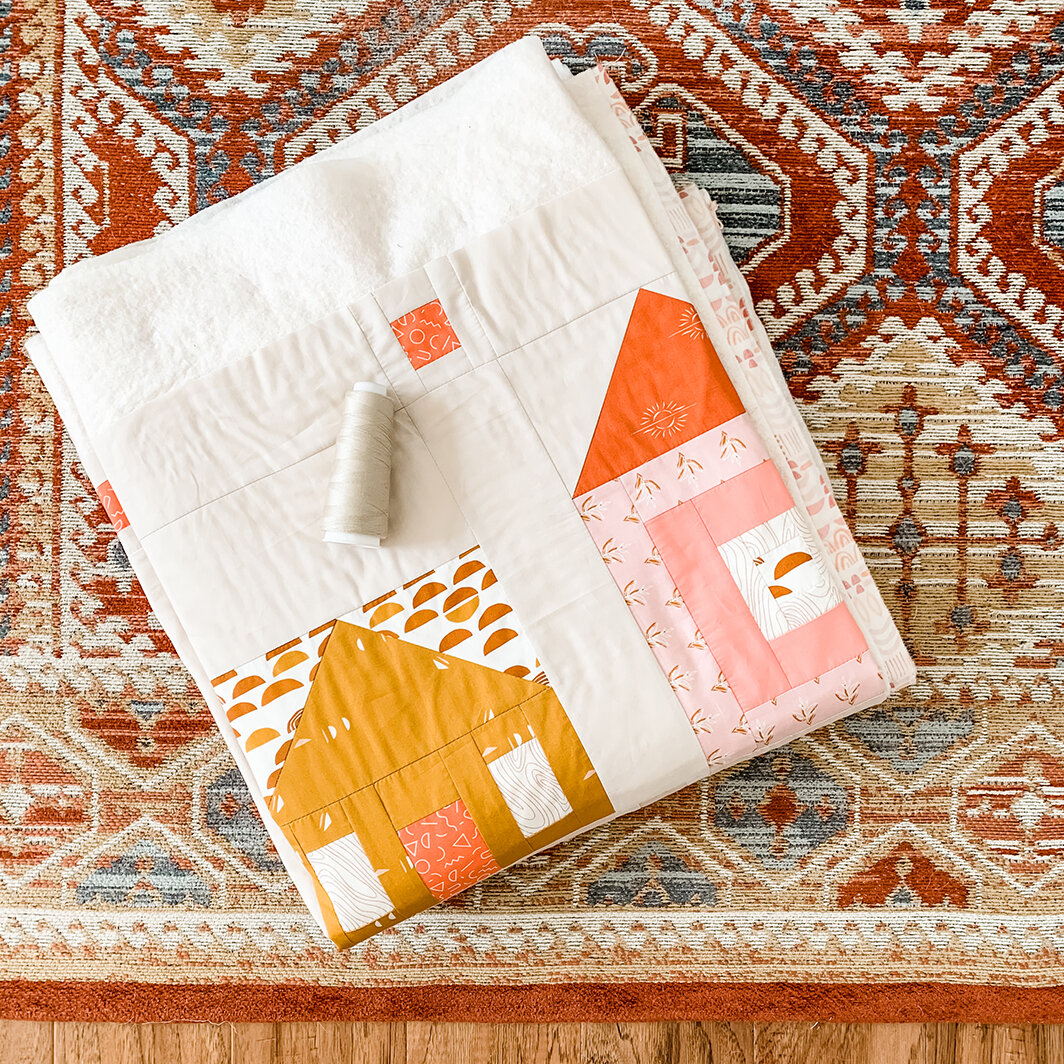
We’ve got a lot to cover this week as we assembly our quilt sandwich, quilt, and bind our Sweet Home quilts. Luckily, I’ve covered different aspects of how to quilt a quilt on my other Sew Alongs and Tutorials so as you continue reading, be watching for the highlighted links to take you to those previous posts and tutorials.
Basting
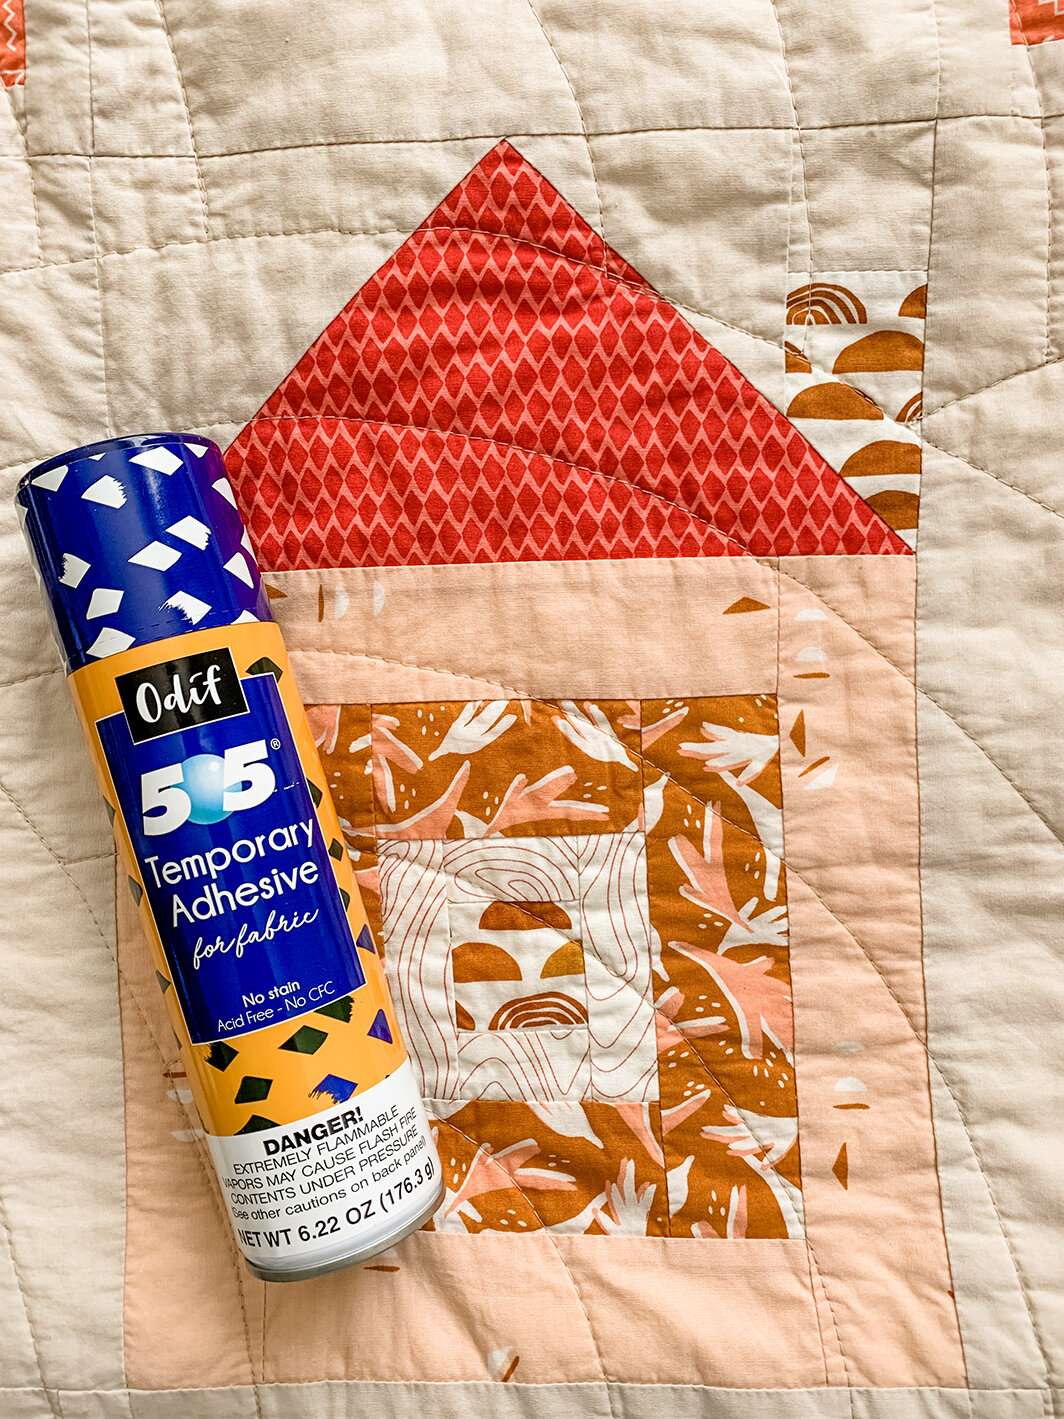
If you’re planning to do your own quilting for this quilt I recommend spray basting. I’ve tried a few different brand and hands down I love Odif 505 brand the best. See the step-by-step instructions for how I sandwich my quilt layers and apply the spray baste in the Basting tutorial as part of my Sewcial Bee Sampler Quilt Finishing post.
For all the quilts shown in this post I used Hobbs Tuscany Silk batting inside and love working with it if I’m the one quilting but since I’ve sent my quilts to Lady Belle Fabric with Tuscany Silk batting to use she now carries it as a batting option in her shop because she also loves working with it too!
Quilting
Even if you’re not planning to do your own quilting you’ll still need some inspiration for just how to quilt your quilt. A good long armer will help you decide what may look best.
I personally love an overall design that may not have anything to do with the quilt design at all but that it adds another layer of goodness to the entire finished piece.

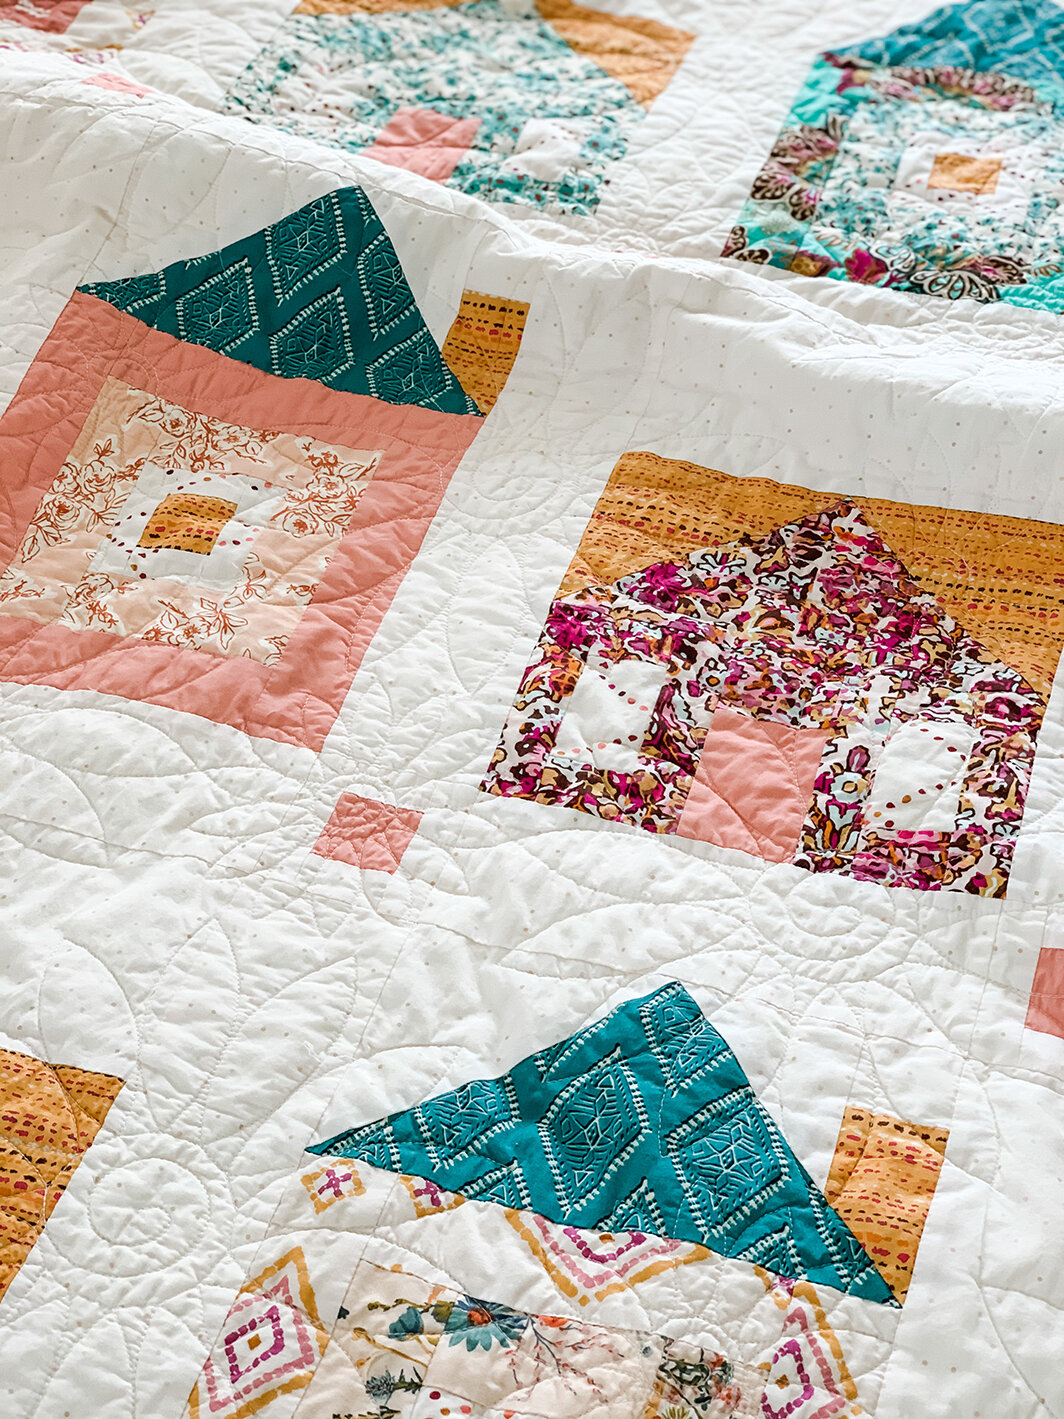
It’s certainly not my best work ever but I have my quilt finished and did the quilting myself this time around. I went with one of my favorite quilt designs, the Fan or Baptist Fan design. I’ve a tutorial for how to mark out a quilt and stitch in a continuous line. Read more HERE.
For more information on how I quilt using a mid arm machine and some easy looping stitches read more HERE.

The two Sweet Home Quilts I made in the spring I sent off to Brooke Becker of Lady Belle Fabric to be long arm quilted. The blue quilt above has an overall geometric pattern called Abacus.

This quilt was made for my grandson who love stripes so the diagonal lines of the quilting were just perfect to highlight all the lines already happening in the quilt. I also bound the quilt with light blue Chenille-it Blooming Bias.
For my granddaughter who loves pink and flowers I had Brooke use the Daisy Chain design for the quilting.
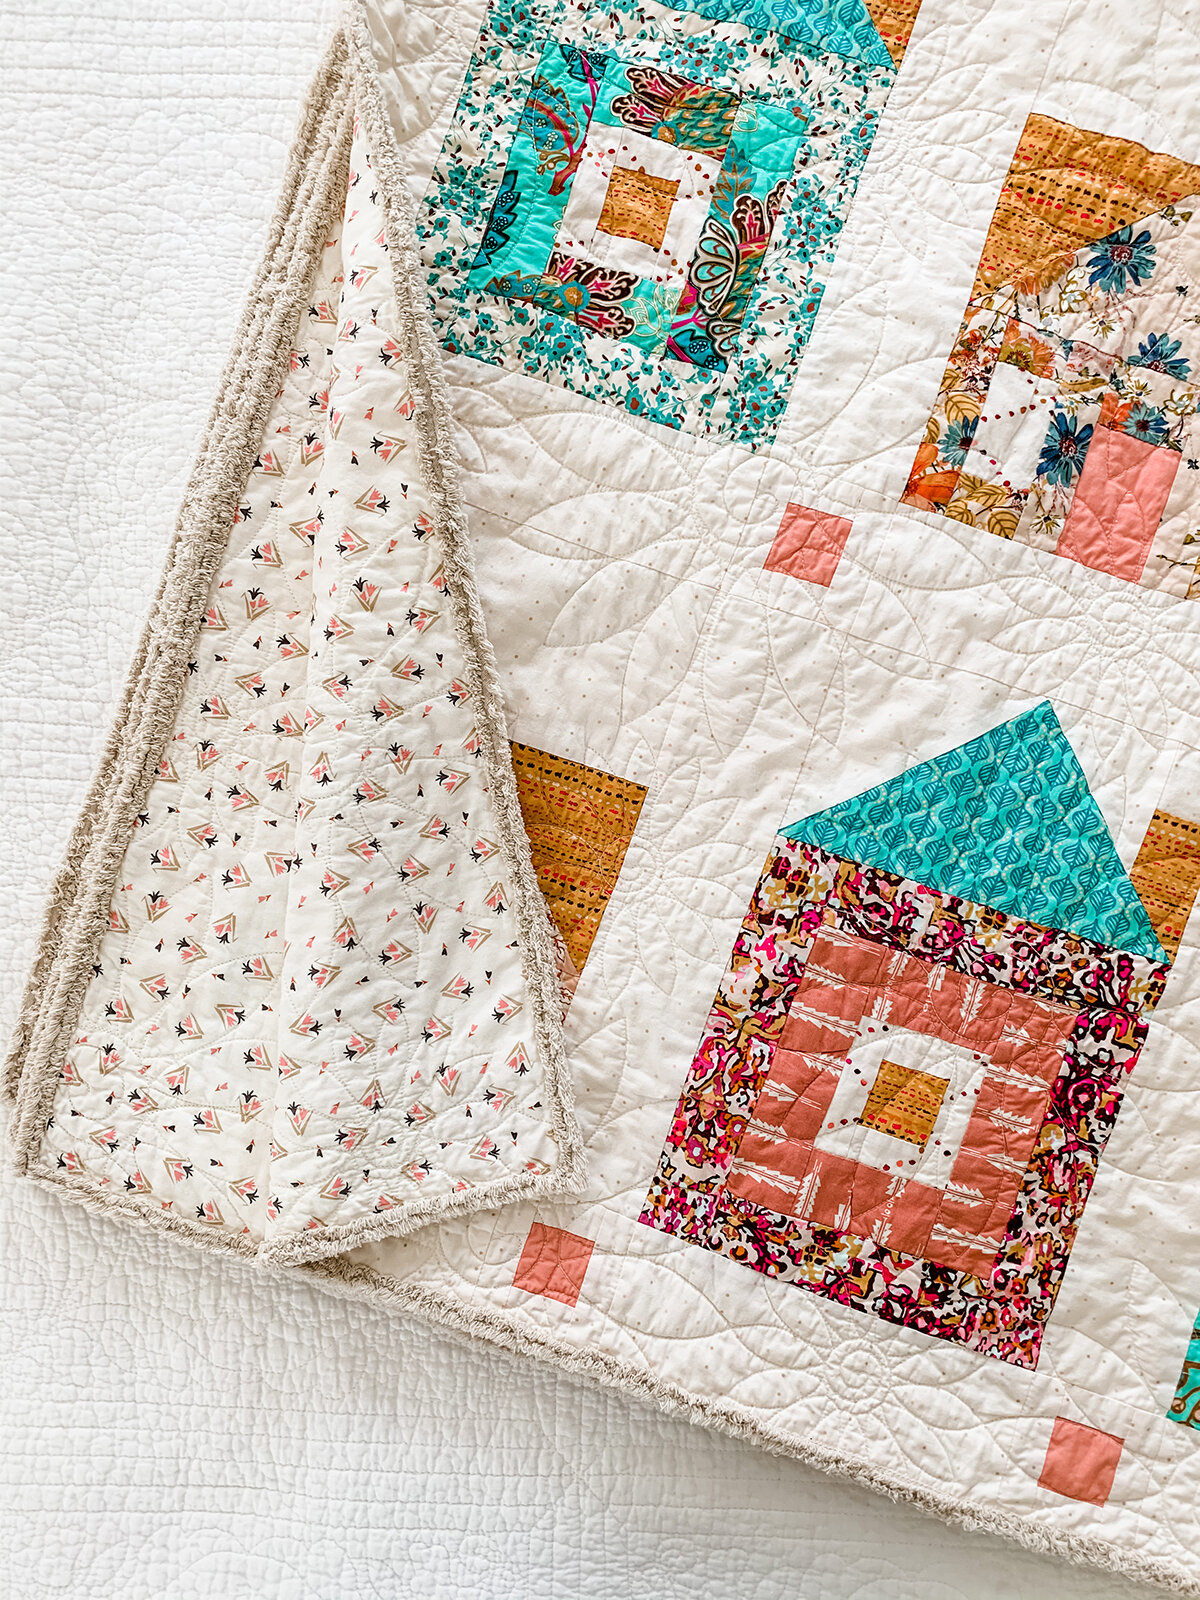
Chenille-it Blooming Bias was also used to edge this pretty Sweet Home quilt and I used the natural color for this one. It’s really the perfect finish for this fun quilt.
Binding
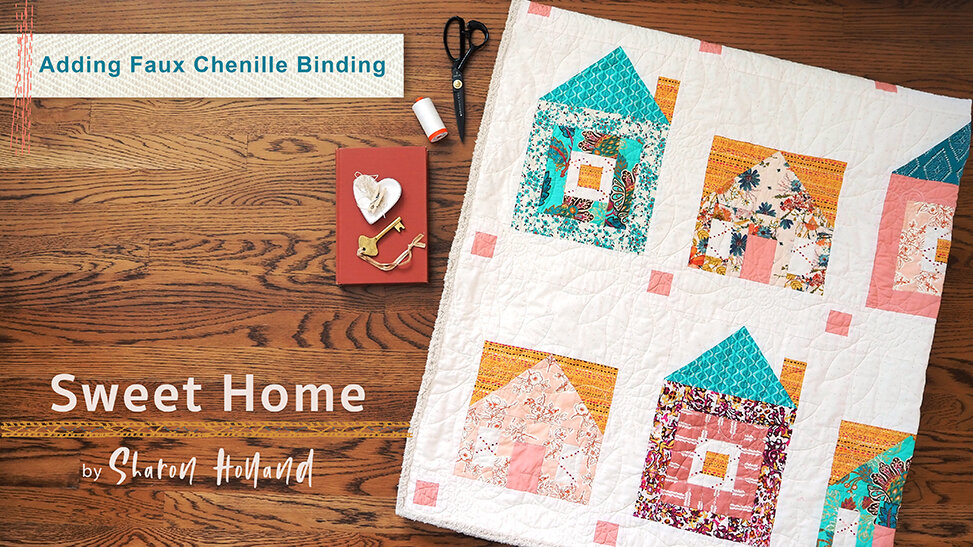
The Sweet Home quilt pattern includes information for traditional strip binding as well as how to attach Chenille-it Blooming Bias tape for the binding. I’ve tutorials for both!

Regular Double-fold binding is the most common type of binding and done by cutting width of fabric strips. The Sweet Home quilt pattern includes my method for attaching traditional binding and you’ll also find step-by-step instructions for traditional and bias binding HERE and even more instructions and step-out photos HERE.
Attaching Chenille-it Blooming Bias tape to your quilt for binding is a little different and possibly easier than traditional binding. Faux chenille binding does not fully encase the raw edge of the quilt like traditional binding does so the first thing you’ll want to do it to zig zag or serger the edges of your quilt.
I’ve made a YouTube video that shows you exactly how to apply this fun product to your Sweet Home Quilt.
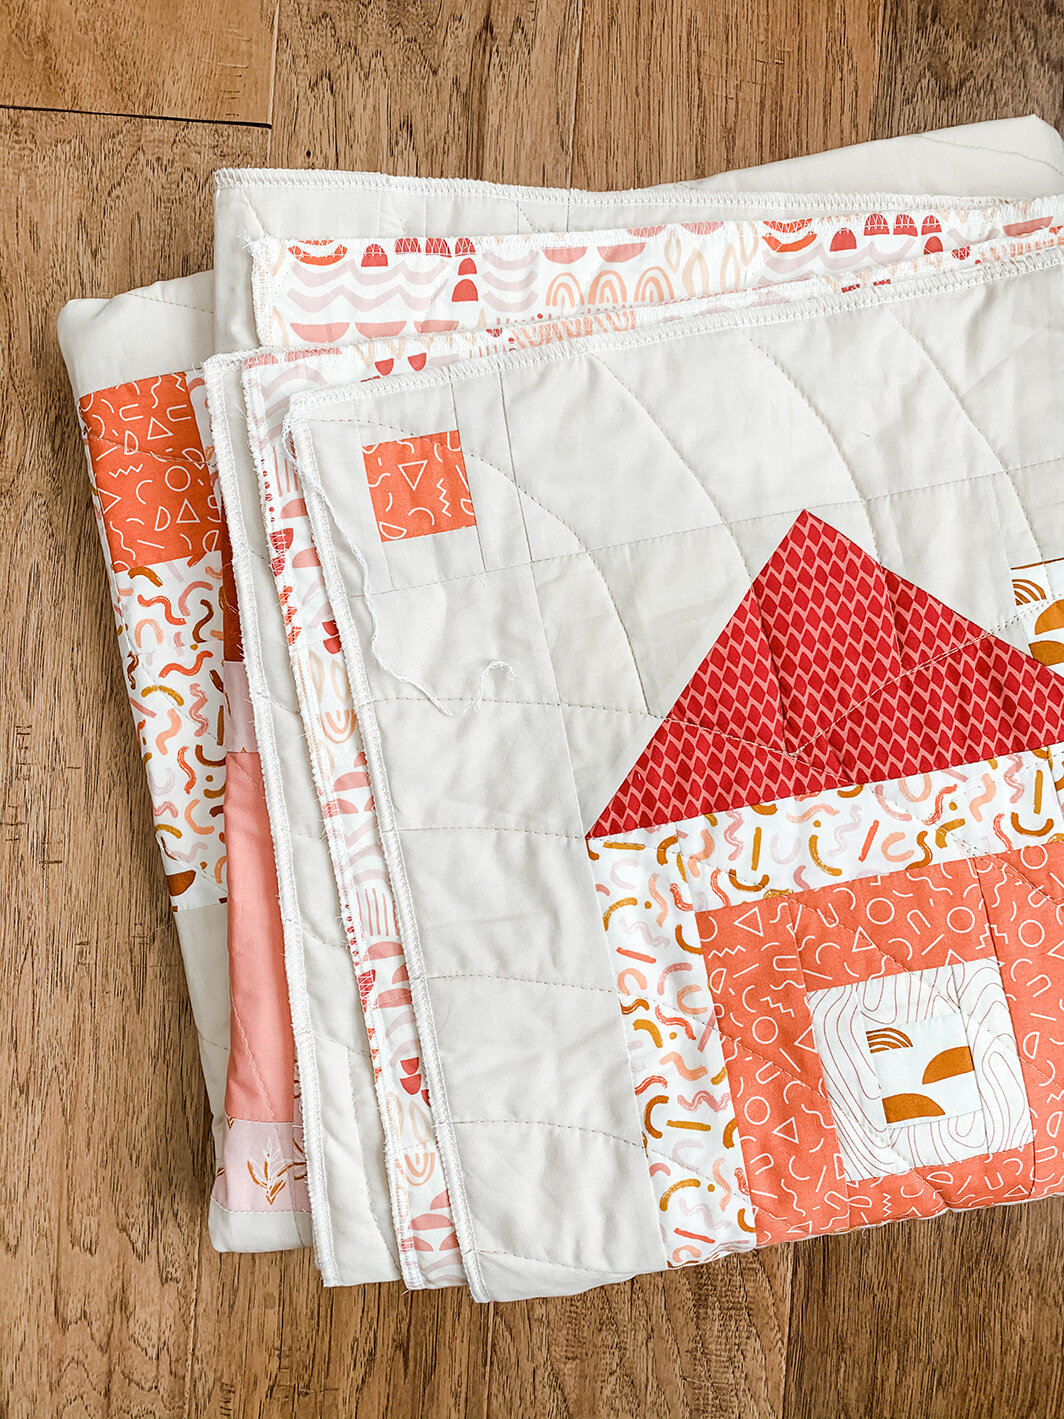
For my quilt along Sweet Home make I used the Cinnamon colored faux chenille for my binding. Binding is applied in double layers to both the front and the back of the quilt. Below is how the Blooming Bias looks stitched to the edges and before 'blooming' in the laundry.

To “bloom” the bias tape you can run your quilt through a gentle cycle wash in the laundry. Blooming can be done by hand but is more successful if the quilt is laundered.

Toss the quilt into the dryer on a low, gentle tumble. I have dryer balls I use in the dryer that also help to fluff the quilt and dry it faster. I prefer to leave my quilt just a touch damp for reshaping and a light press but you may love a dryer-crinkled quilt so wash and dry like you would normally with your quilts.

Next week it’s all about the big reveals! I’ll show off my lovely Sweet Home quilt with it’s Art Gallery Fabrics Terra Kotta prints and my co-hosts will have their quilts to show off!! I’m excited to see your quilts.
I’m enjoying seeing your postings to Instagram and following along on your progress—you’re all are doing amazing and beautiful work on your Sweet Home quilts—there’s even some finished quilts showing up already!

Don’t forget that this Friday will be a new Friday Giveaway with fabulous prizes from our sponsors. Be following along on Instagram as all the giveaways will be held on that platform and winners will be randomly drawn the following Monday from the #SweetHomeQAL hashtag pool. The quilt along members that post their progress photos to public account on Instagram and use the hashtag #SweetHomeQAL will automatically be entered into every Sweet Home Quilt Along drawing! It’s that easy to enter, so enter often to up your chances!
And, while you’re on Instagram, take a look at the #SweetHomeQAL hashtag on Instagram and see what the other QAL Makers are using in their quilts—it’s an amazing resource not only to see fabrics but to make new friends!
I am an Amazon Associate site and earn from qualifying purchases on the products I’ve linked below. The helpful products selected are the same or similar to materials used to make the project(s) in this blog post or related items I think you may enjoy.