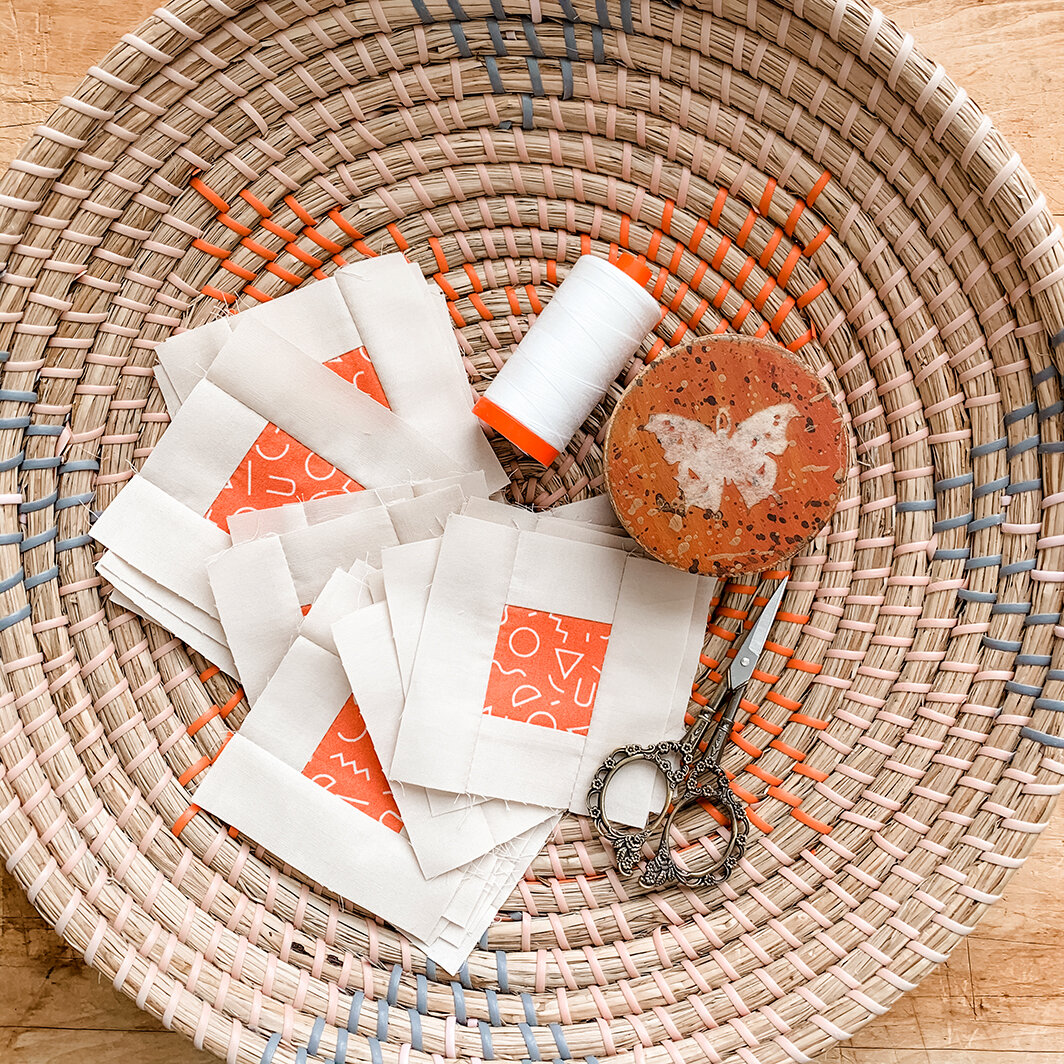
I’ve some real exciting news about a new substrate at Art Gallery Fabrics—FLANNEL! And it’s not just any flannel, it’s AGF flannel so you know it’s going to be the best on the market, made with the highest standards. Art Gallery Fabrics flannel is 100% cotton, 43’’ - 44’’-wide, and DOUBLE BRUSHED, meaning it’s super soft on both sides and ideal to get you warm in the colder months. Also OEKO-TEX certified, so you can rest assured that it’s created without compromising the planet.

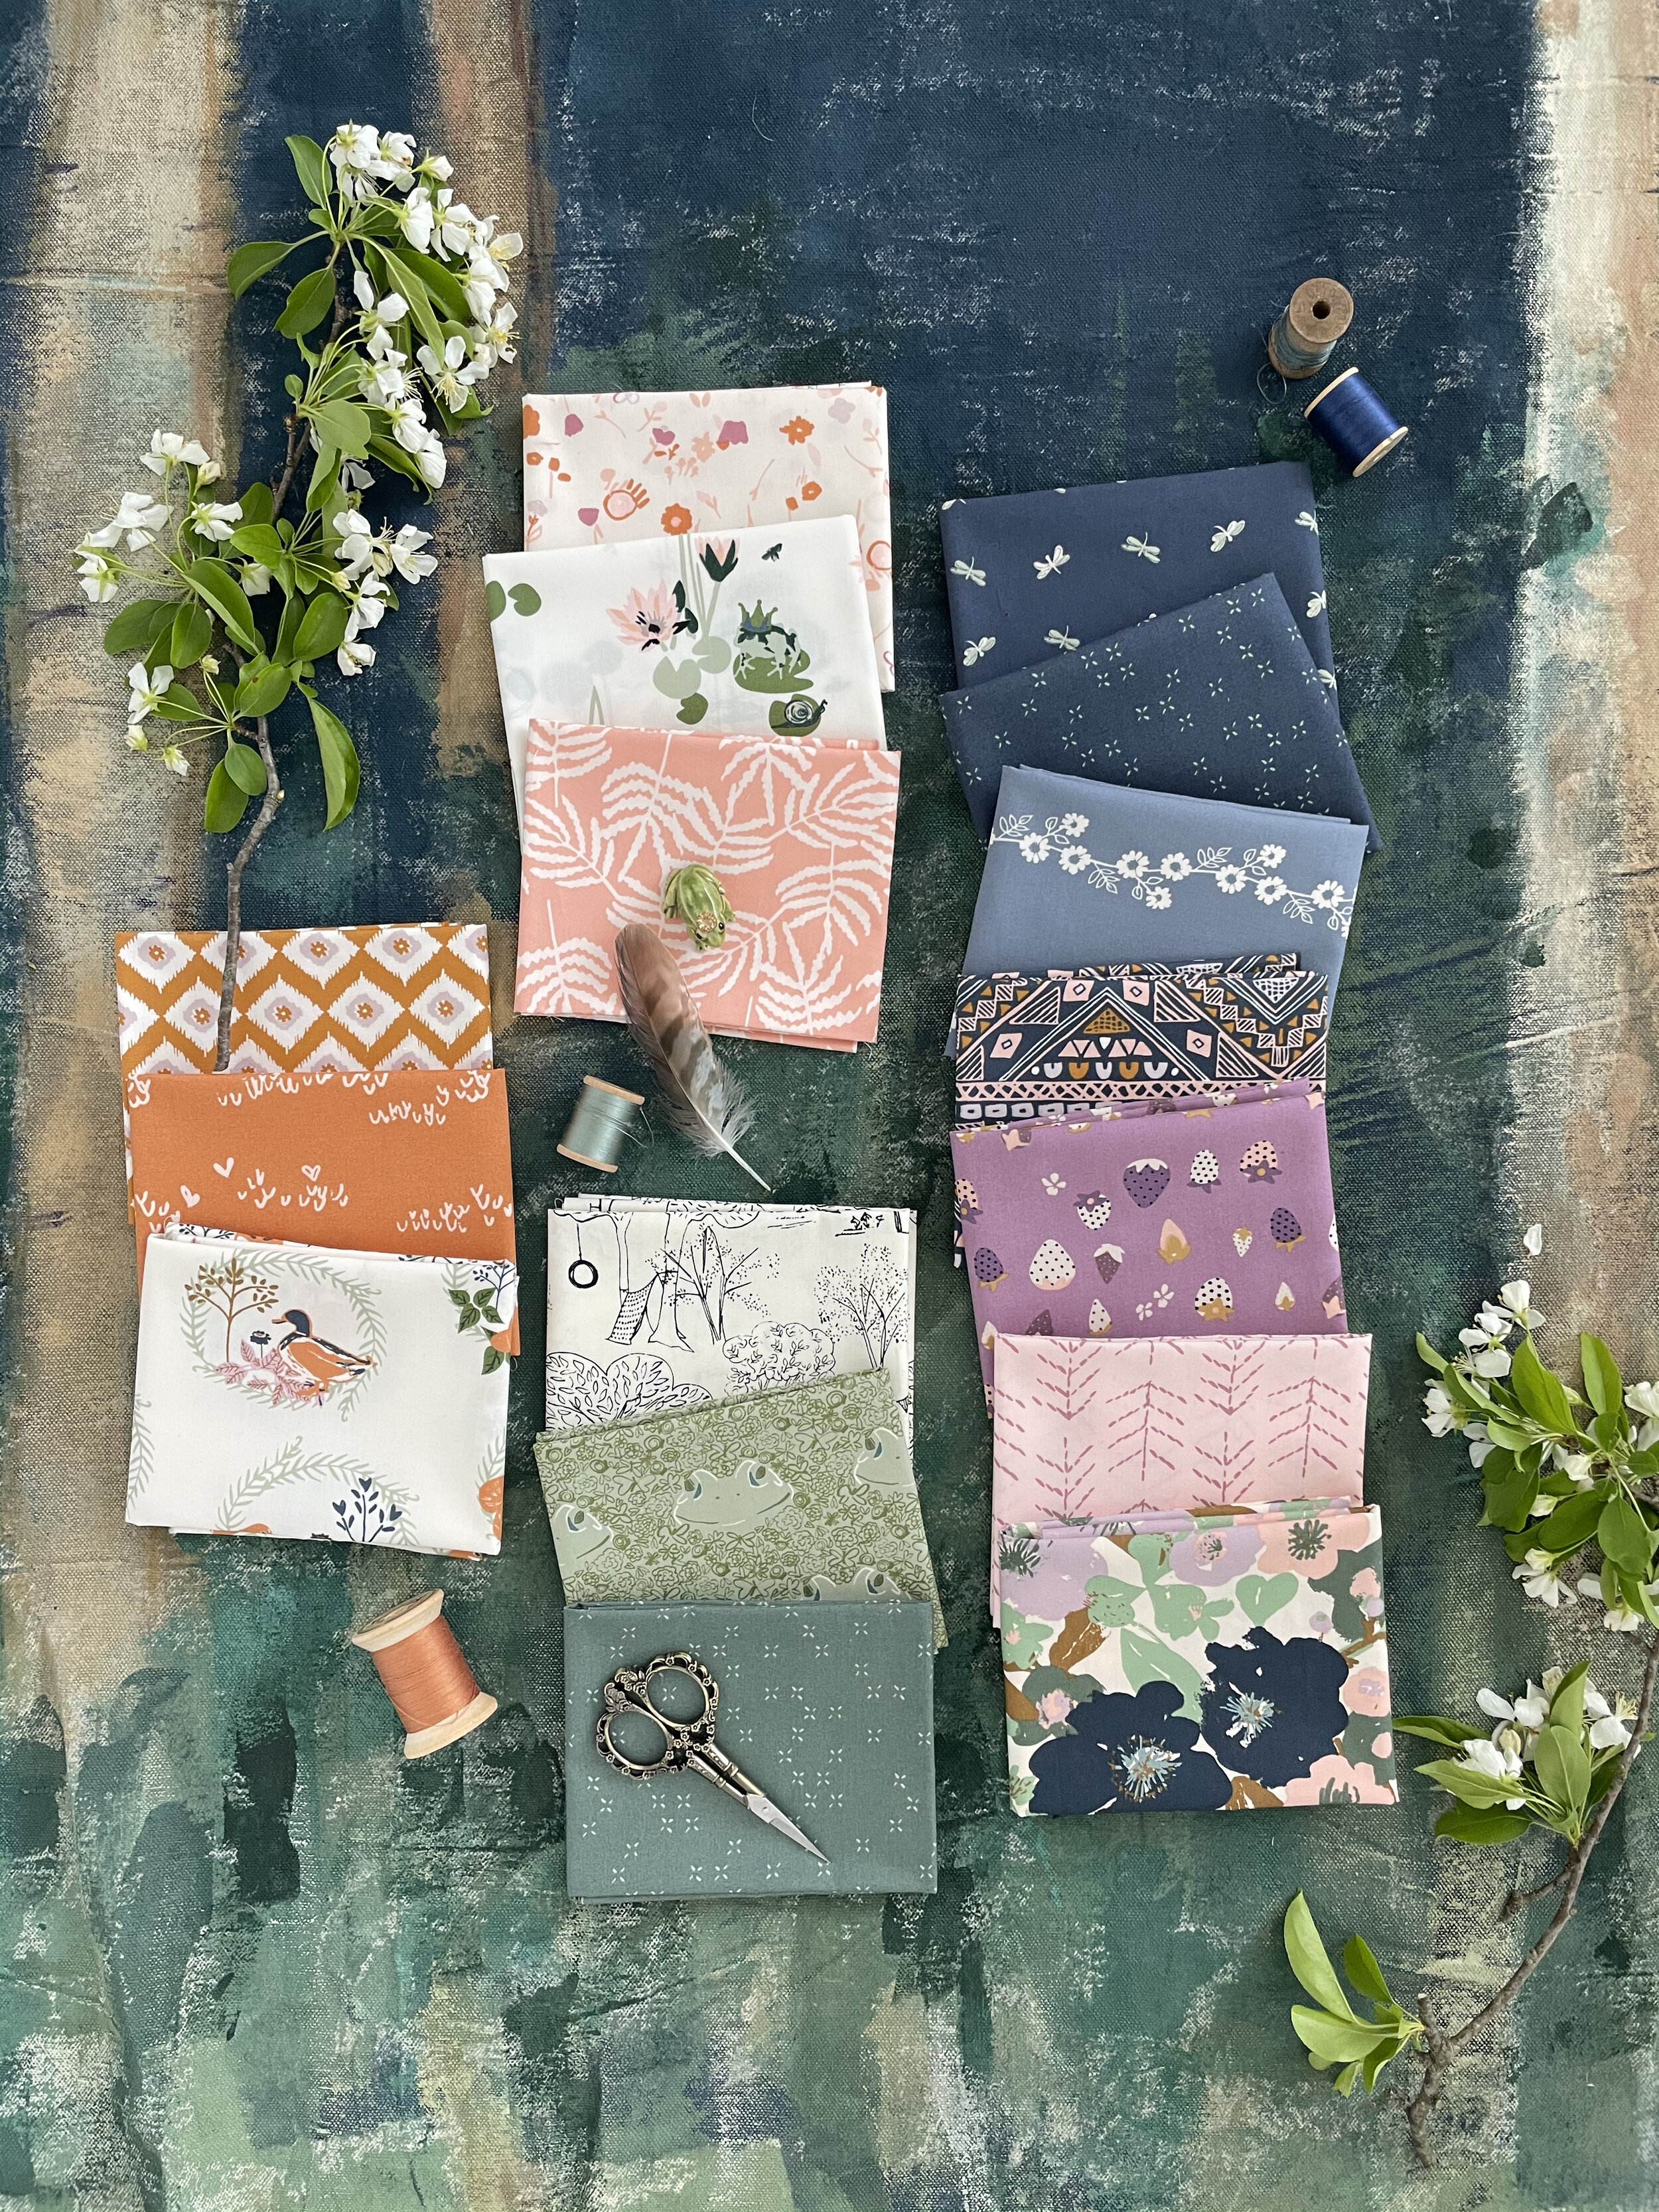
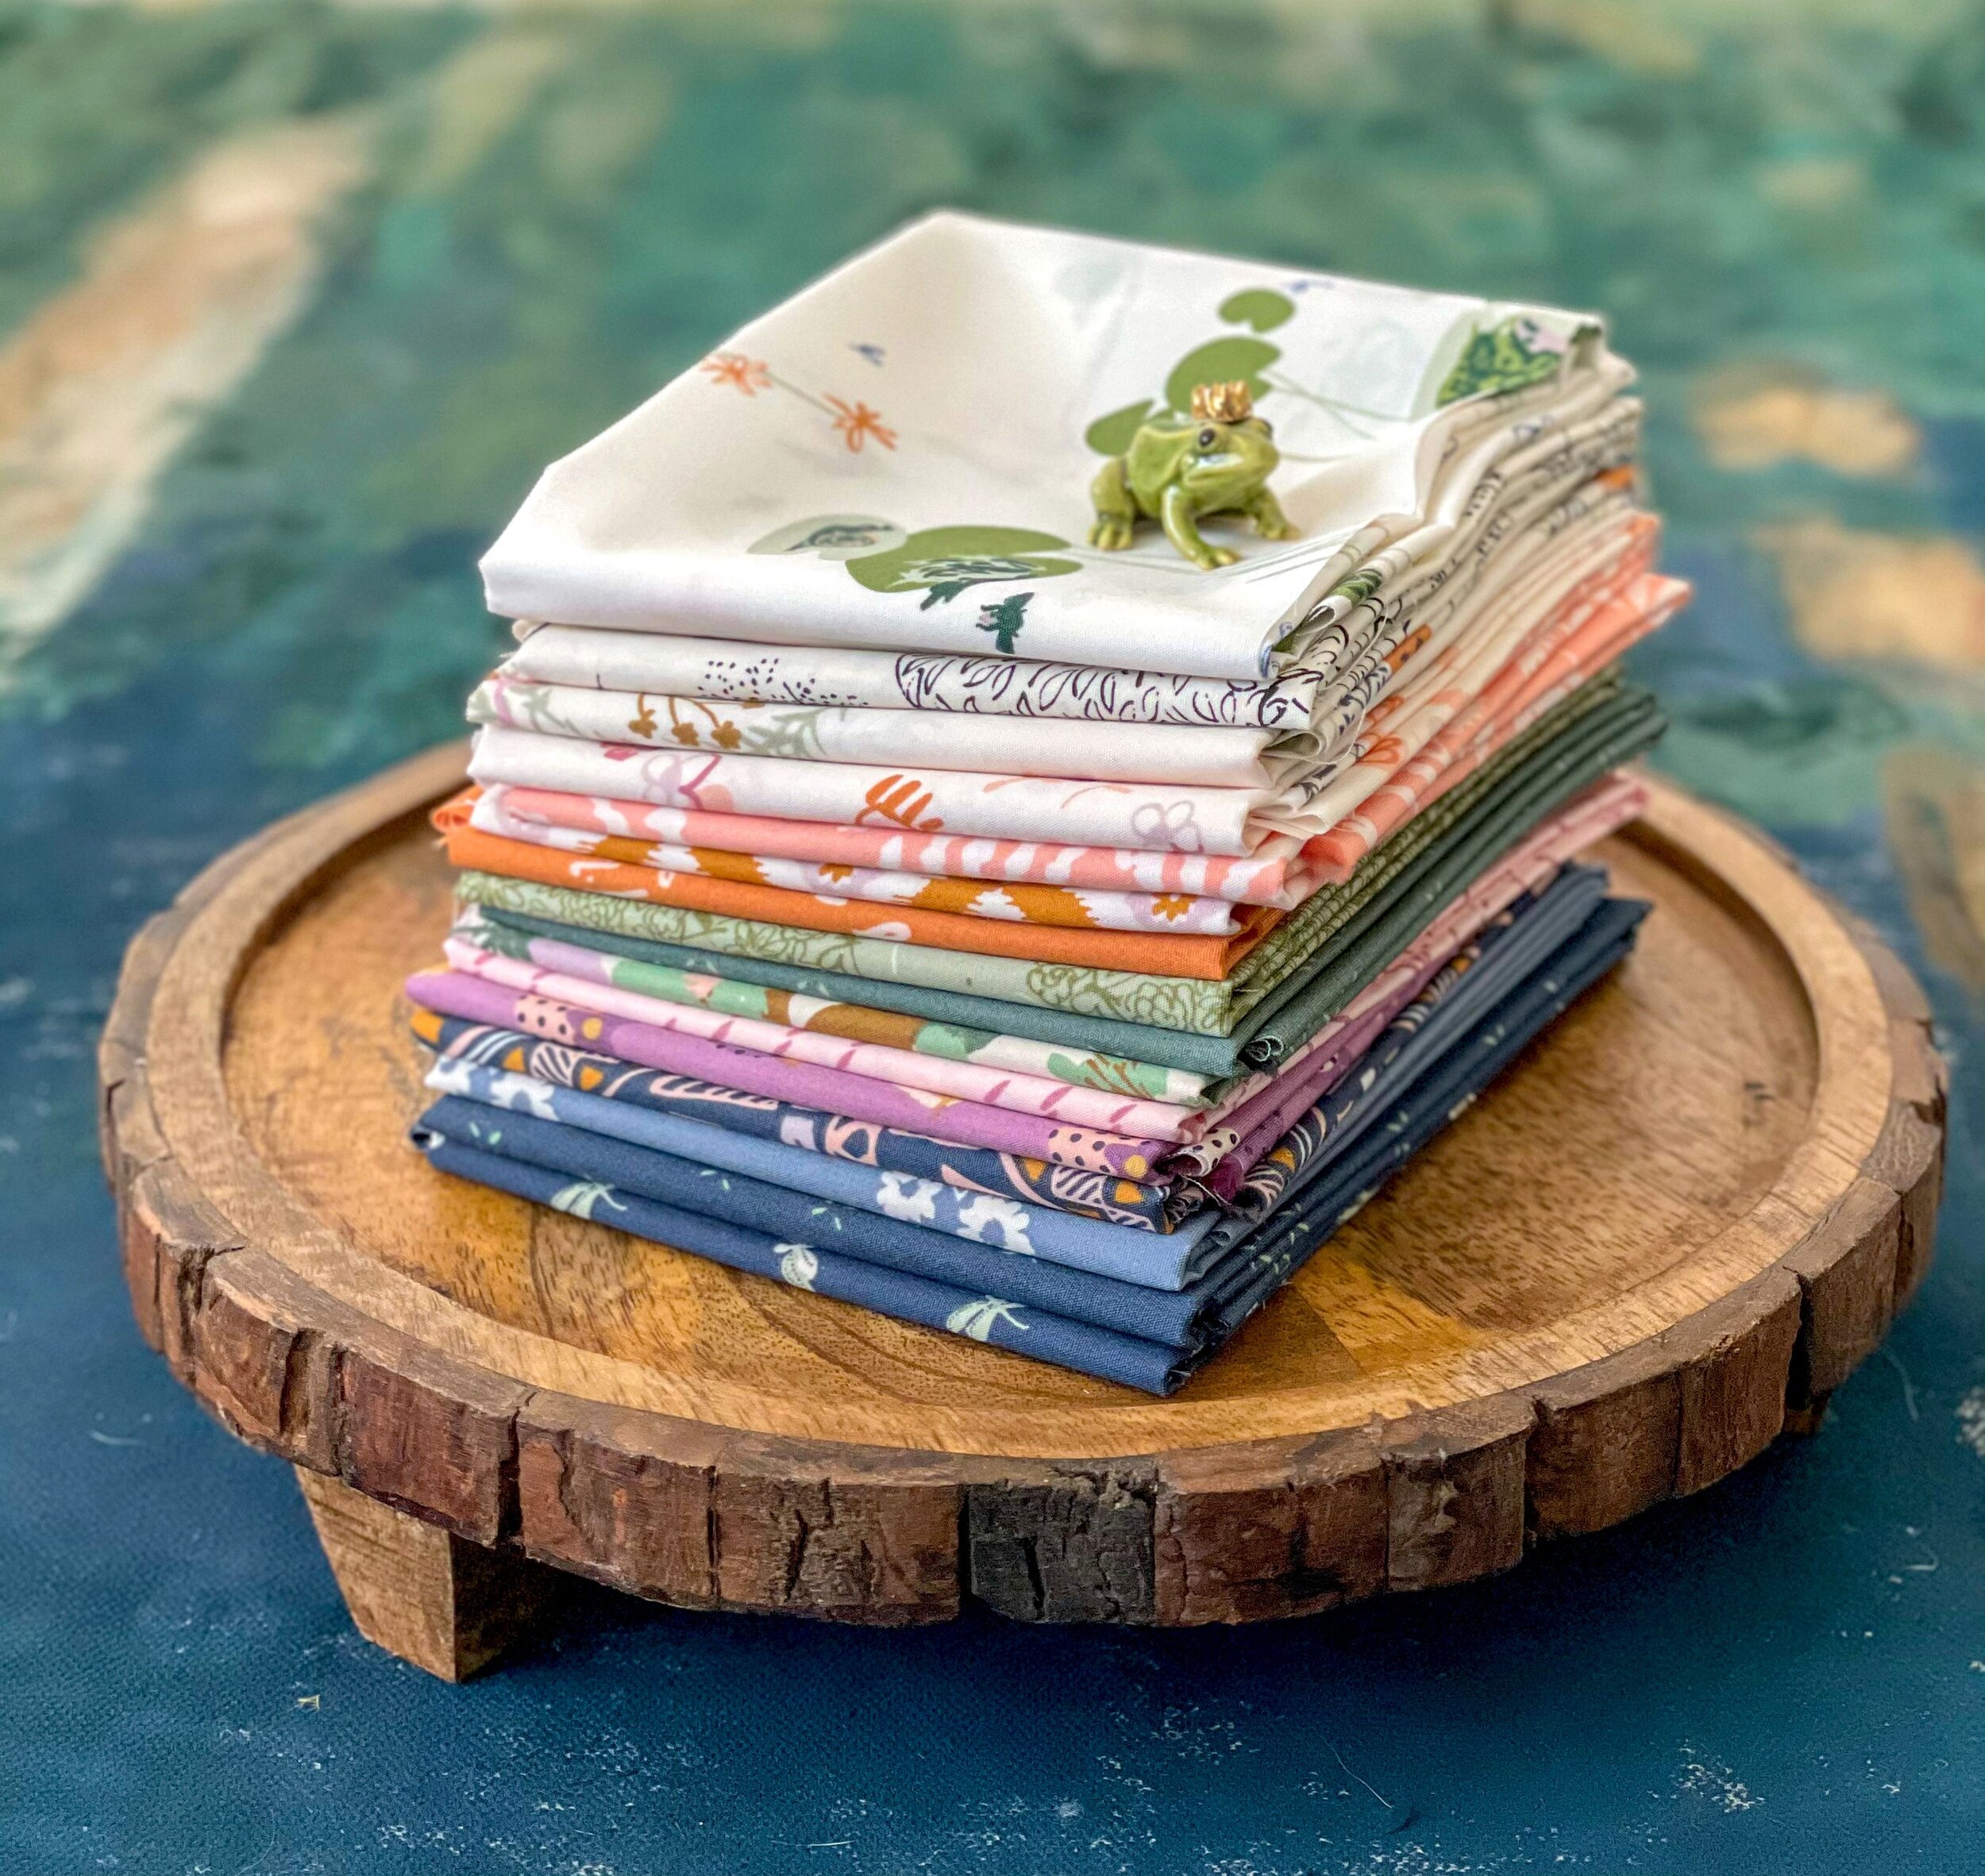
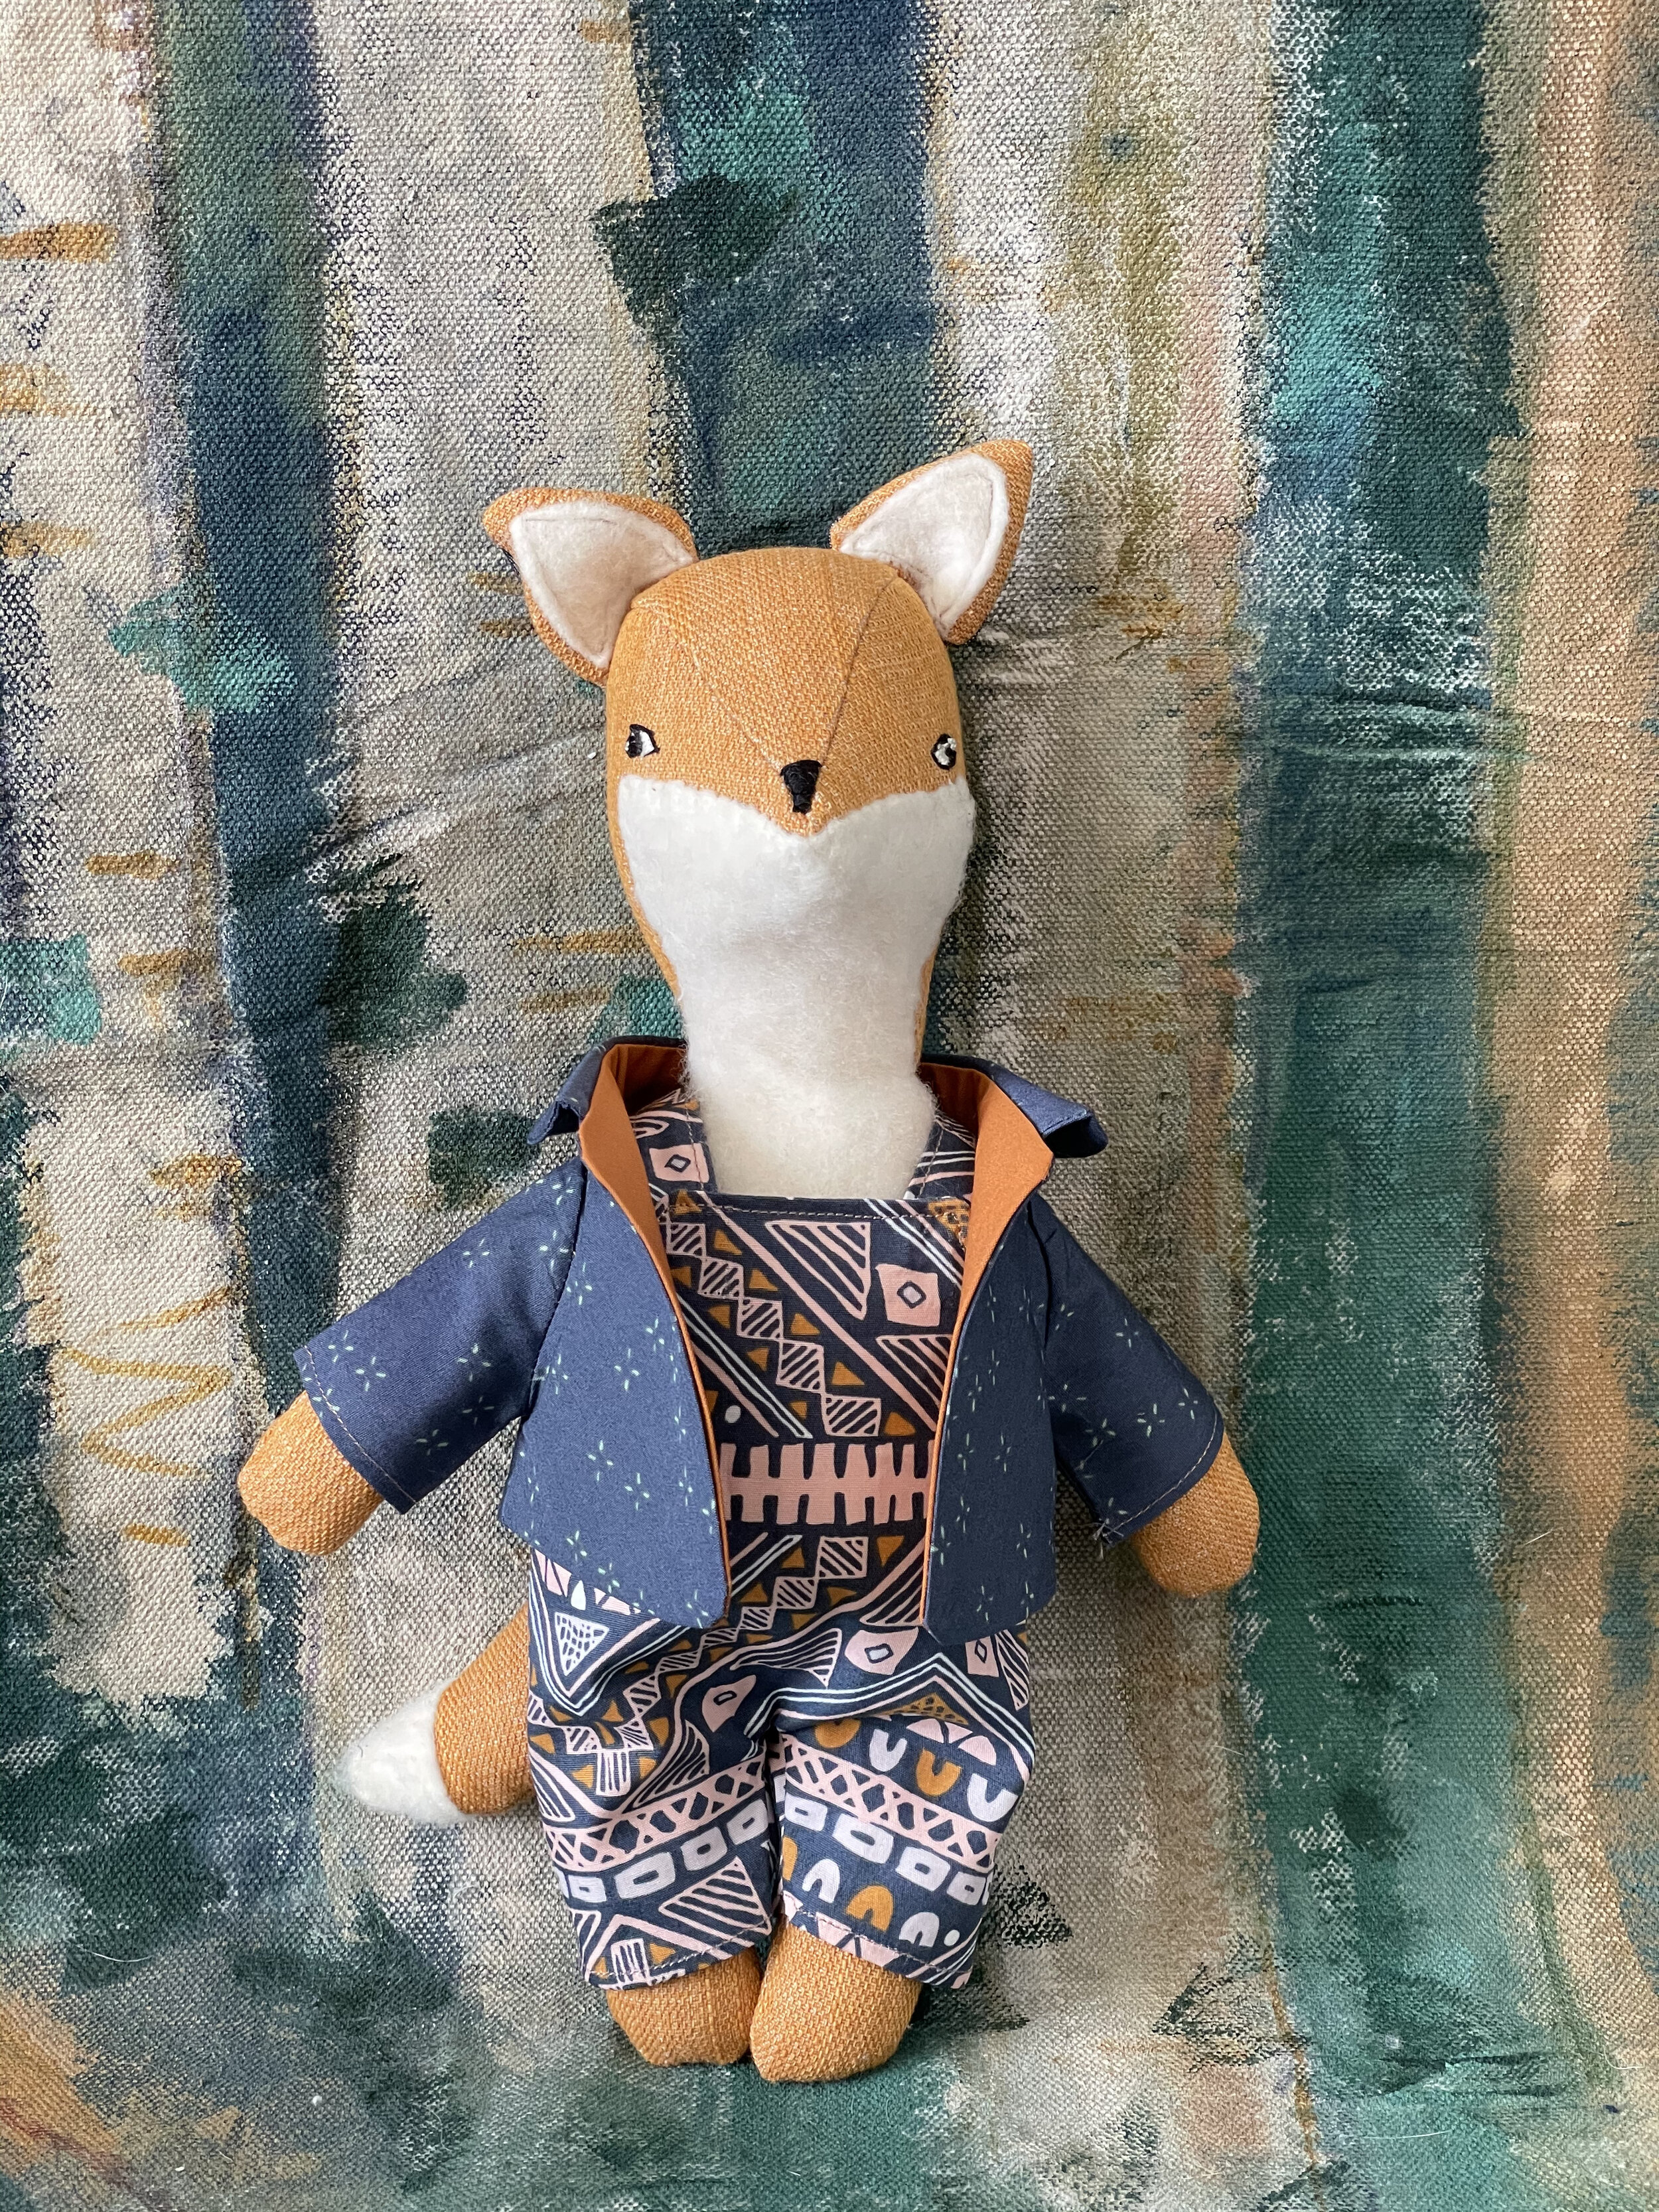
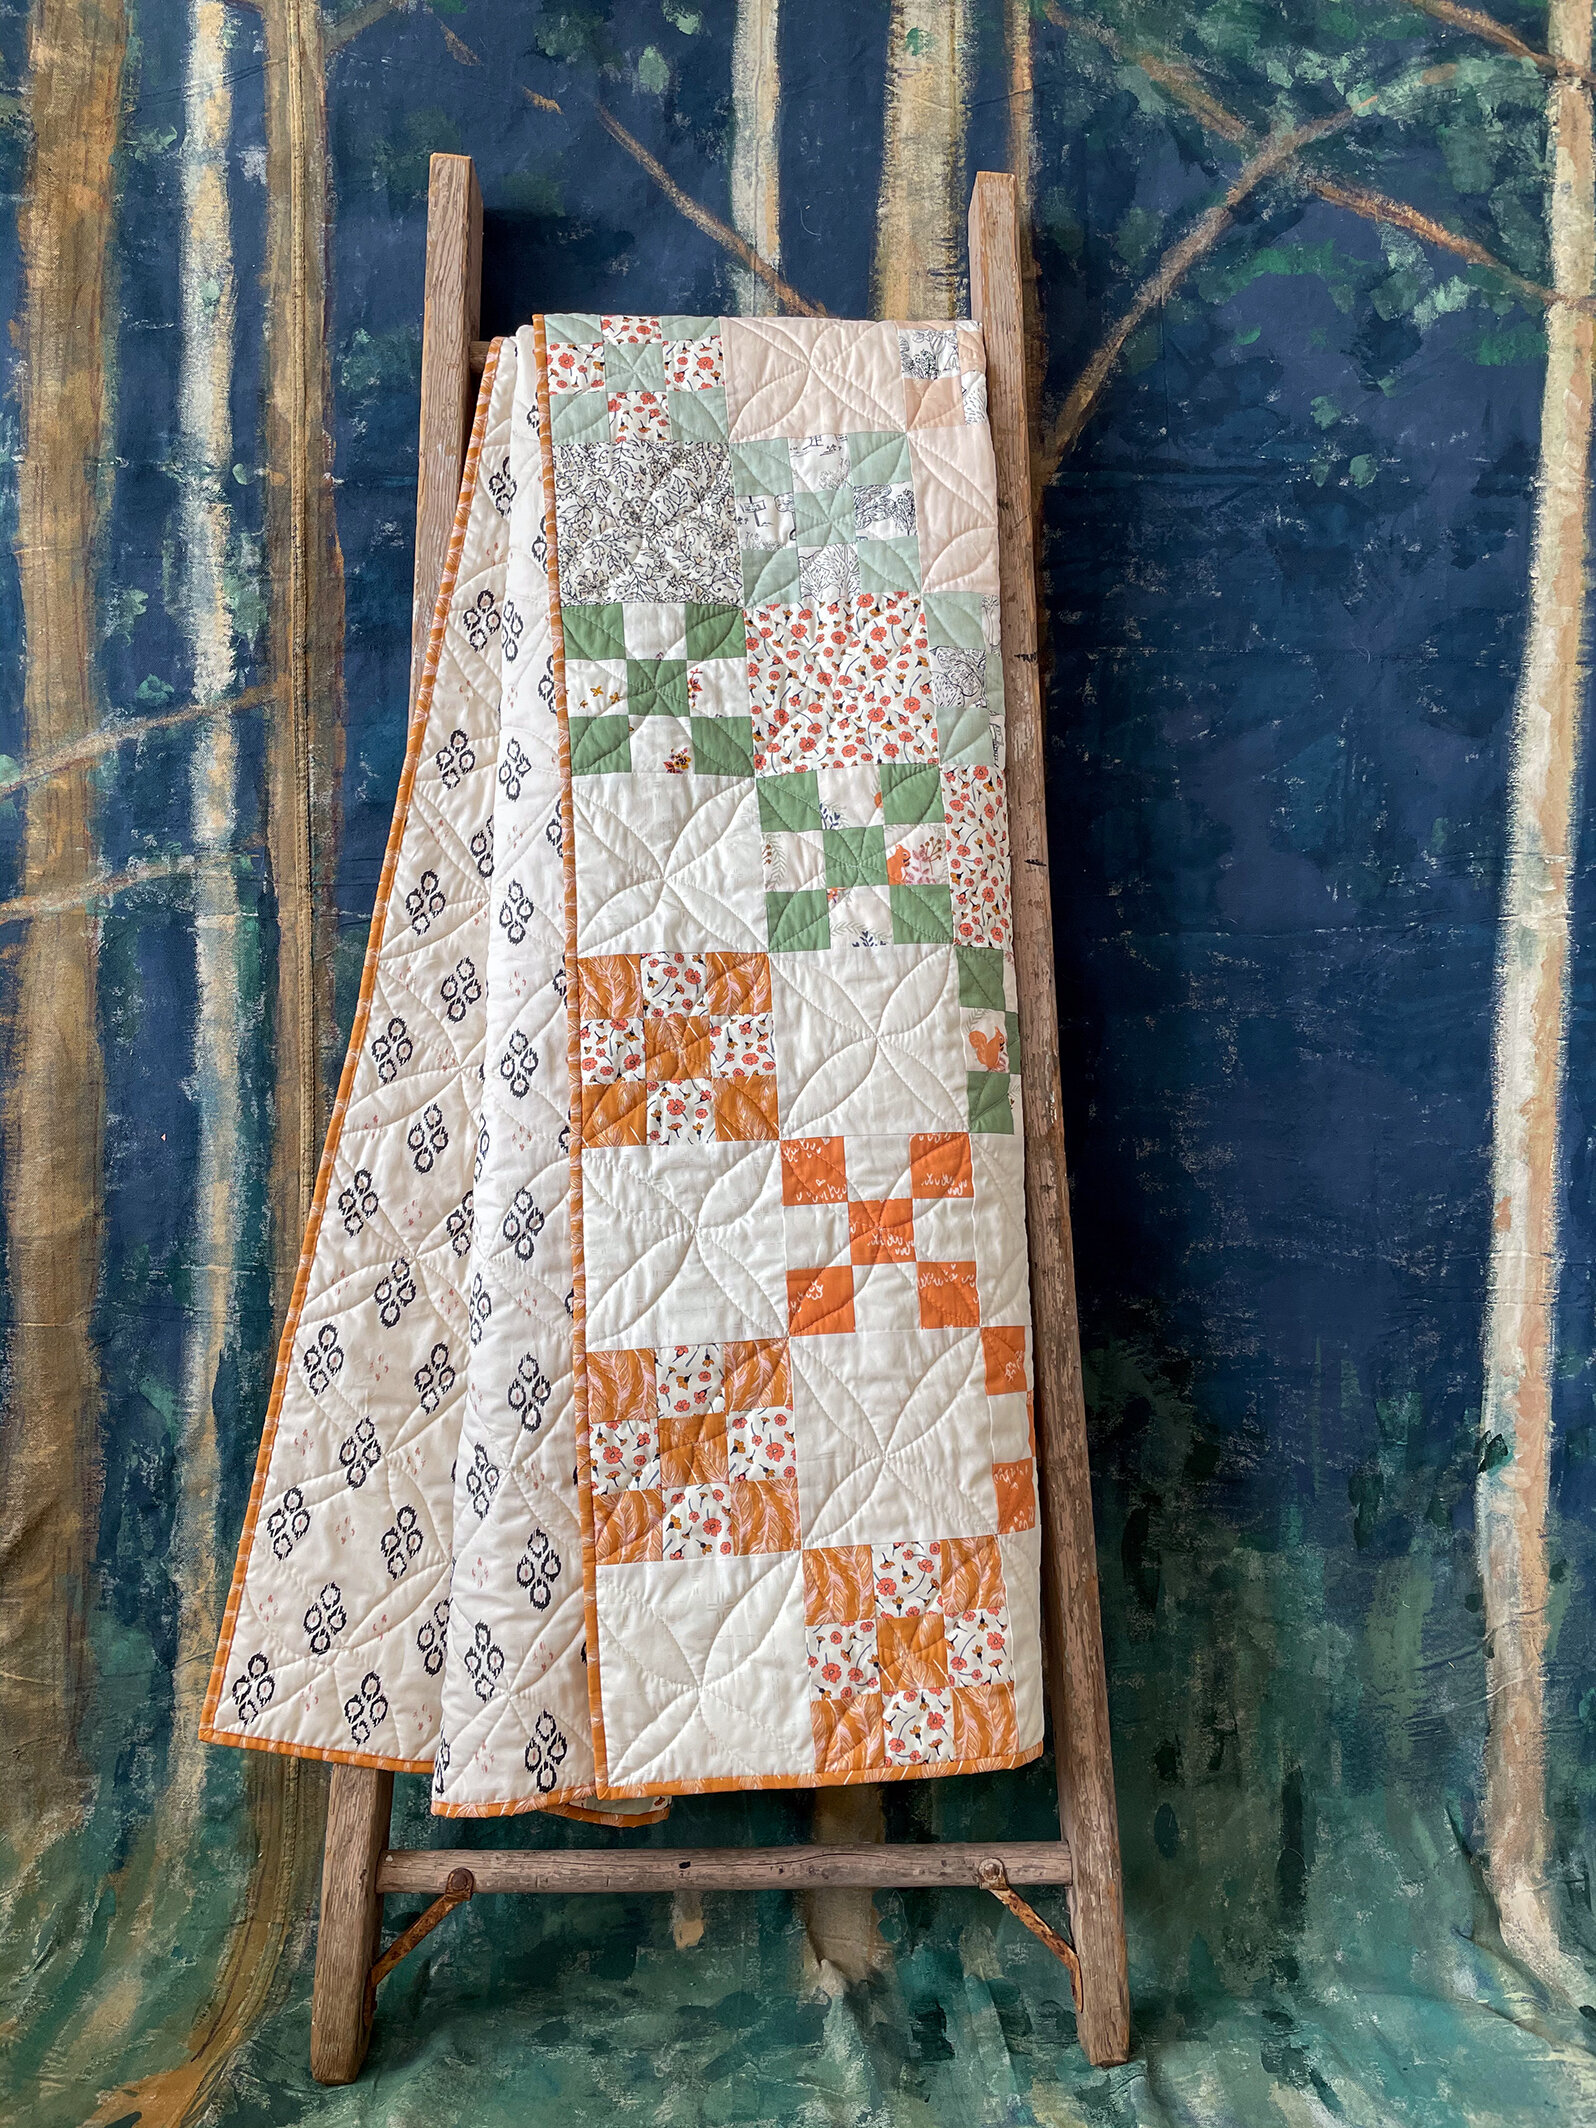
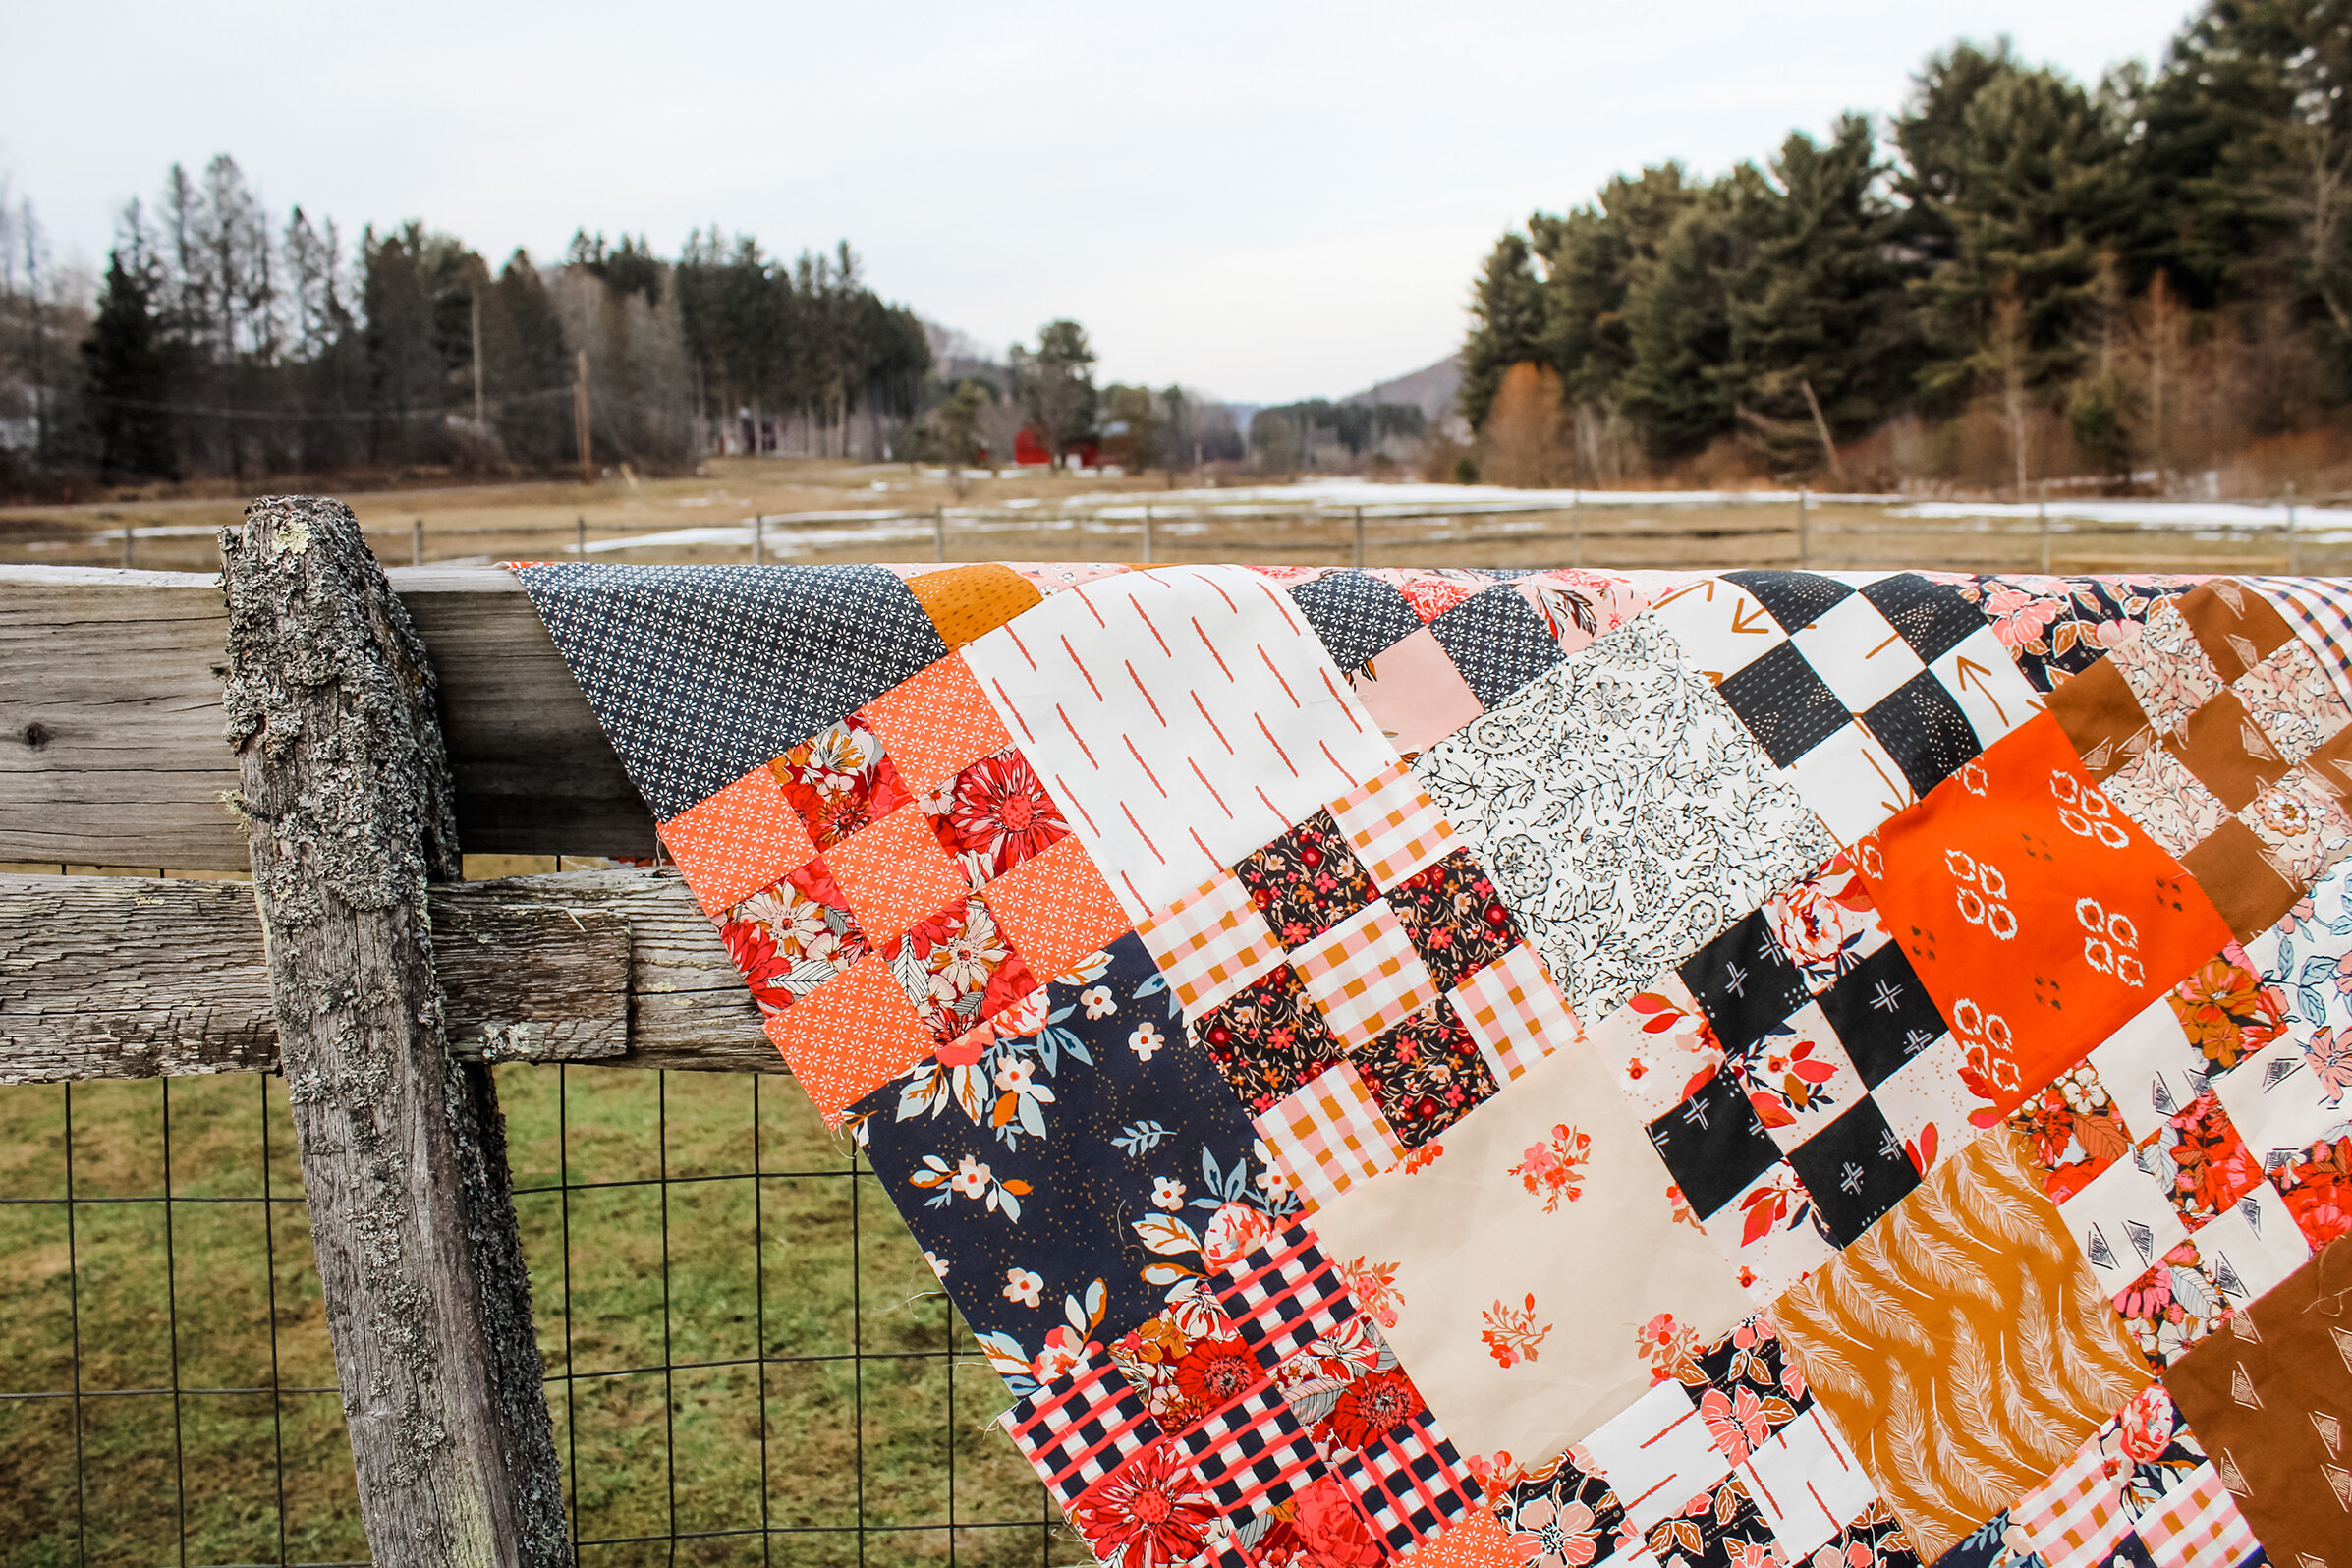
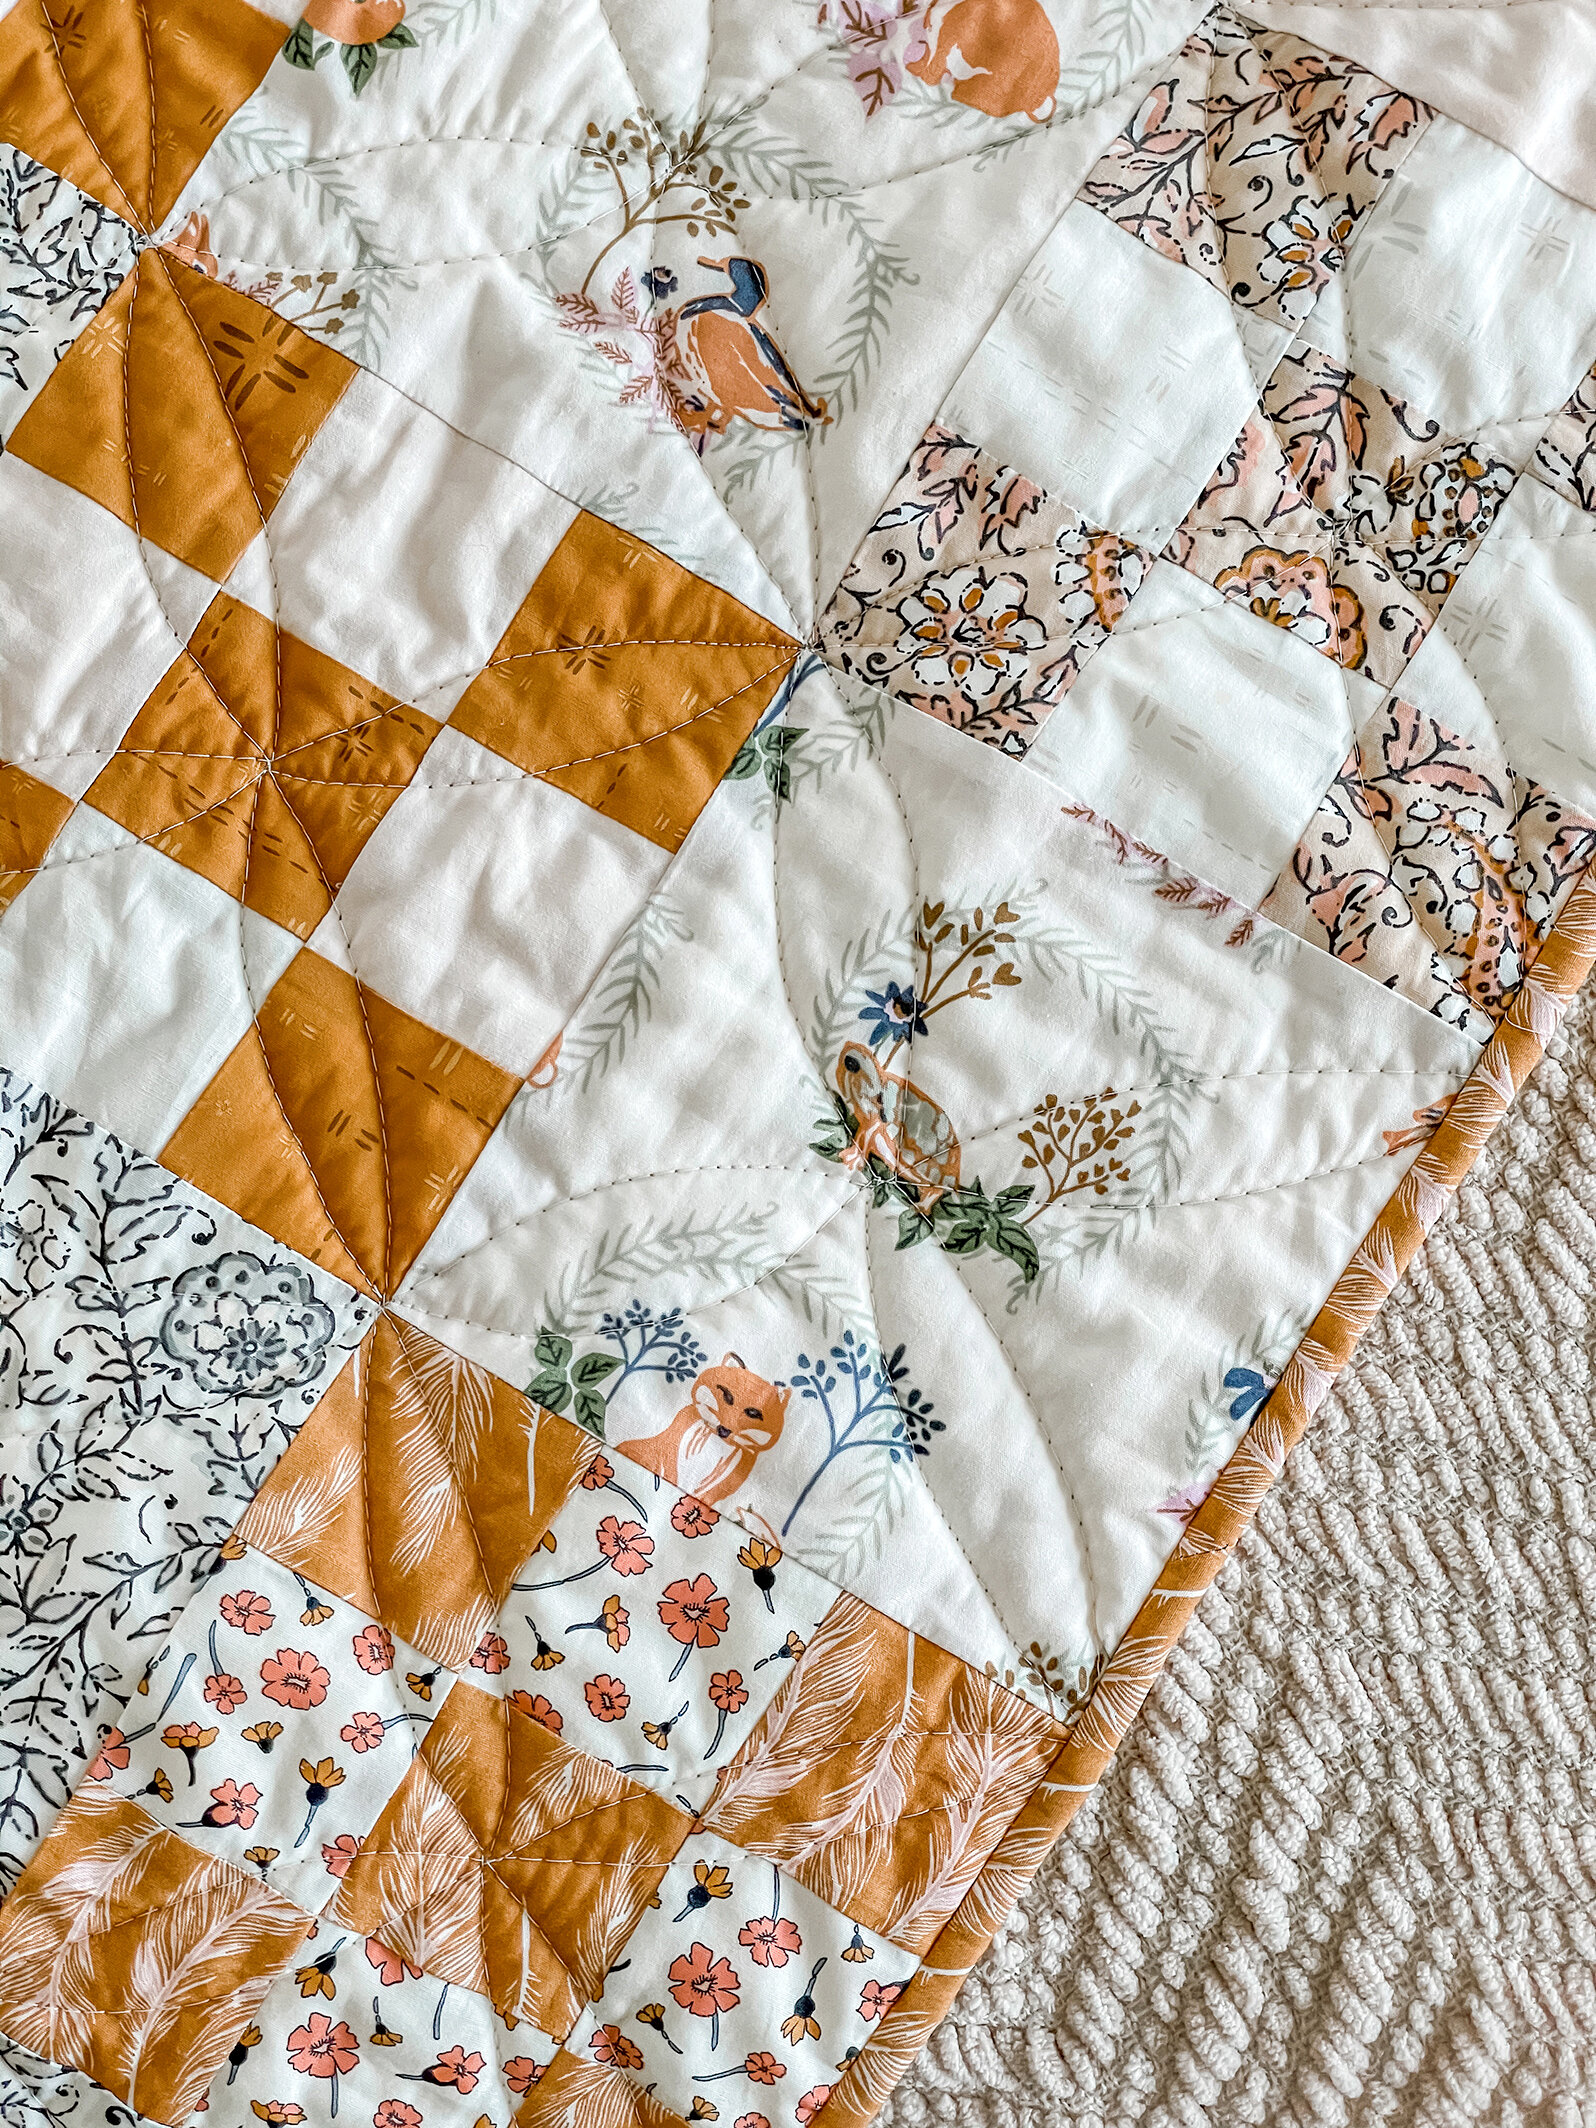
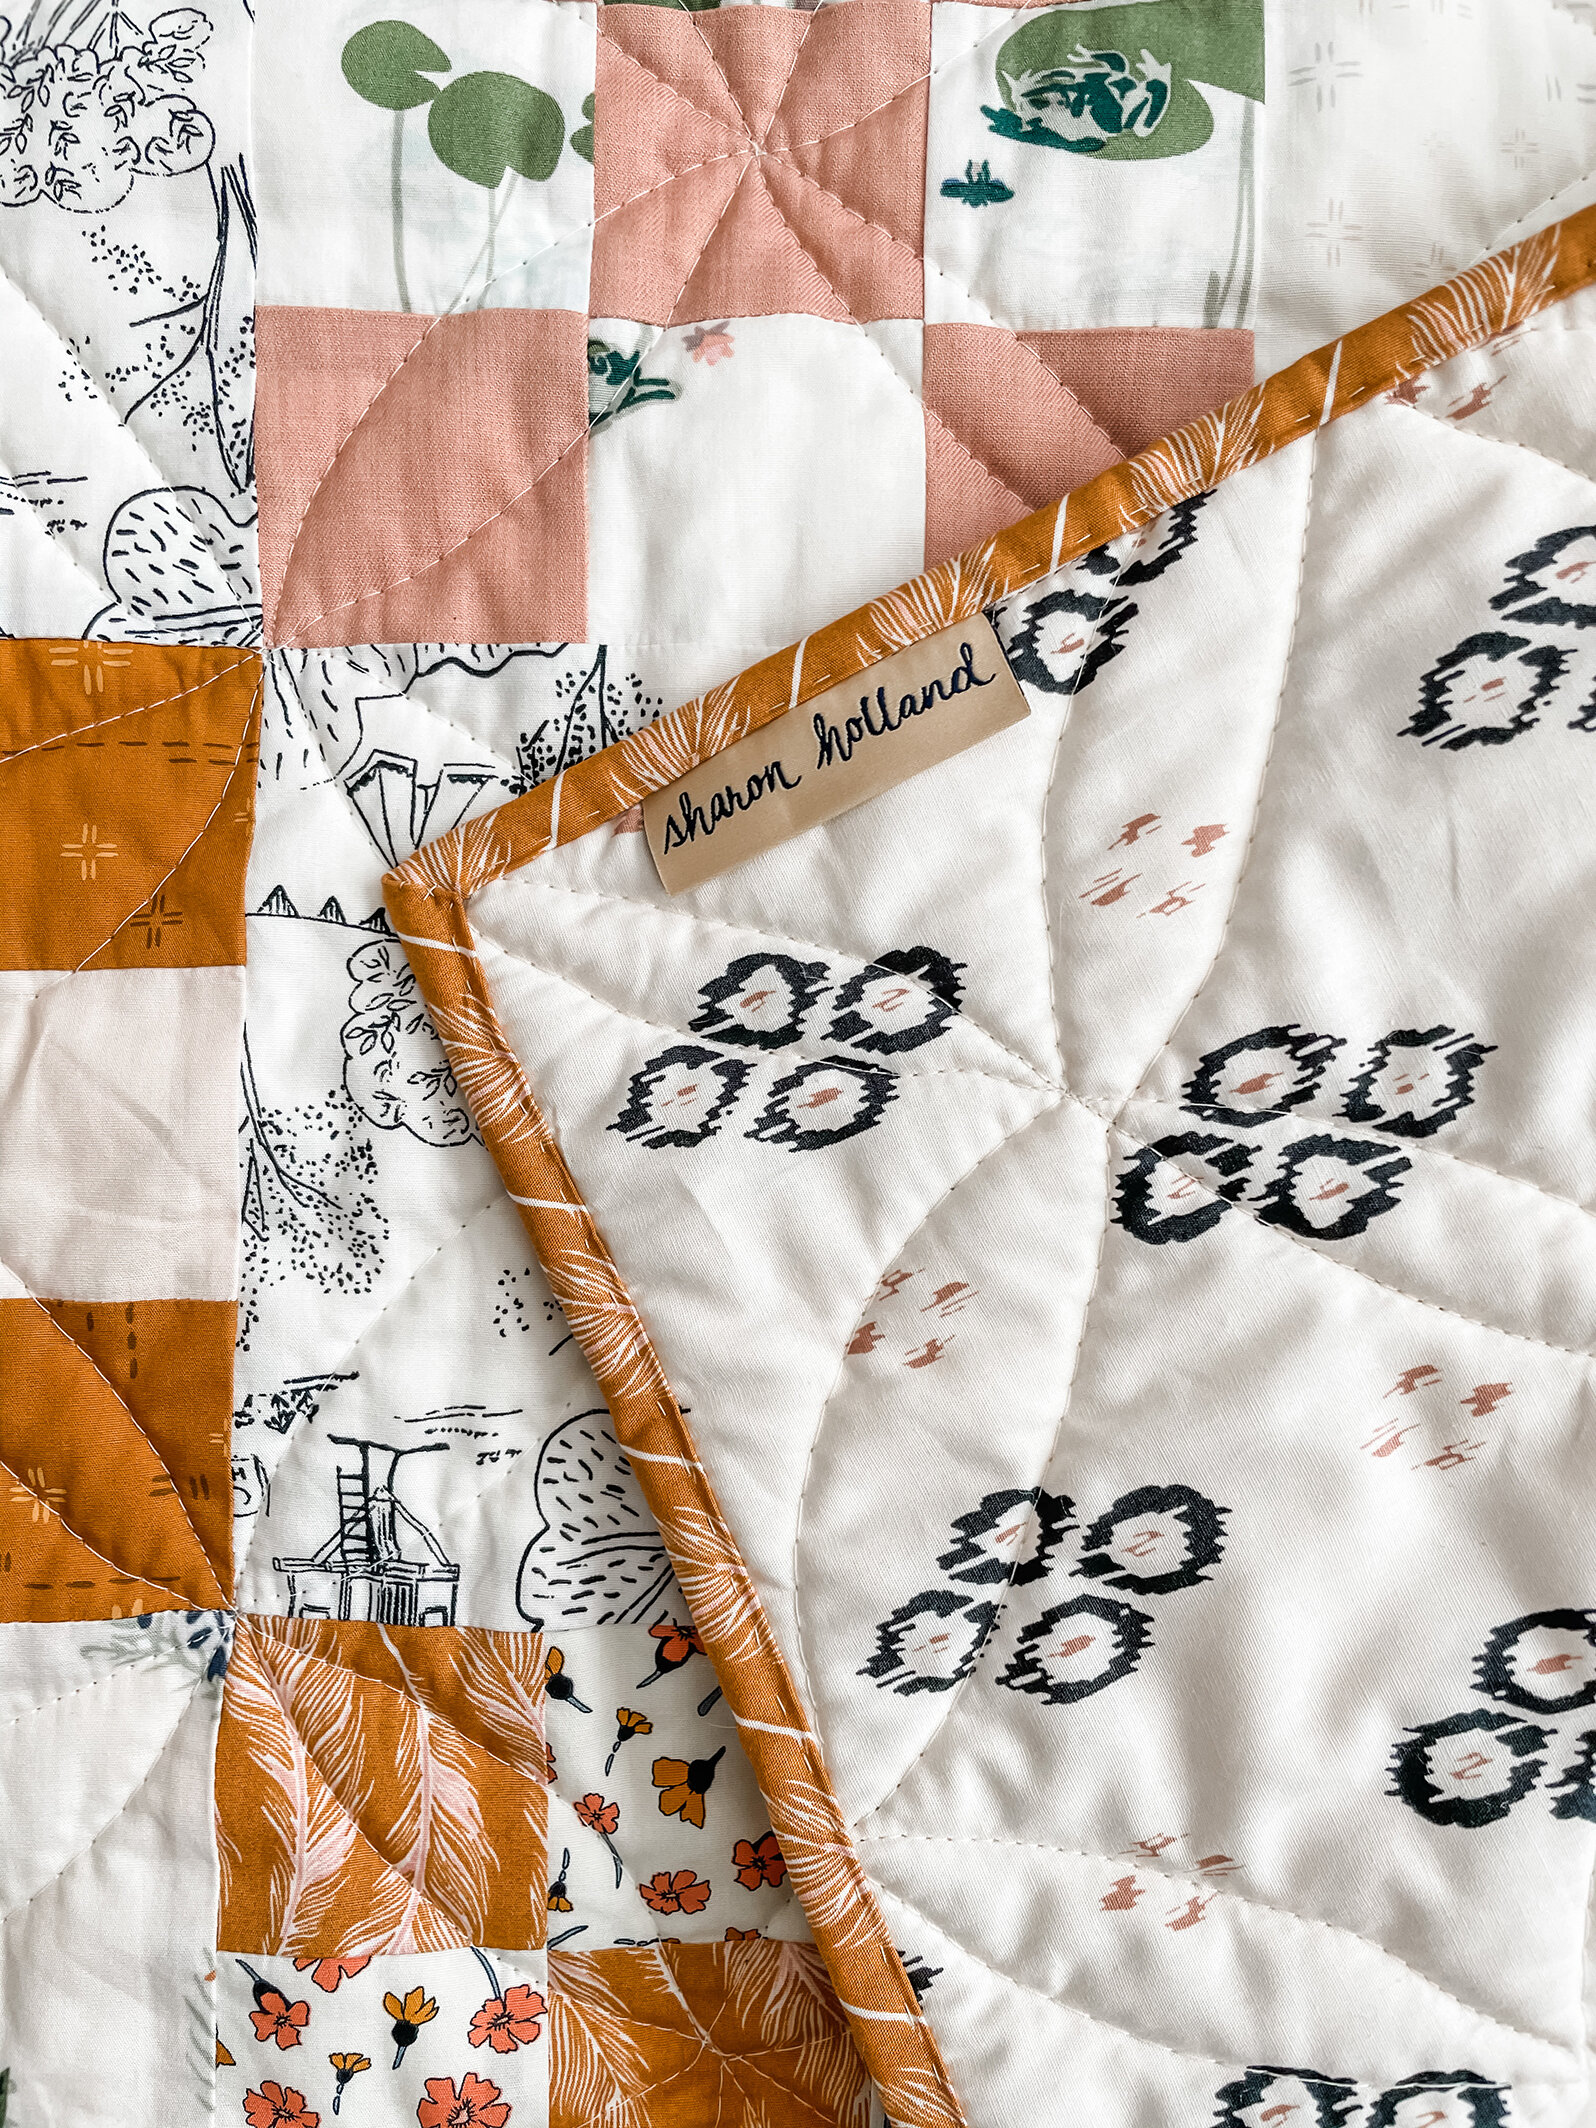
For the AGF Flannel debut, my Kismet Fleuron Haven print was chosen as one of the introductory fabrics. The colors of this print on flannel are as brilliant and crisp as they are on the quilting cotton substrate.
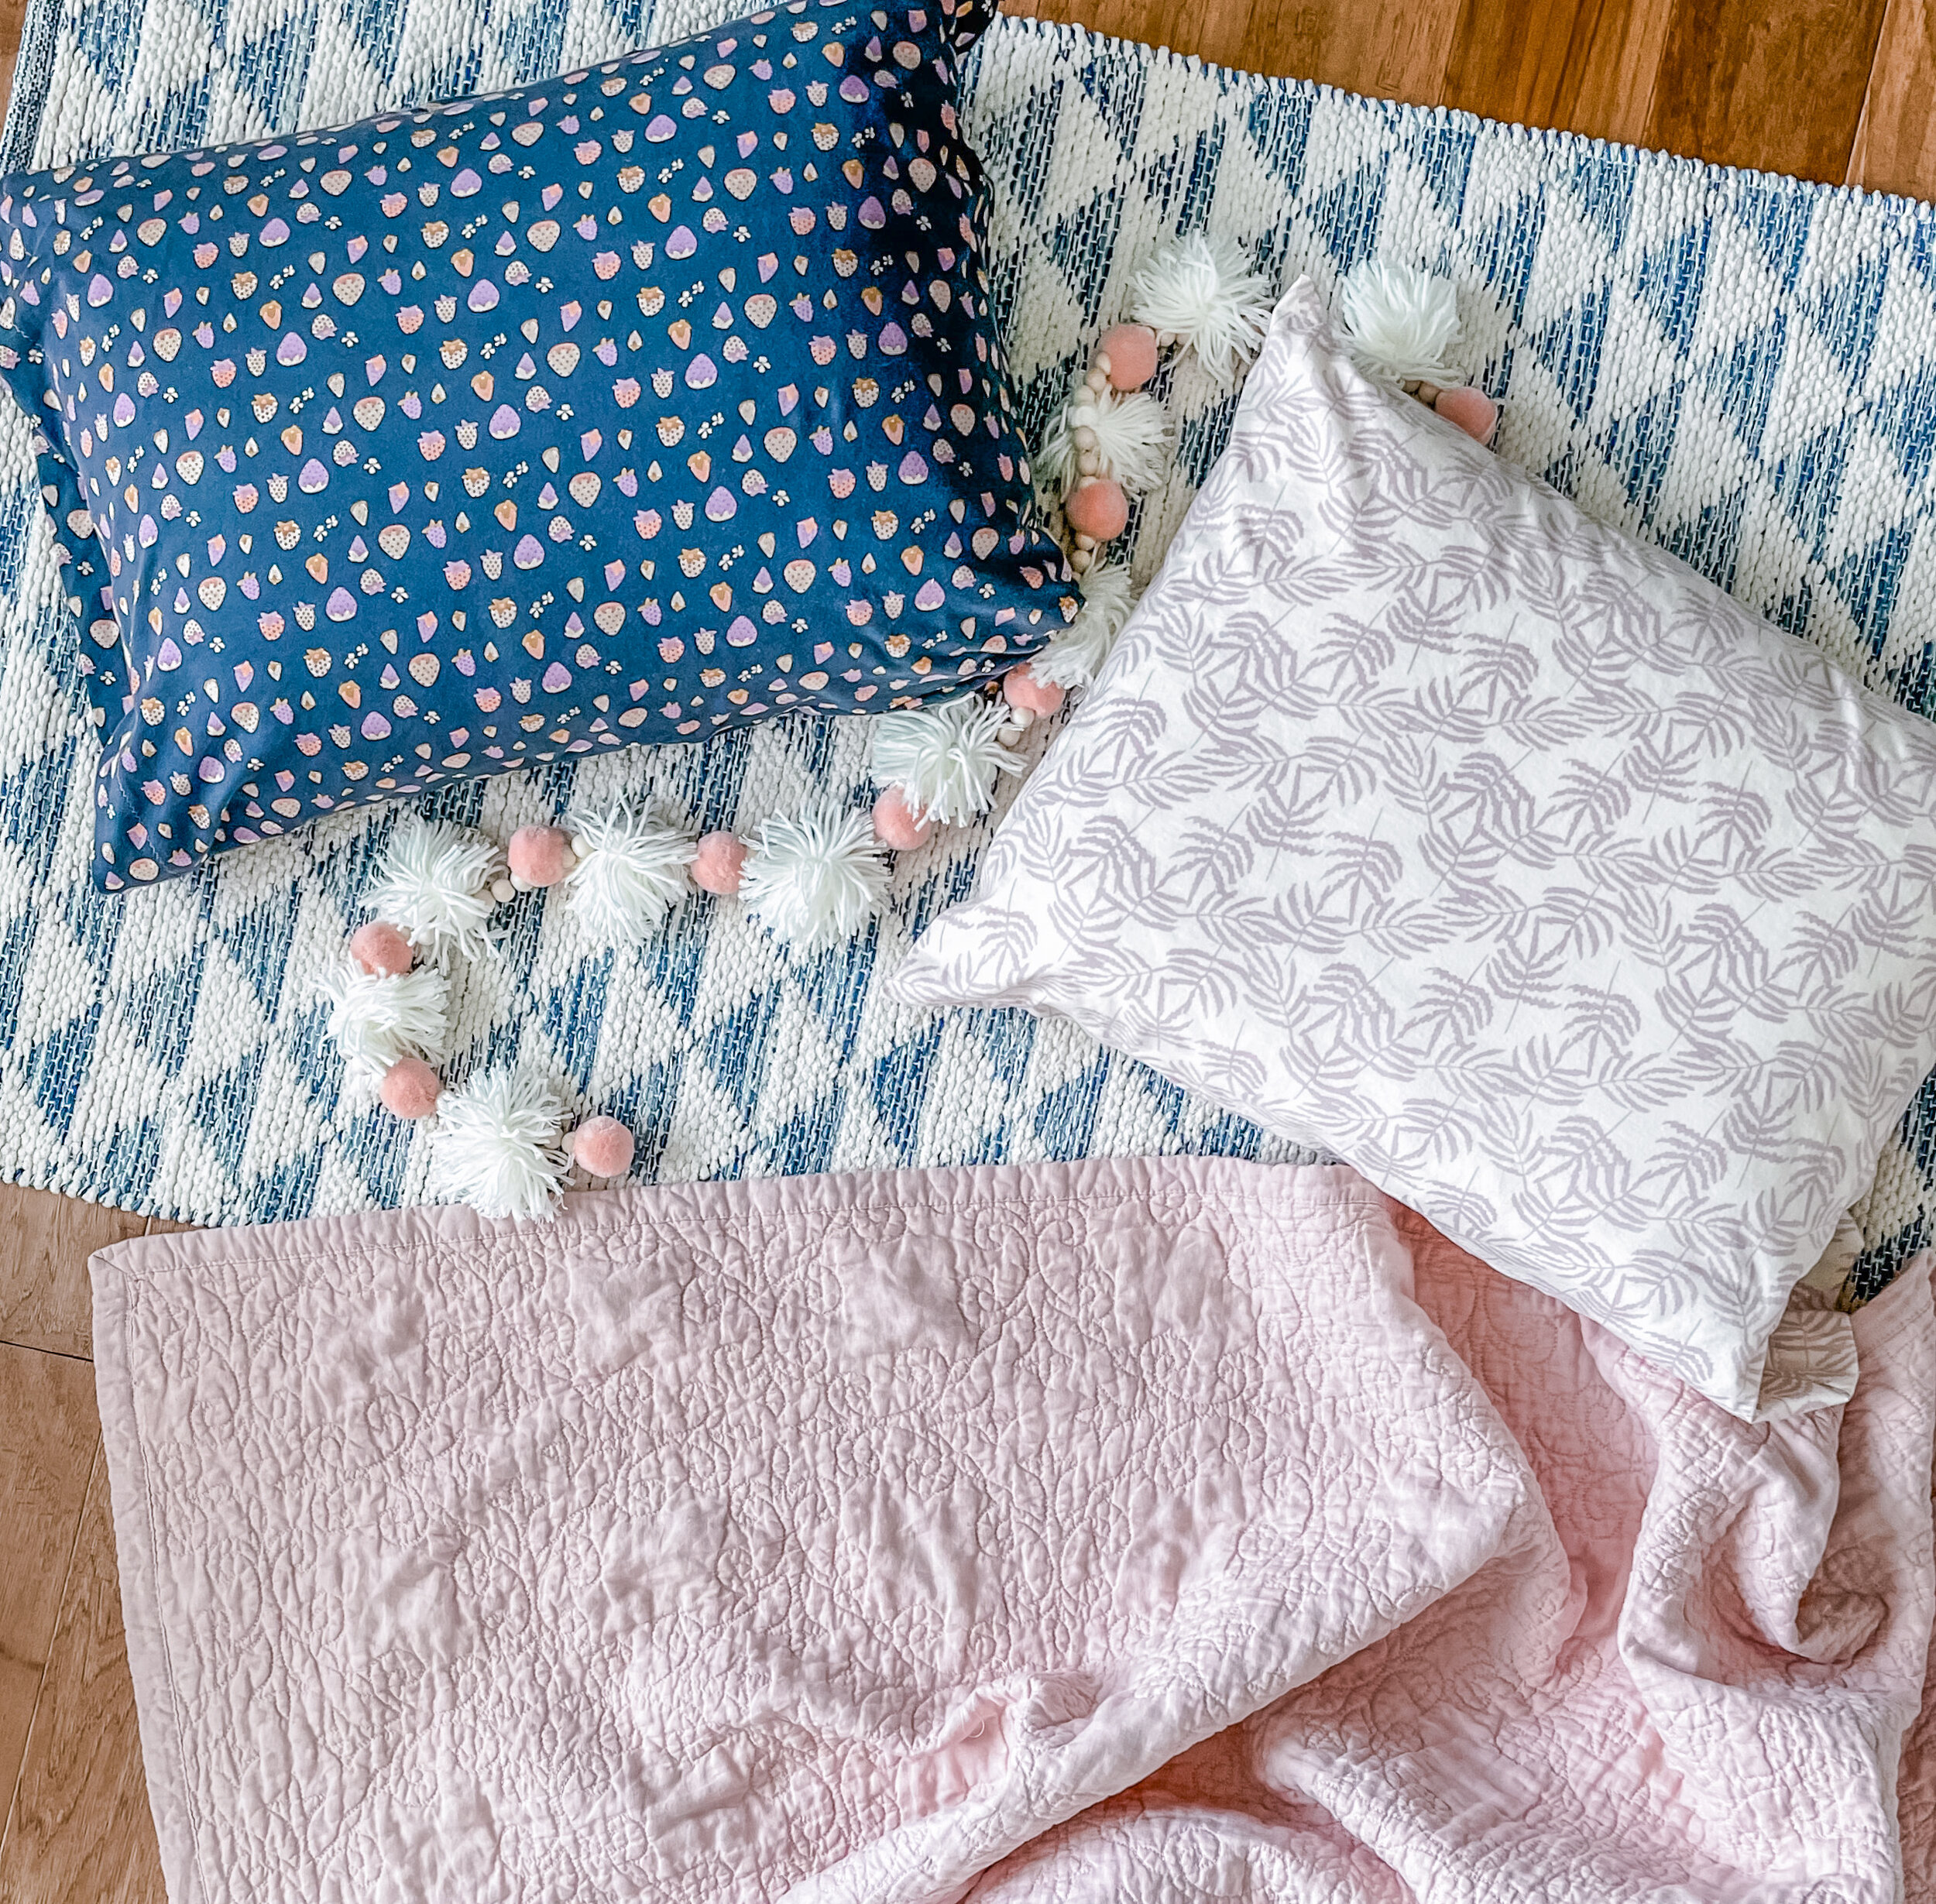
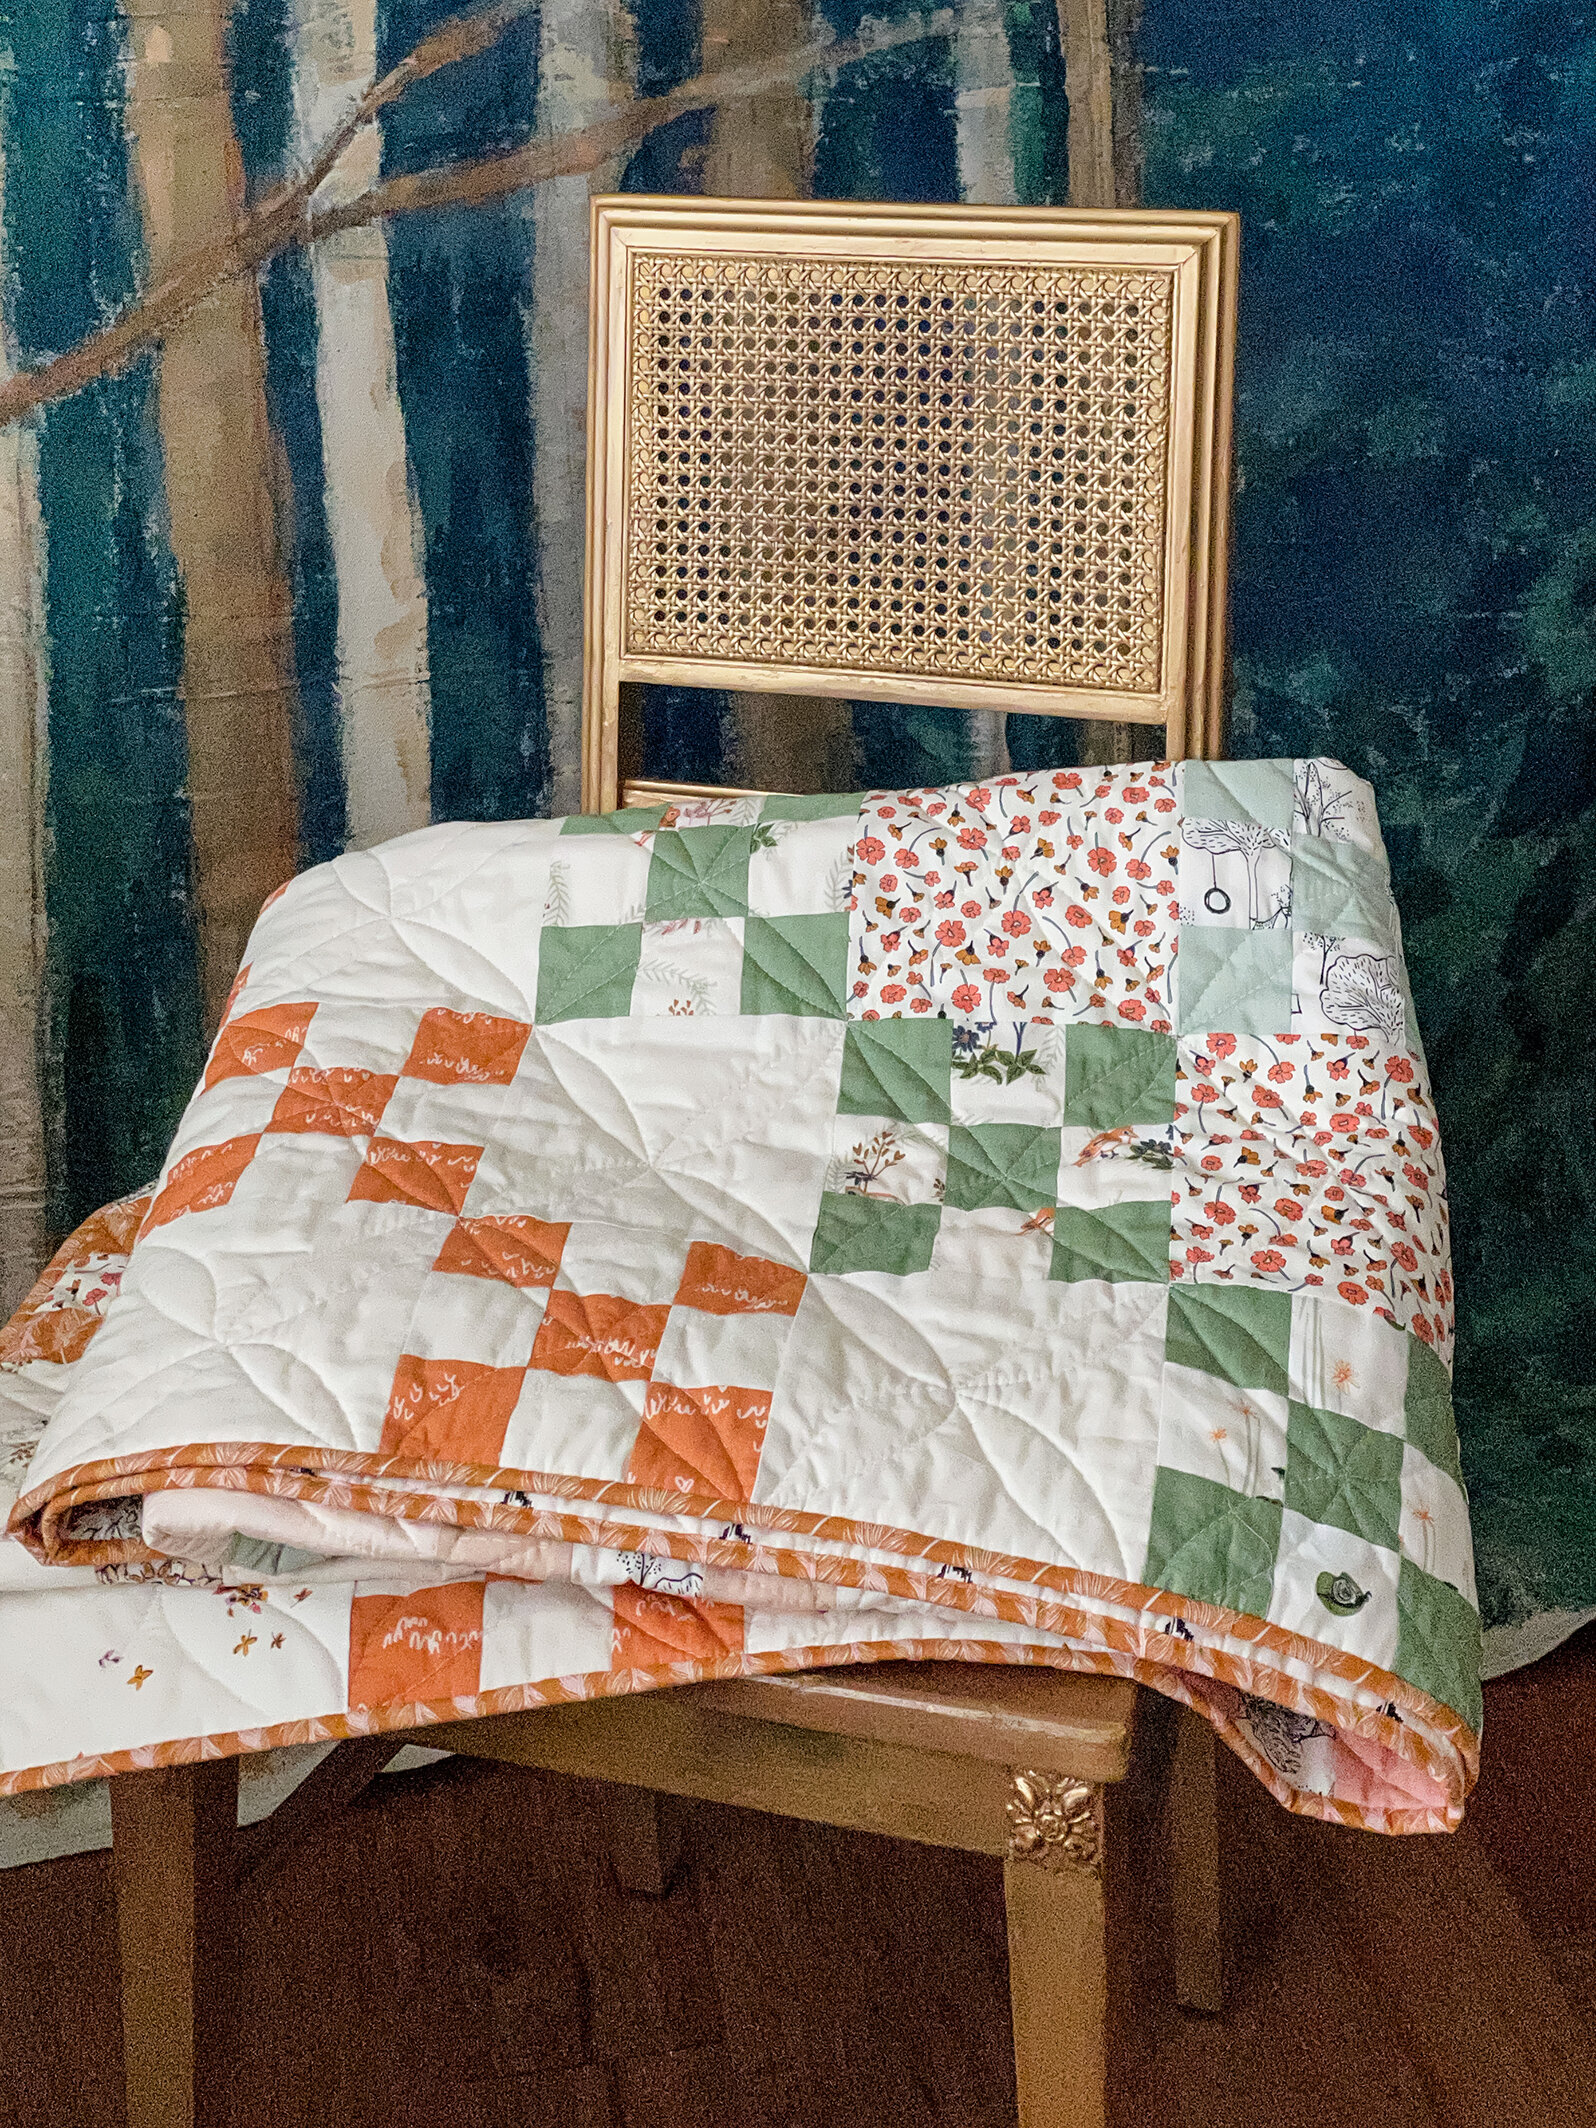
Pom-Pom Throw

As part of the upcoming AGF Flannel Look Book I made a new free project! This Pom-Pom Throw has all the yummy tactile goodness of super-soft flannel and extra large pom-poms! Best thing is it’s reversible! I used Fleuron print and Pink Clay solid flannels for my throw.
Download the free pattern from my Free Projects page!
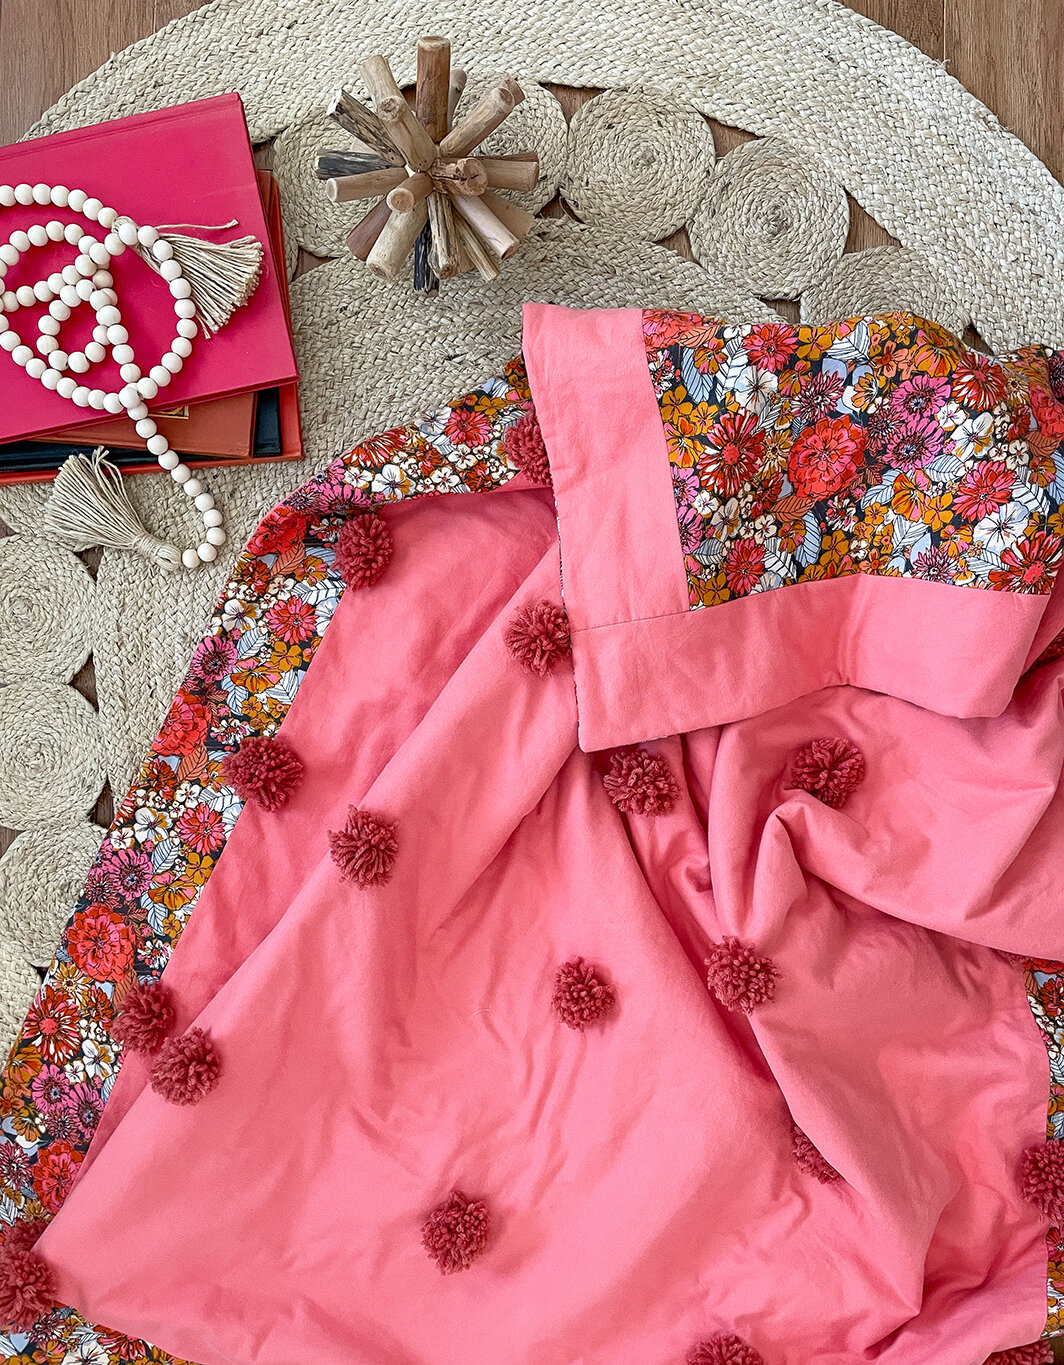
This is the perfect beginner project and the throw is tied with the pom-poms so no quilting even required. I added Hobbs Tuscany 100% Cotton batting between the layers but it’s not even necessary to do that and there’s no binding either.

You can make your own pom-poms with a fork as your pom-pom tool and it’s something you can even get the kids involved making. The free pattern comes with instructions but I’ve a fun video tutorial on my @sharonhollanddesigns Instagram Reels that shows you just how easy it is to make your own.


Be watching for the AGF Flannel Look Book release and be prepared to be inspired with all sorts of flannel sewing ideas! I need to make myself some flannel Fleuron P.J.’s!

I am an Amazon Associate site and earn from qualifying purchases on the products I’ve linked below. The helpful products selected are the same or similar to materials used to make the project(s) in this blog post or related items I think you may enjoy.