My Favorite Month
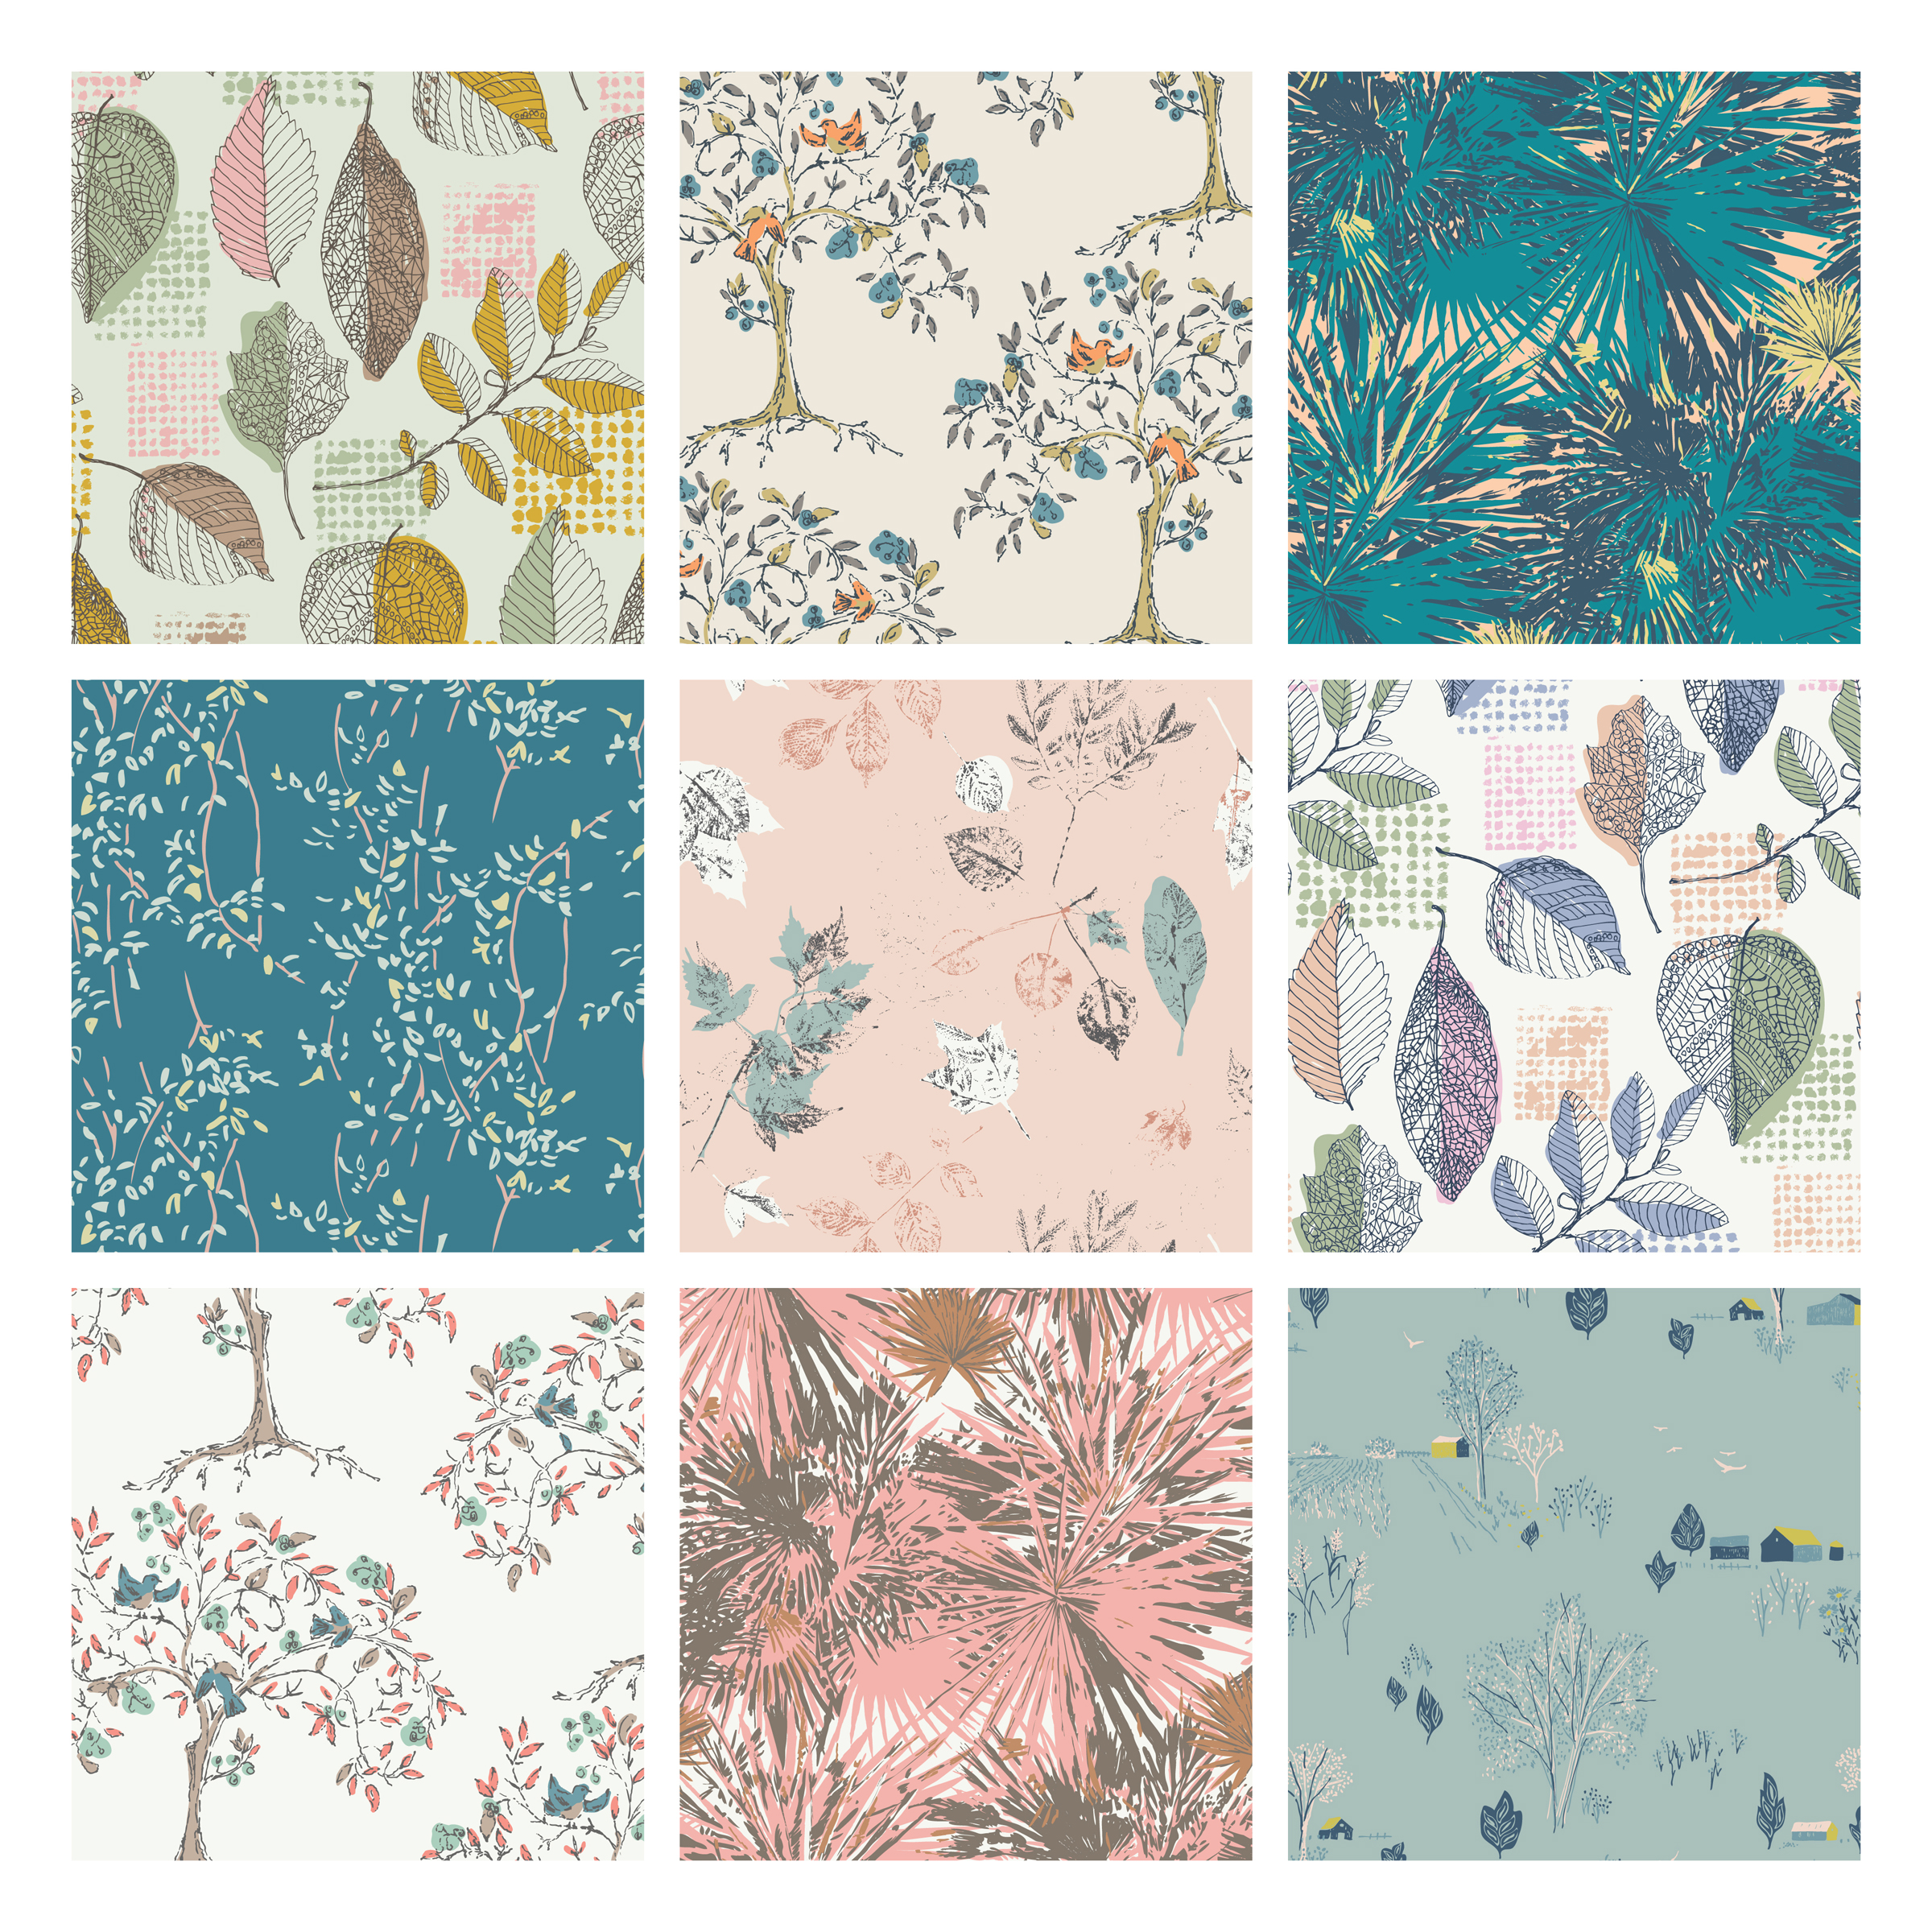
Leaf prints by Sharon Holland for Art Gallery Fabrics
Fall is my favorite time of year and October (being my birthday month) is my favorite month of the year. I have always loved trees and tend to draw and paint them a lot. Many of my fabric collections contain some sort of leaf print:
Top row - Sketchbook Framework, Tapestry Eternal, and Coastline Tropical
Middle row - Bountiful Vine, Bountiful Arborescent, and Sketchbook Framework
Bottom row - Tapestry Eternal, Coastline Tropical, and Bountiful Scenic.
This year the weather here in Ohio has been all over the place and our growing season seems a bit turned around. The plants and trees got an early start due to a mild winter but a hot spring slowed growth so spring and summer flowers were not very showy. Although the plants in my yard are still not full, we are experiencing some second blooms on plants like Coneflowers, Black-eyed Susans, Coreopsis, and of course Mums, Autumn Joy, and Sunflowers are seasonally now in bloom. I don't normally have this much color in my yard this late in the season and it makes one think summer might last forever.

In the past I've painted predominantly landscape paintings and landscapes with barns. I've been wanting to get back to my canvases for some time now but it never seems to fit into my schedule. I've been taking photos of flower bouquets to have a reference for painting later when I have time to paint and want to try my hand at still life painting this next time around. I wish I could stop and paint while the flowers are fresh but my days seem to always be full of other priorities. These photos will have to do when I'm ready to paint and I love that the flowers and branches came from my yard.
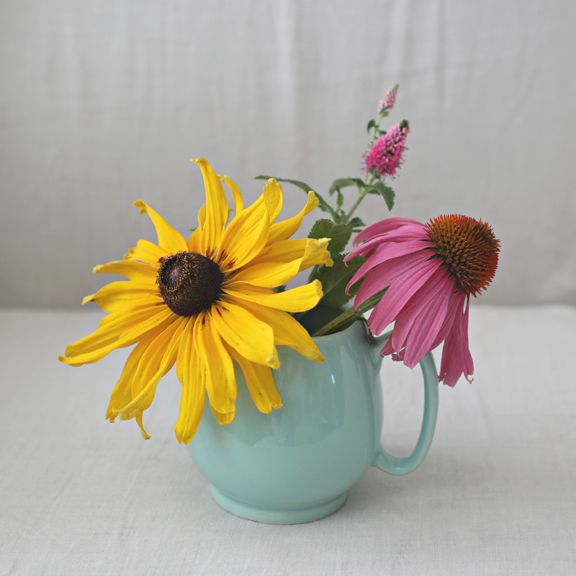
I did have a chance at the end of September to get out my oil paints and relearn how to paint. It has been too long between sessions and I feel very rusty. In fact, I am so rusty that my first attempt paining this creamer with flowers I grabbed some tubes of acrylic paint (which I though were oils) and painted with a mix of oil and acrylic. Needless to say it was not a great experience and I couldn't figure out why the paints didn't act like I was used to them handling.

This very clumpy painting is okay but left much to be desired. I decided to redo the same image the next day so I could concentrate on mixing colors better, working with only oils (hee hee, that was a big improvement right there!), bolder and looser strokes.

Much improved but still a long ways to go to get to where I want to be. This is something that will take time and because I love the process of learning as much as I like doing it will be a fun challenge. I still want to loosen up my strokes but once I have reacquainted myself with the basic techniques of painting with oils I wont have to concentrate on those so much and can work on style and strokes next.

Last week my husband and I had a great time in Phoenix, Arizona celebrating his father's 89th birthday. It always blows my mind seeing the desert landscape and I cannot help but feel I've stepped onto a different plant! I have no idea if the plants in AZ normally bloom this time of year or if they're also experiencing a second bloom season but I was pleasantly surprised to find so many blooming plants there this visit. I do love all the texture and the small leaves on the trees.
I did come away with a pattern idea from our trip that I intend to explore this week and see if anything comes from it. My only hint is it's not from the plants and is inspired by something man-made and natural at the same time. Although the desert plants are really beautiful I don't feel a deep connection to them as I do the plants native to the Midwest so I will leave those to photography at this time.
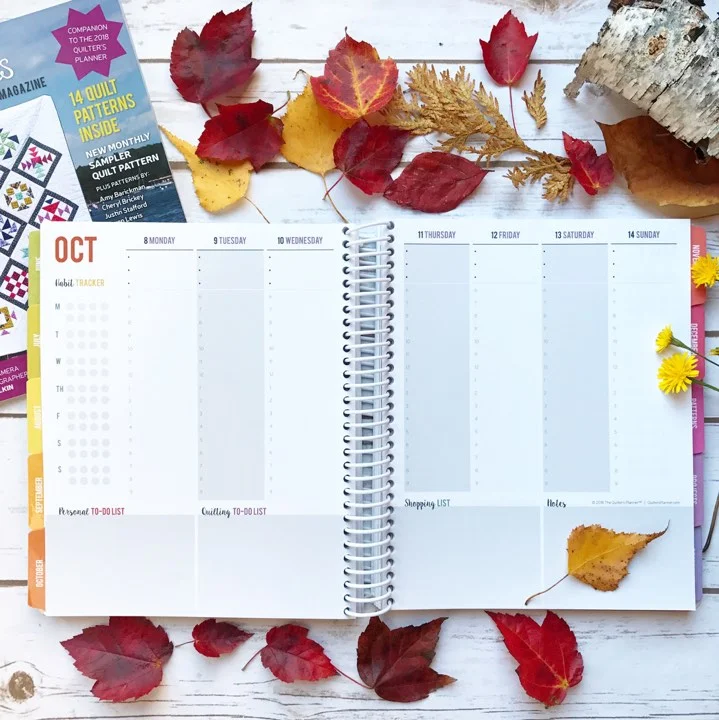
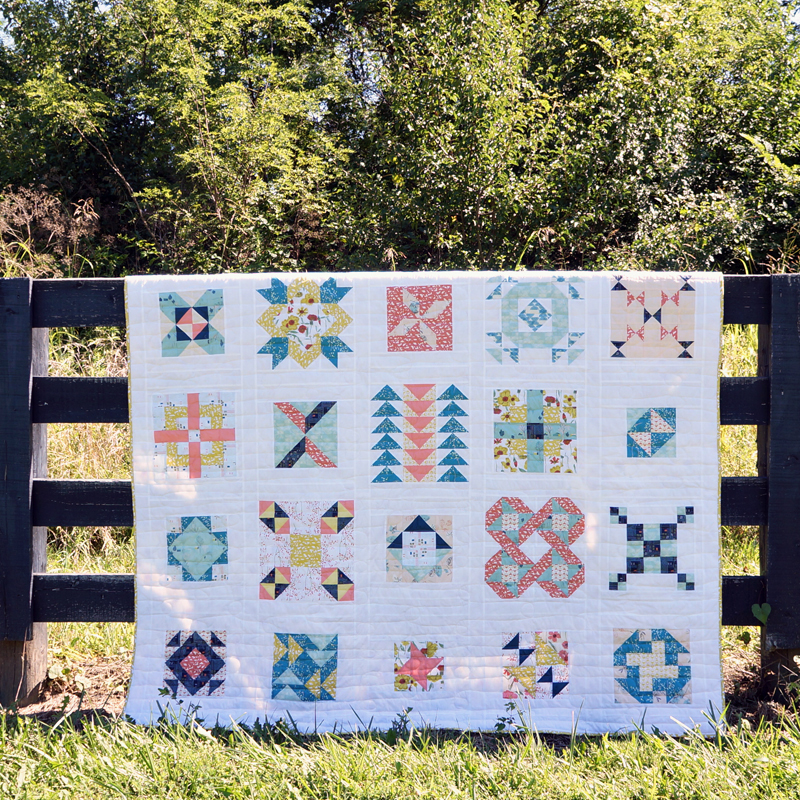
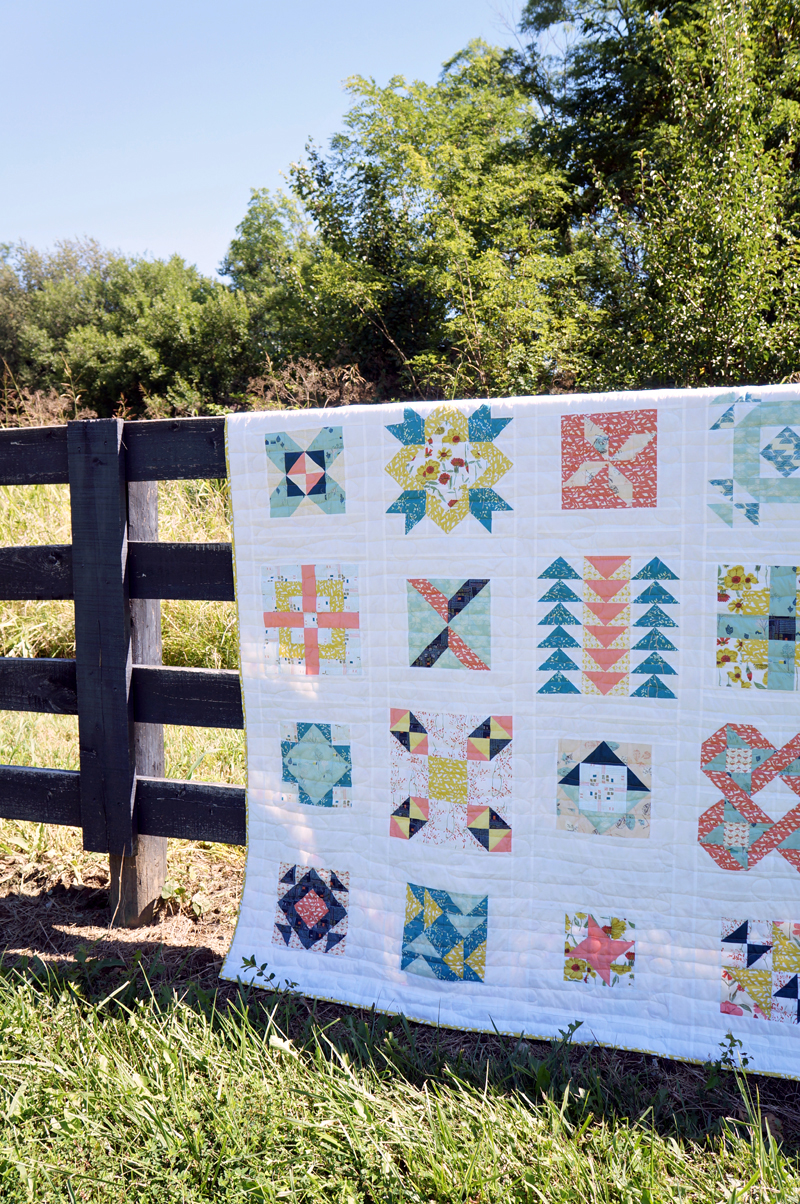
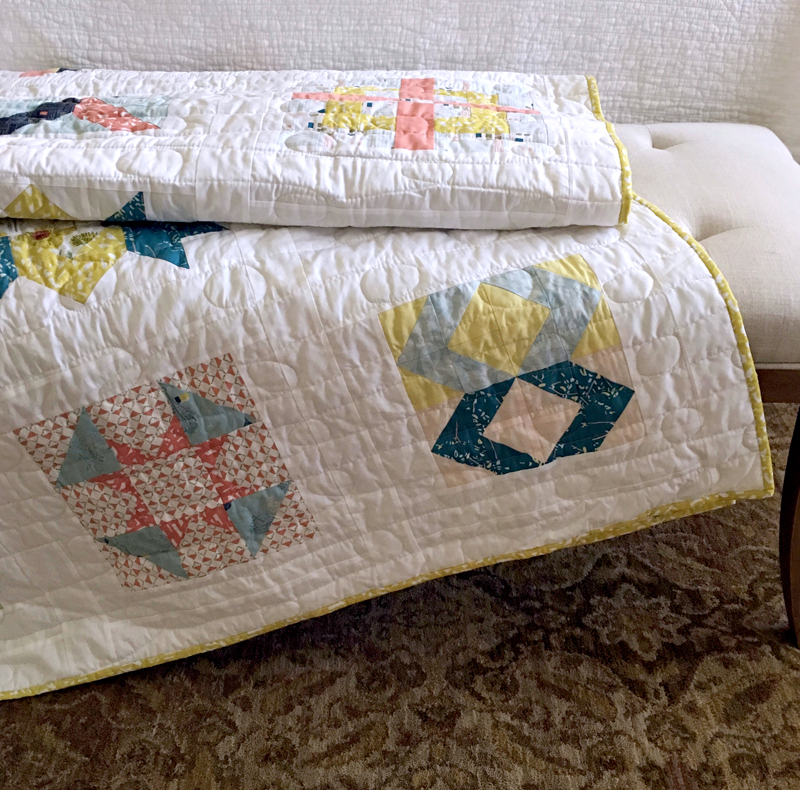
Photo cortesty of Quilter's Planner
Looking ahead October will fly by. Quilt Market is only a week and a half away! The 2018 Quilter's Planner calendar will be available soon and this year it's packed with goodies. A separate magazine will have quilt patterns and it also comes with 4 pages of planning stickers by Alison Glass! To see all what the 2018 Quilter's Planner has to offer read more here (affiliate link).

Photo courtesy of Quilter's Planner
Enjoy the beauties of October and soak in the last warm rays left-over from summer!