Hello SBS Makers, it's Wednesday! With Easter coming up and spring break, I thought you'd enjoy having an easy block this week so you can enjoy the holiday and maybe have more outdoor time. And no, we didn't plan for this to lineup this way, but it will be a nice break from the more complicated blocks we've done the last two weeks.
My co-host Maureen Cracknell and I are thrilled with all the blocks being made and the awesome virtual community that's been created by this sew along. We're still seeing new SBS Makers joining us every day so please be sure to welcome the new members and help out where you can with encouragement and any tips you've learned along the way. Thank you for being such a wonderful, supportive community, I know many new friendships have been made because of the SBS.
If you're just joining, you may want to start at the beginning of the community sewing bee with my first post The Start of Something Sewcial and work your way up to the present. I've included tips and tutorials with each new block and they can be helpful, especially if you're new to quilting.

Download the free Four Square block from my Sew Along page.

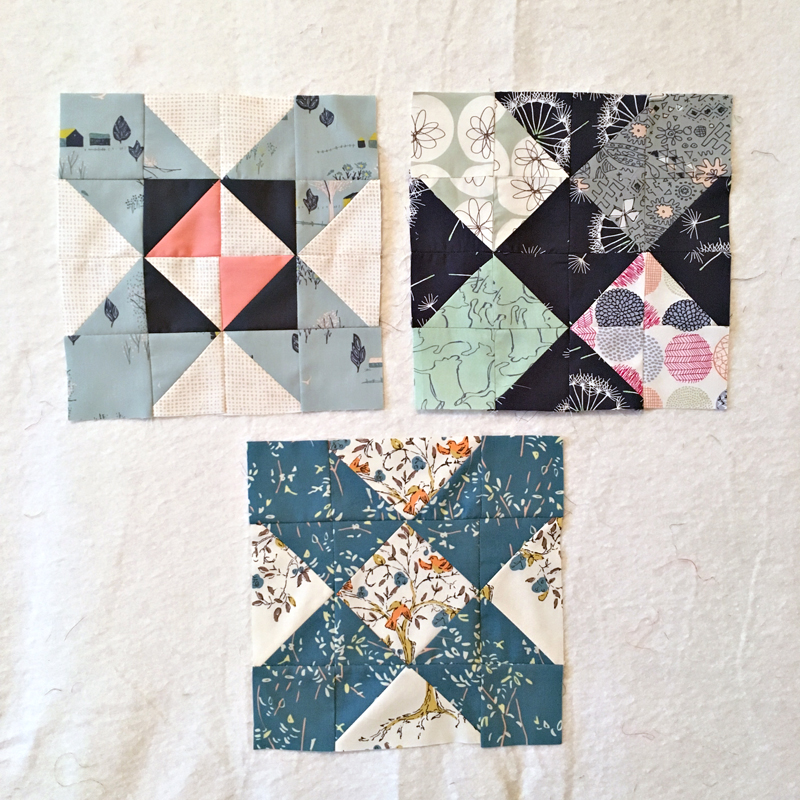
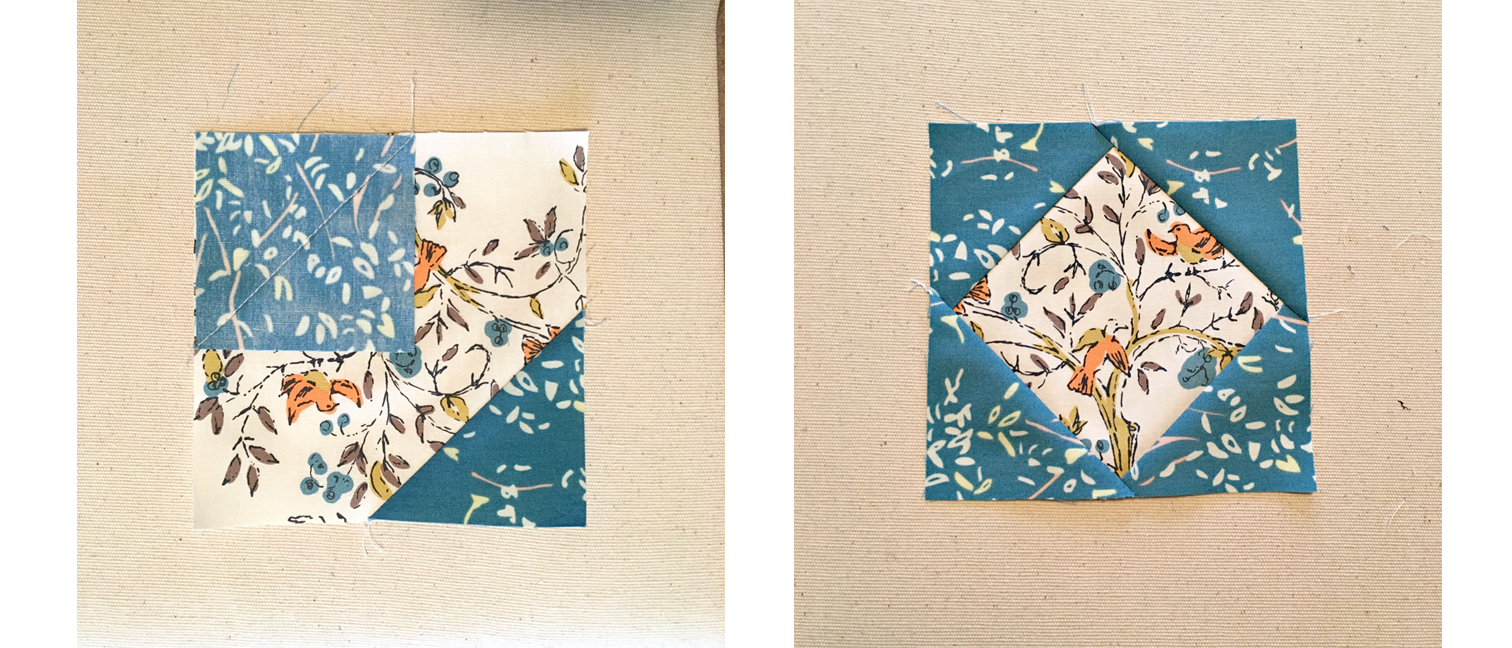
Block #11 is called Four Square and reminds me of the school playground game where a ball is bounced back and forth between four squares painted on the cement. The block is easy, in that there's no units to sew, you just cut and start putting the block together.
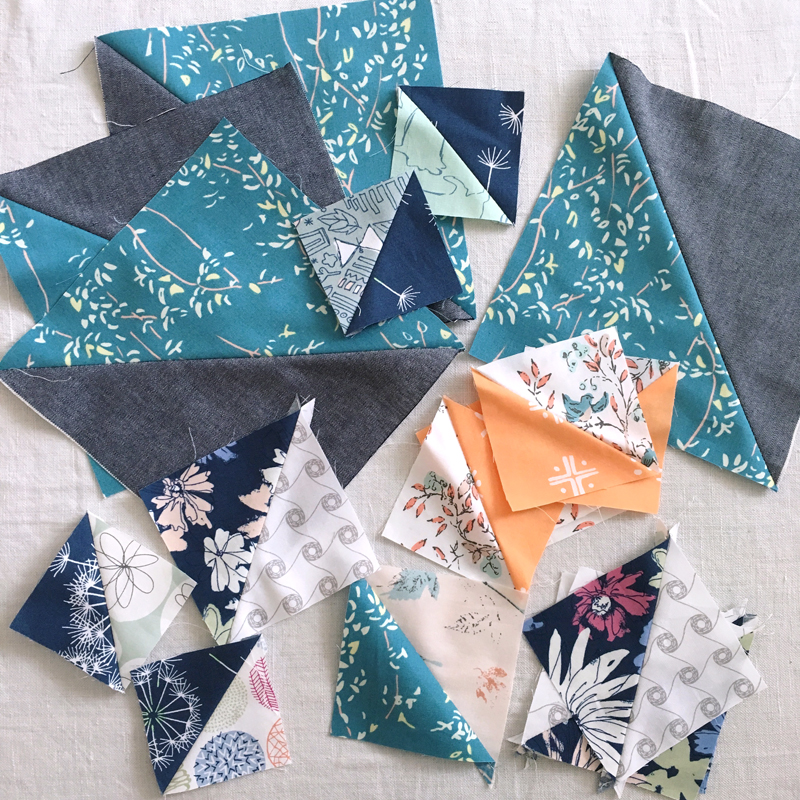
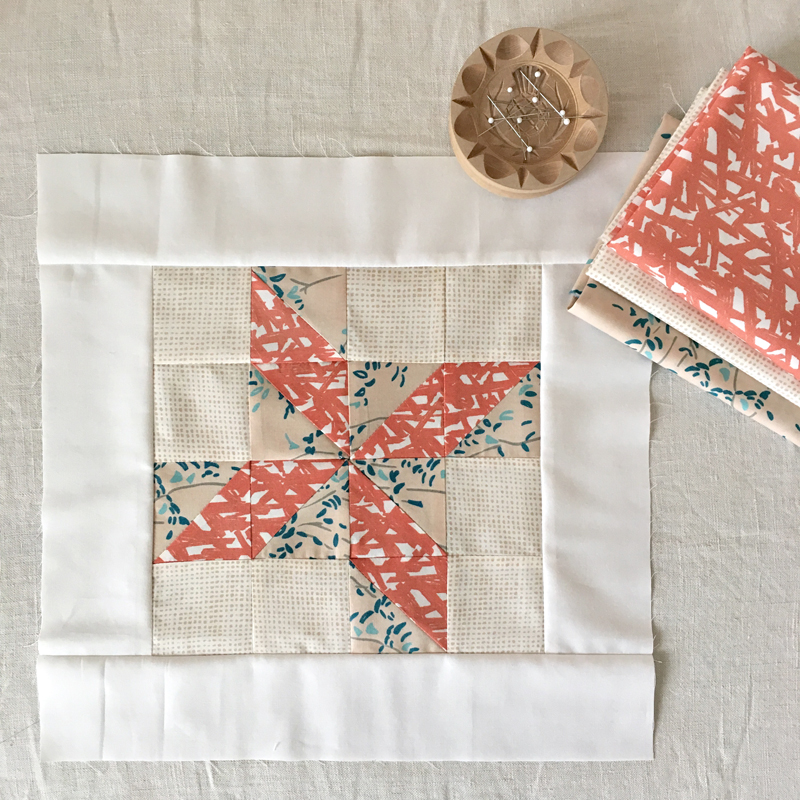
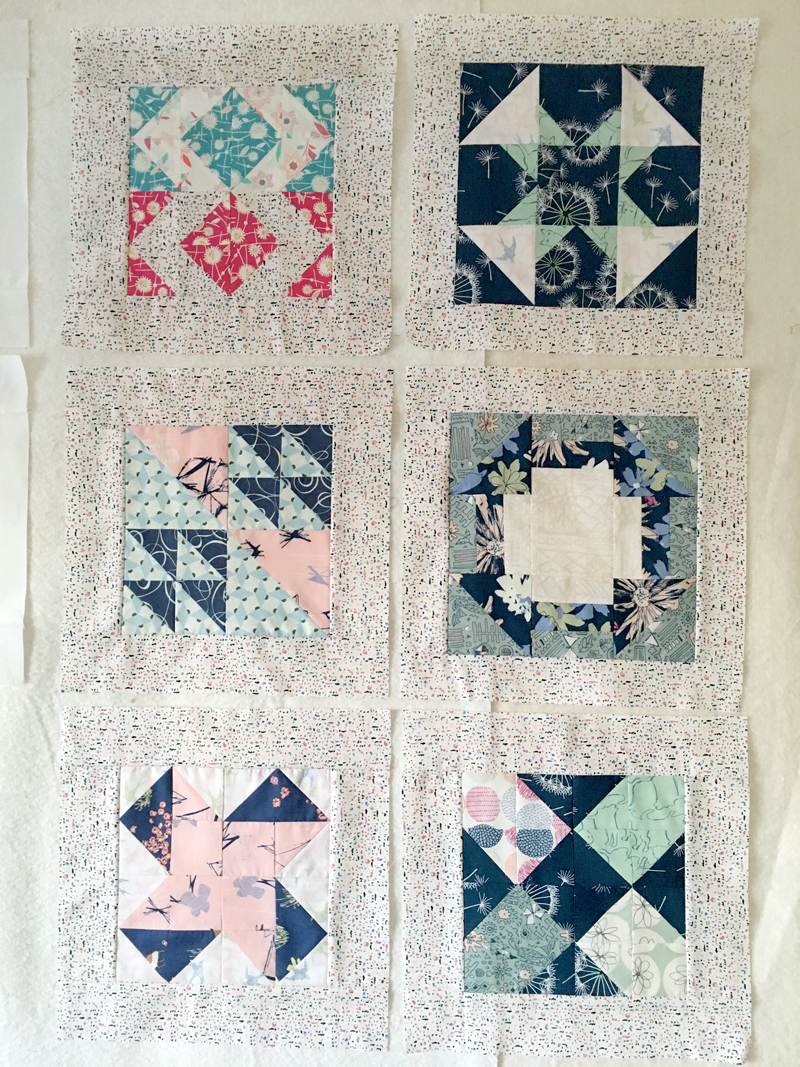
I am making two sampler quilts. This first block features my new Bountiful fabrics from Art Gallery fabrics and AGF Pure Elements solid in Grapefruit in the block and Snow white for the frame.
There won't be any tutorial today but I do have one thing I need you to do to prepare for this block.
Raise your right hand and repeat after me:
I, (your name goes here), do solemnly swear, that I will cut my block pieces out carefully and use a true 1/4" seam allowance!
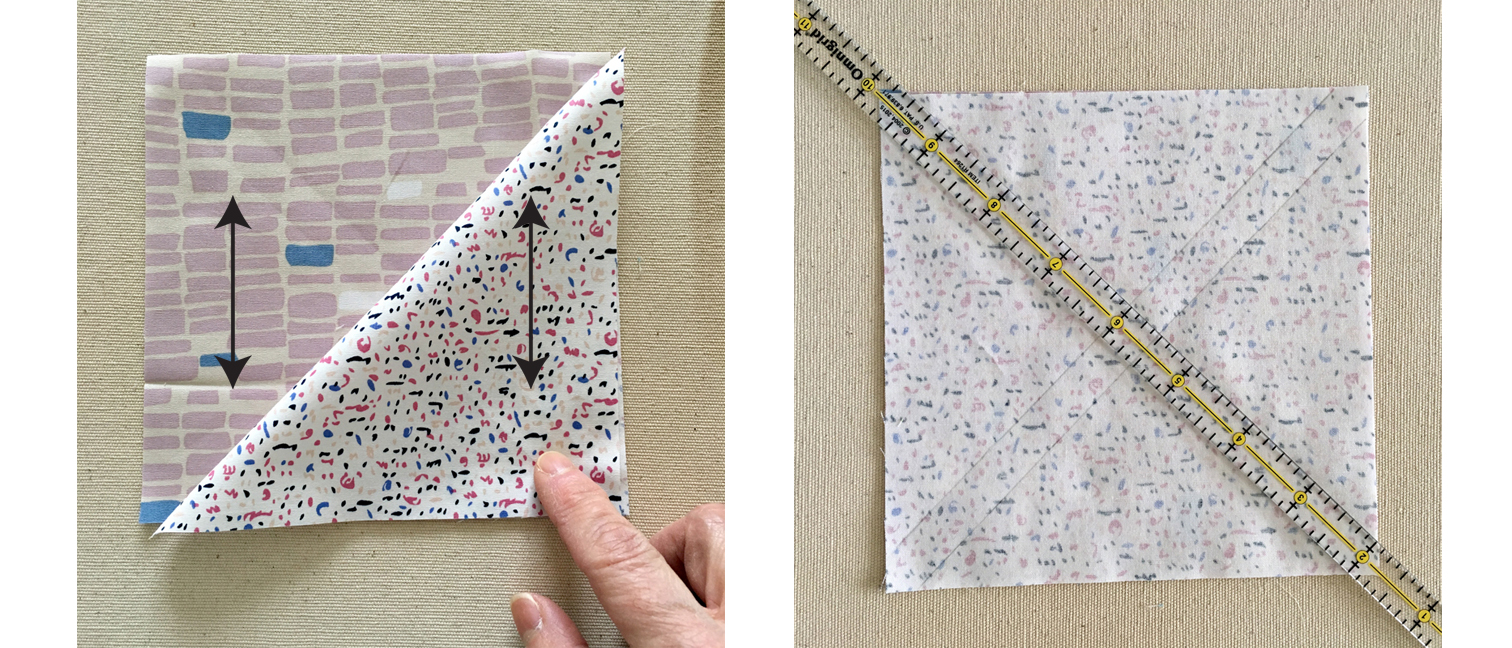
If you need a refresher on using a rotary cutter and ruler to cut pieces as well as how to check for an accurate 1/4" seam allowance read my Perfect Patchwork tutorial.
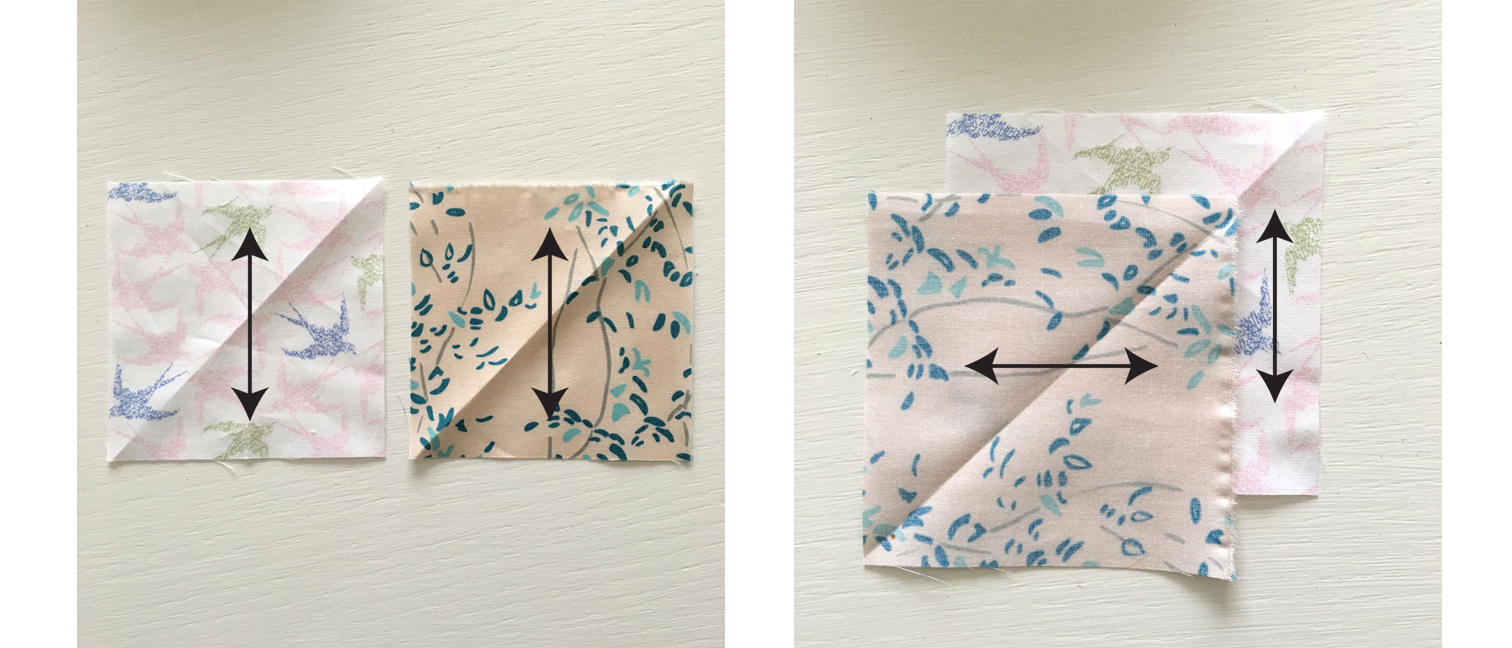
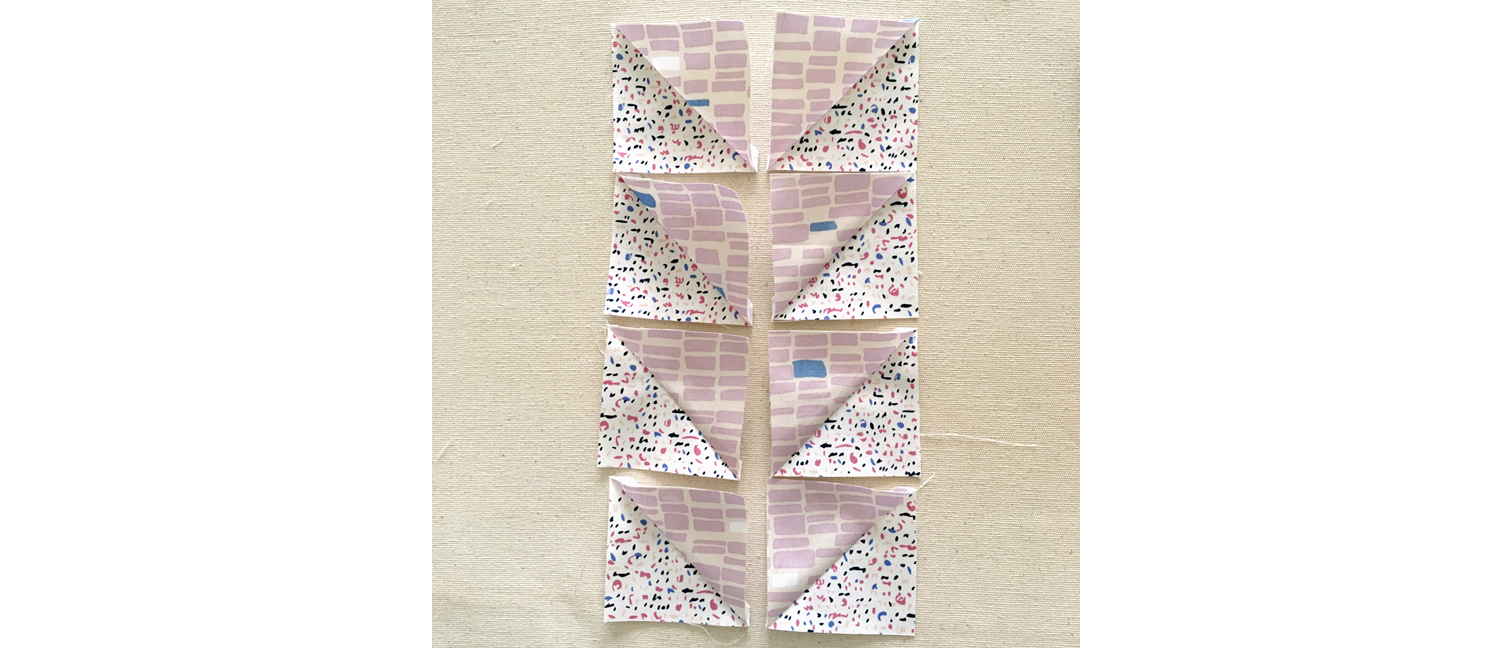
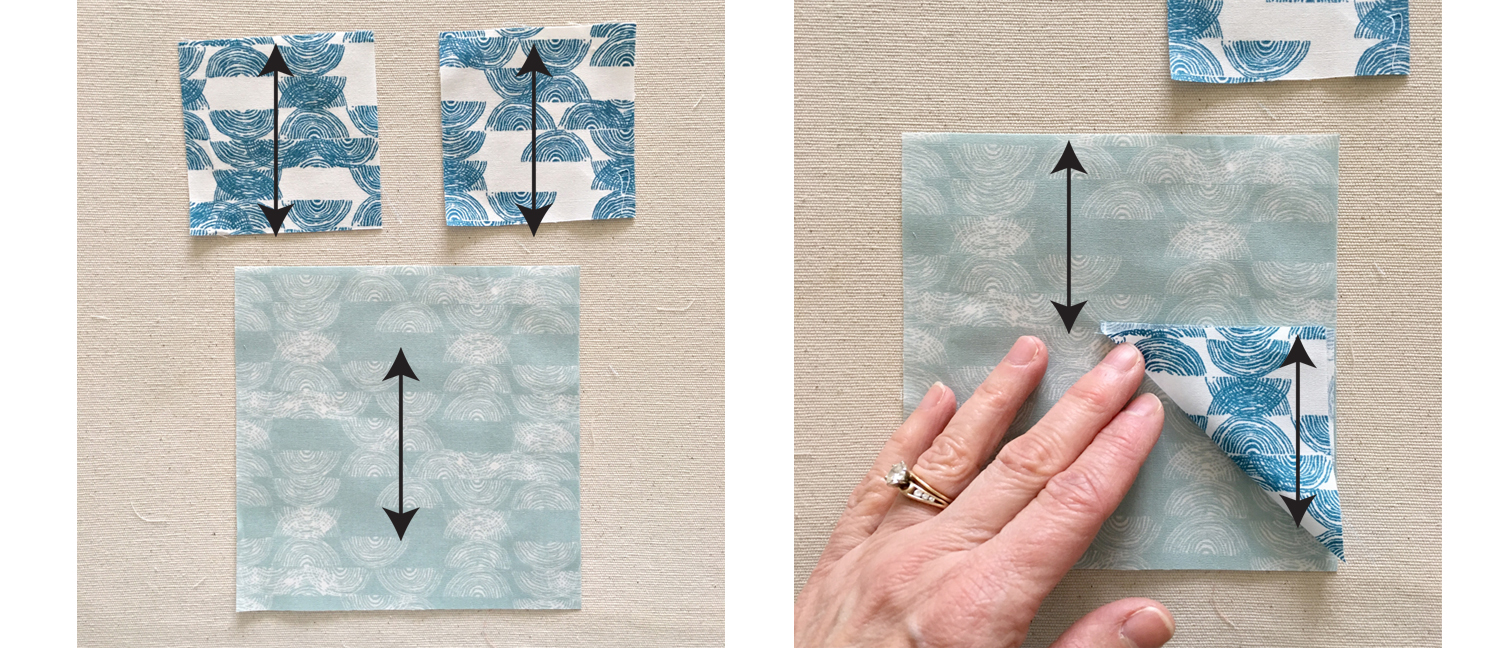
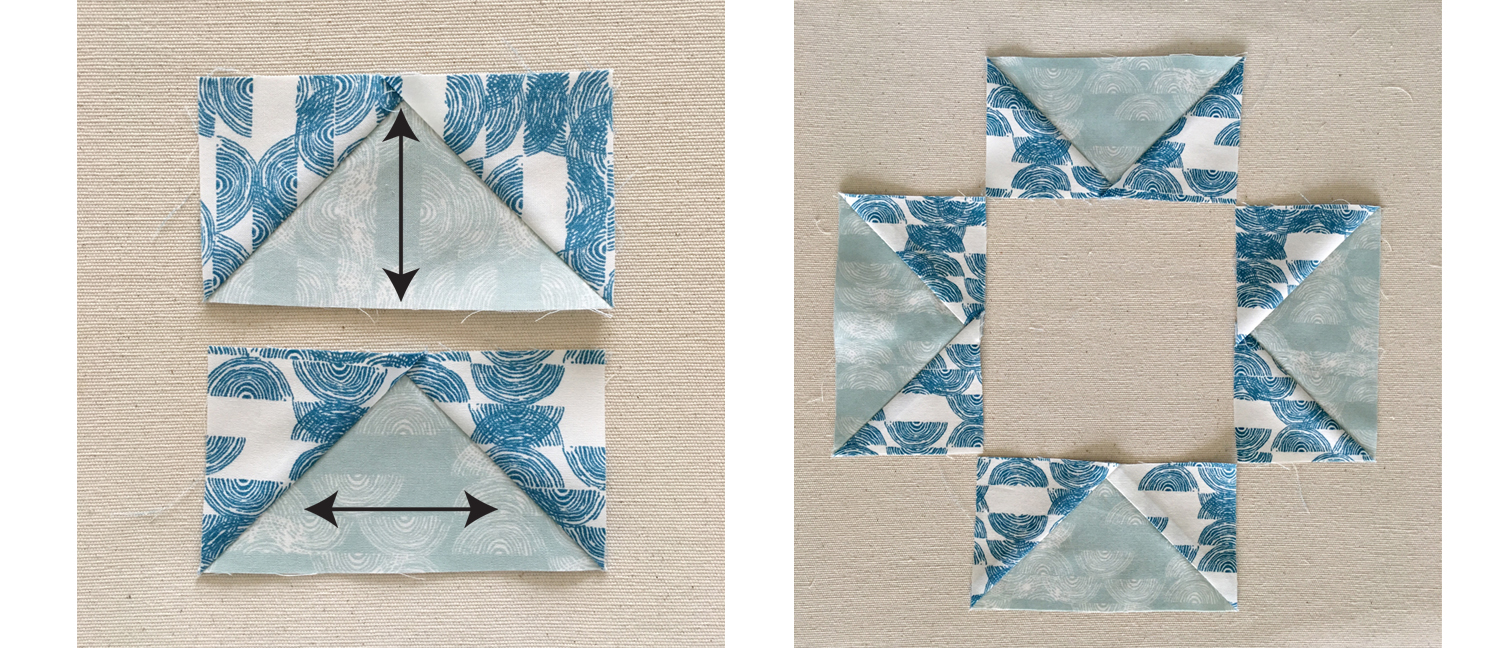
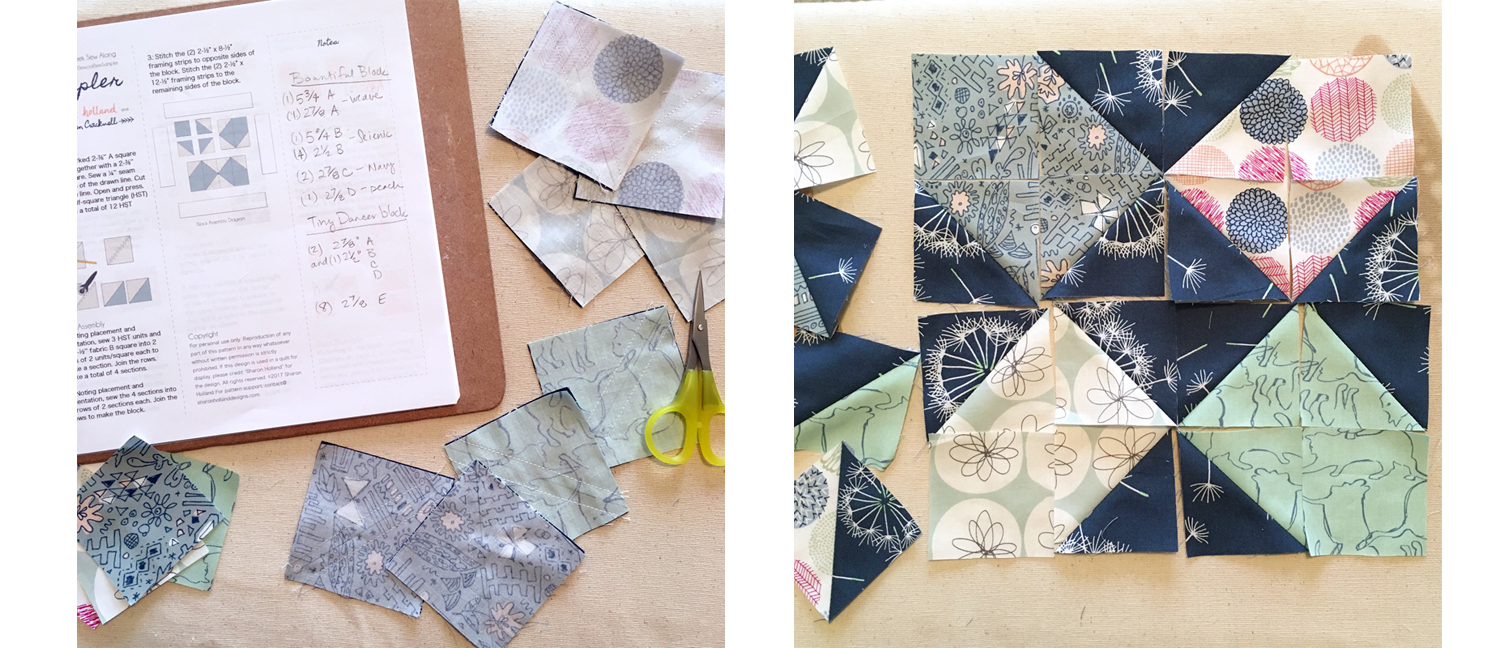
To sew this block, according to the instructions on the free PDF download, you will be making small Log-Cabin-like sections. Each time you add a piece onto the section, the long side of the new piece will perfectly match the length of the sewn section. If you're pieces are not measuring up, you need to make sure they were cut correctly to begin with and/or double check those seam allowance. There shouldn't be any need to trim or fudge the piecing on this block.
And just a note about the frame (because I even cut the wrong size on my first block!): Cut 1-1/4" wide strips like it says in the instructions, not 1-1/2'' wide like I defaulted to. Once you have the unframed block pieced, it should be 11" square. After adding the frames, the block will measure 12-1/2" square.

My second sampler quilt is made from a 20-piece curated collection of prints from my first four Art Gallery Fabrics collections. Block #11 uses Sketchbook, Tapestry, and Fusion prints.

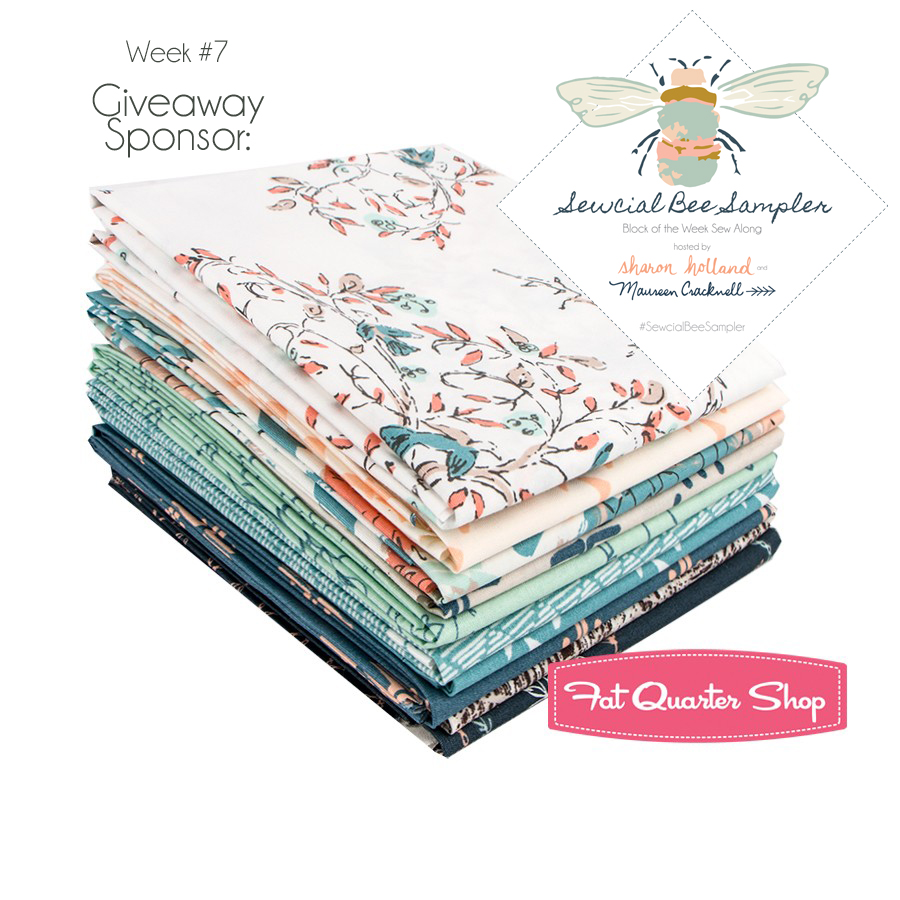
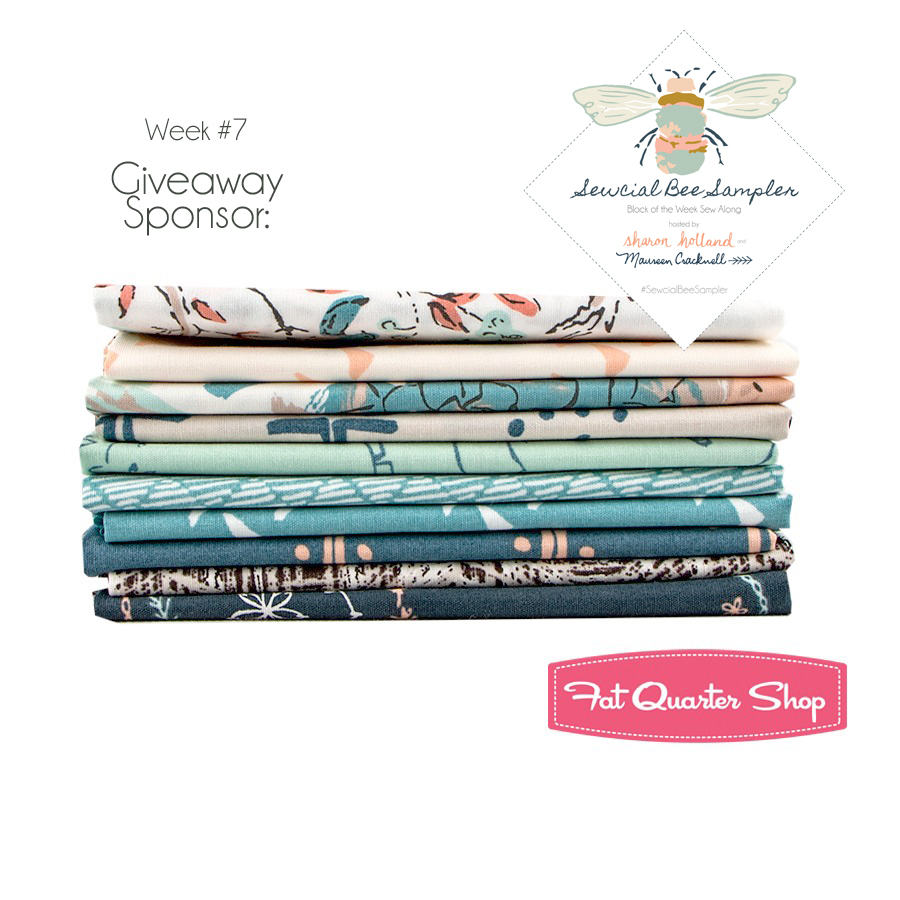
Also, don't forget that Friday is Giveaway Friday and this week I will be hosting the giveaway from this blog. We've got a great giveaway planned from Intrepid Thread I know you'll not want to miss!