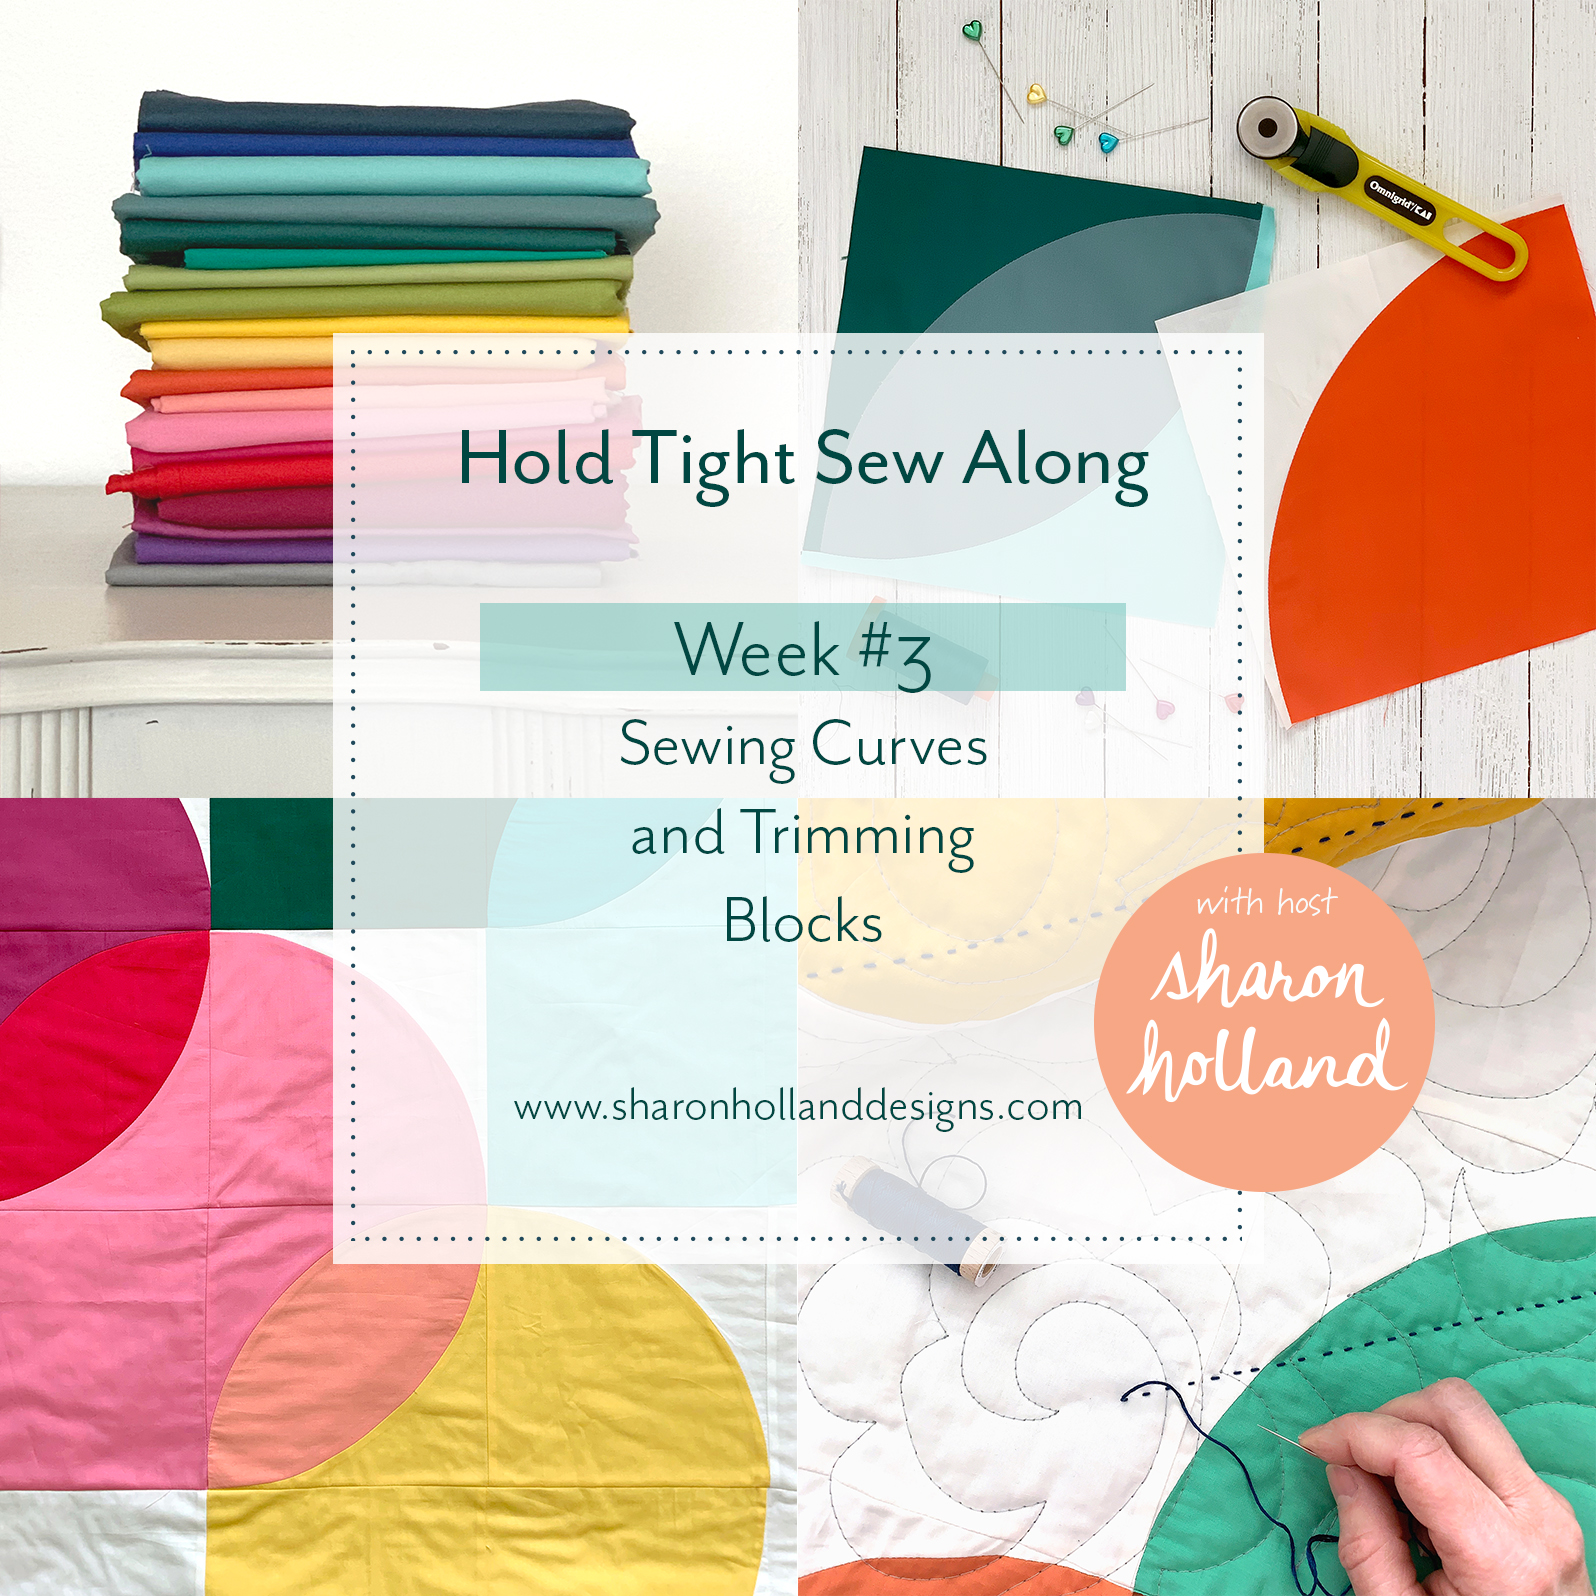
Hold Tight Sew Along Week #4

It’s the fourth and final week of the Hold Tight Sew Along where I’ve been sharing tips and tutorials to bring your quilting skills to a new level. No longer will curved piecing hold you back from stitching a quilt with curves!
If you don't have the pattern already, you'll want to purchase the Hold Tight PDF pattern from my Shop page or from our friends at Fat Quarter Shop who now carries this pattern along with the Hold Tight quilt kit. If you’ve just discovered this blog or only just heard about this sew along, there’s still plenty of time to join in on the fun as the blog post for the sew along will remain up to access any time. To get up to speed, take a look at the Week #1 posting dedicated to color selection and working with colors like a designer.

The Hold Tight Sew Along tutorials are useful to anyone working with fabric and patchwork regardless what quilt is being made. In addition to my written posts, I’ve adding skill-building demonstration videos to further your learning experience. I’ve added a new video dedicated to hand quilting and adding the “strings” embellishment to this quilted quilt before binding. View video support Weeks #1 through #4 on my Sew Along page. All the videos will stay a permanent feature to resource in the future.
These blog posts serve to supplement the instructions but don't provide the detailed pattern information that you'll find in the PDF available for purchase. The Hold Tight pattern will have your material list, cutting requirements, full-size templates, and be fully illustrated. My supplementary blog posts are just that, supplementary and meant to guide you along as you sew and give general patchwork sewing information for anyone sewing curves.

Quilting
If you’re a beginner or just in need of a refresher on how to baste your quilt top, machine quilt, and add the binding, check out the Finishing blog post I had written for the Sewcial Bee Sampler quilt. Since I cover the way I put together my quilt sandwich and how I go about machine quilting in the Sewcial Bee Sampler post I won’t go over that identical information here but instead add information specific to the Hold Tight quilt such as batting selection, the machine quilting design I used on both of my Hold Tight quilts, and hand quilting the string embellishment.

To help illustrate how different batting lofts look in a finished quilt I decided to use the exact same quilting design on both of my Hold Tight quilts.
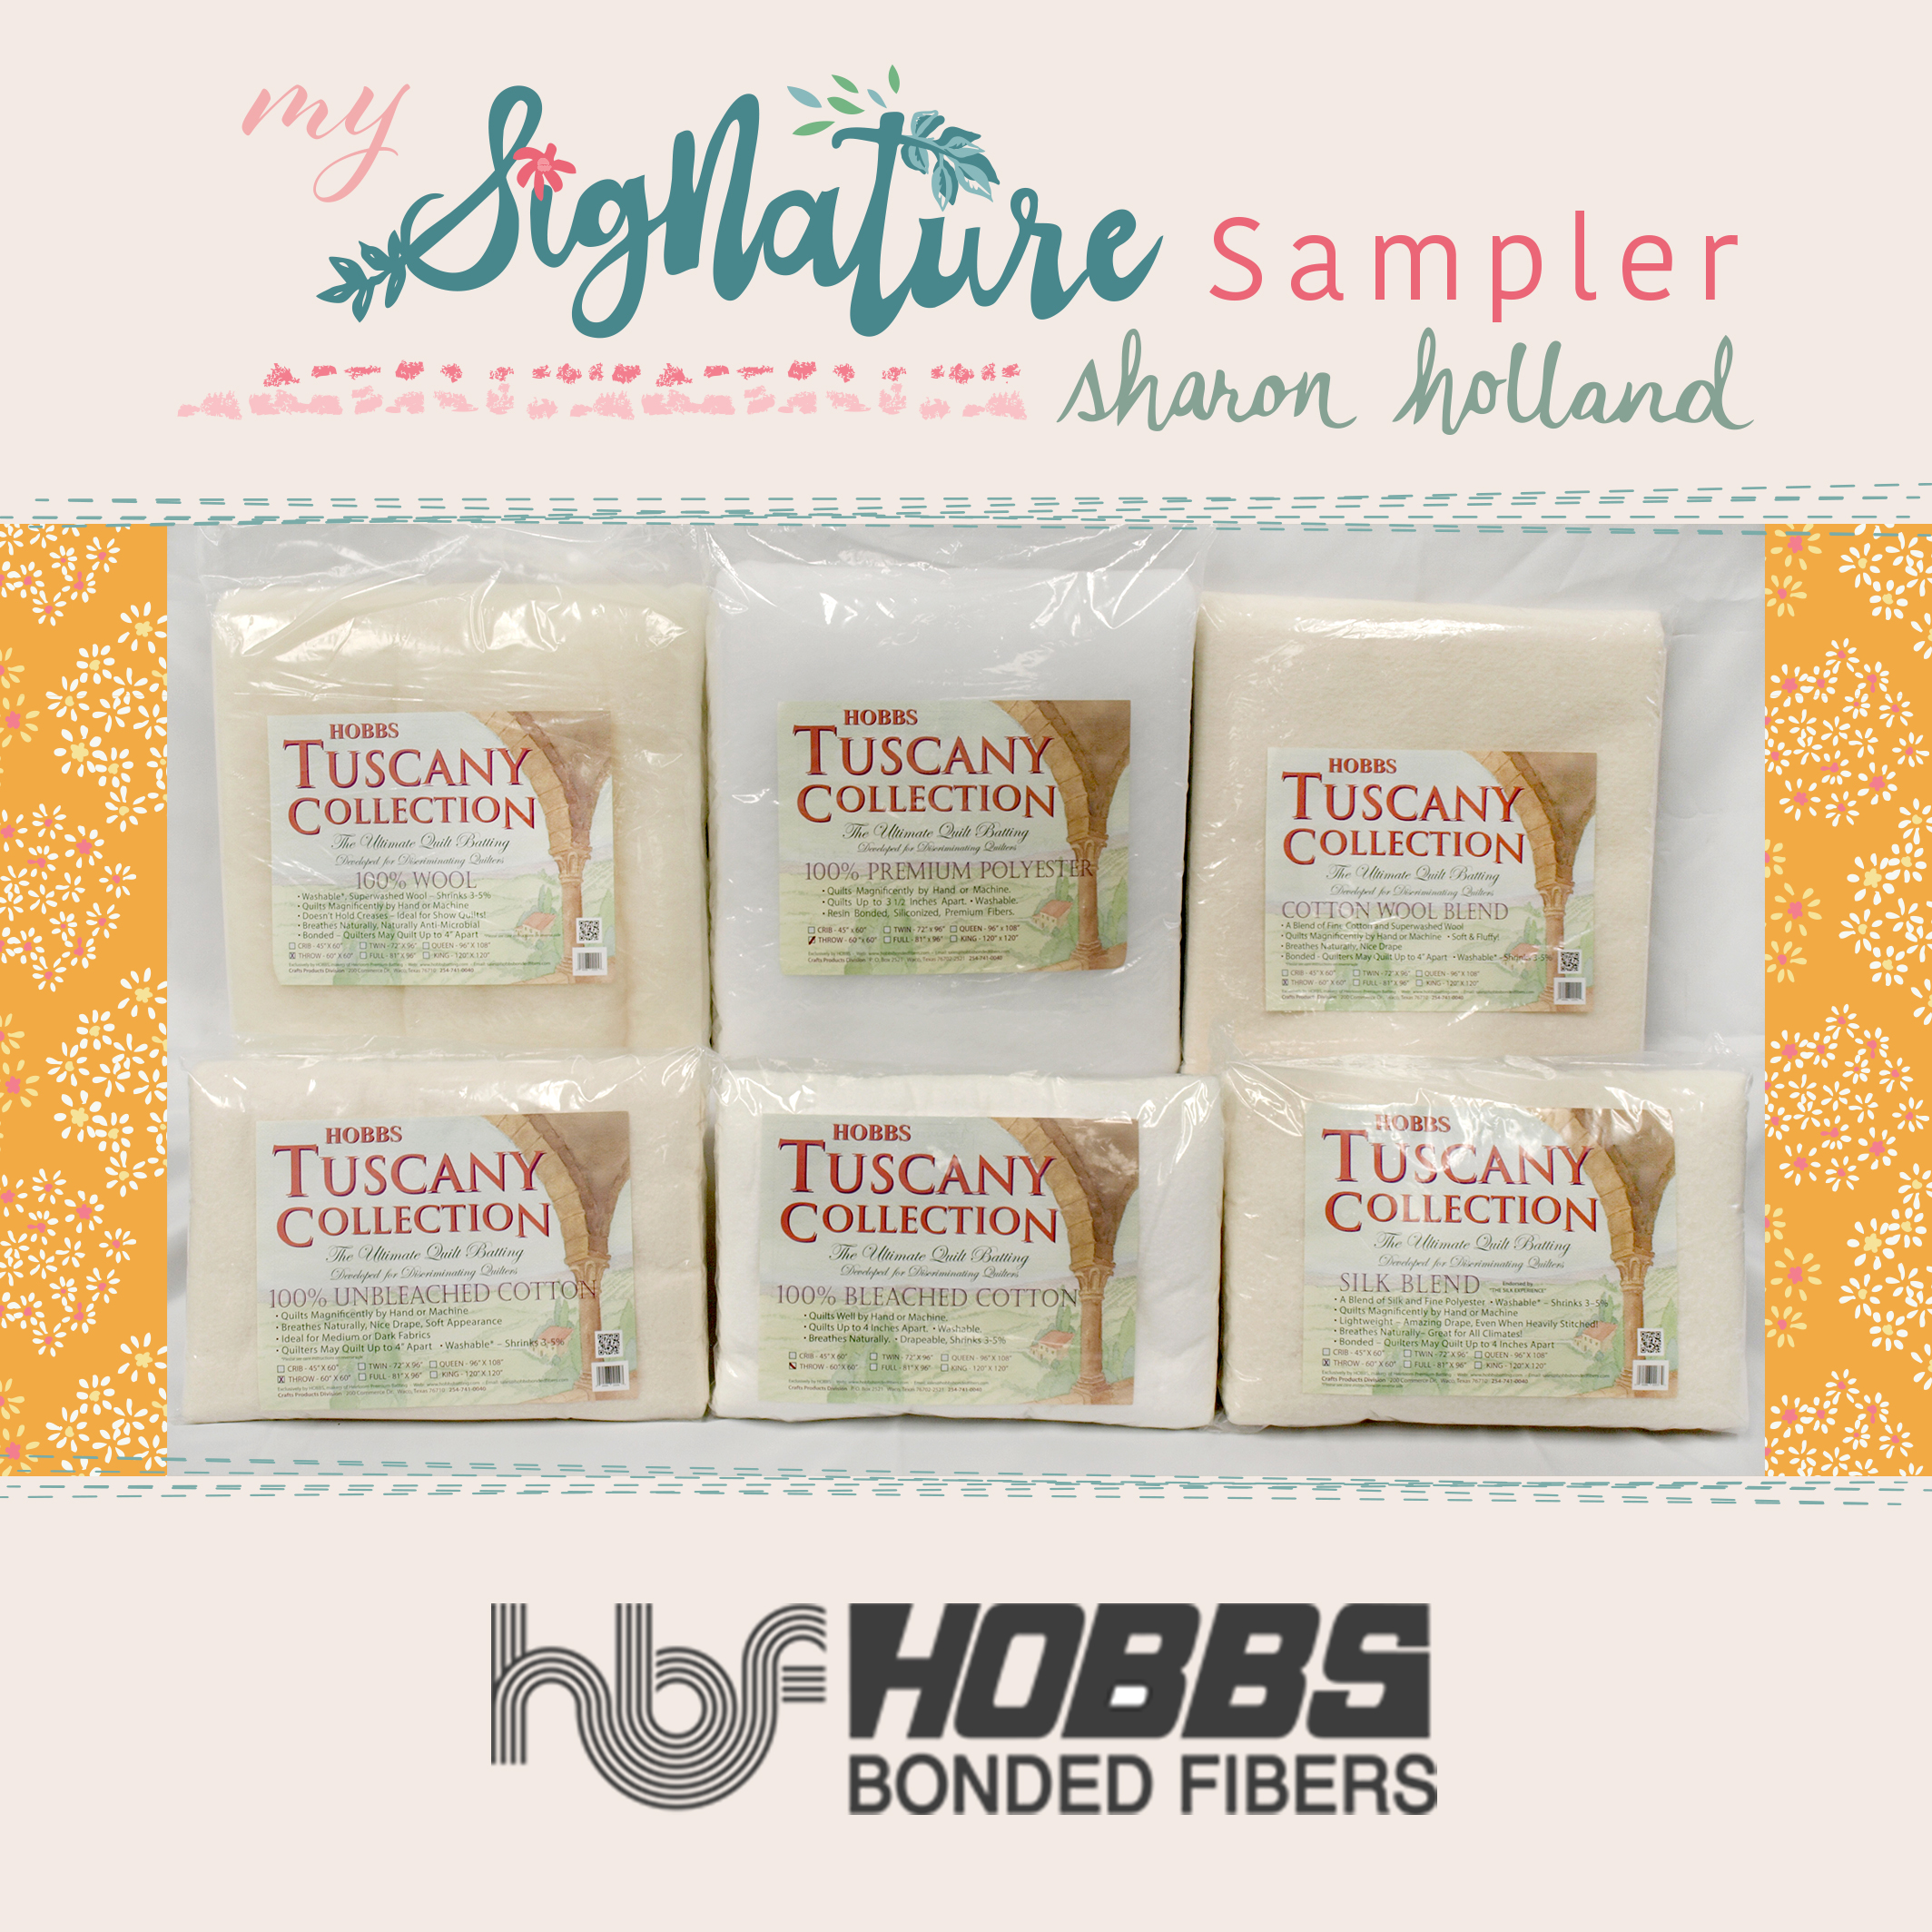
The white background quilt on the left has a Hobb’s Tuscany Silk batting inside and the ombré quilt on the right has Hobb’s Tuscany 100% Polyester batting inside. I love both of these battings but they have completely different properties.
Here’s what I love about both of these products:
Both preform beautifully with quilting stitched up to 4” apart.
Both have a beautiful drape, light weight (no heavy quilt to wrestle with when stitching), and easy to handle.
Both are excellent for hand stitching and machine quilting.
There’s no shrinkage with Tuscany Polyester and only 3%-5% with Tuscany Silk (but I’ve noticed very little after laundering).
I’ve had no issues with laundering these battings and set my machine to Delicate Cycle, Cold Water wash and rinse, and low heat (delicate) drying.
The Tuscany Silk is similar to a cotton batting for stitch definition and feel but without the weight. The Tuscany Polyester is a high loft for a puffier look and is light as a feather (great for kids and extra snuggly quilts).
You can read further direct from the source at Hobb’s Batting plus take a look at their handing Quilting Products Batting chart to know what’s the best batting for your needs.
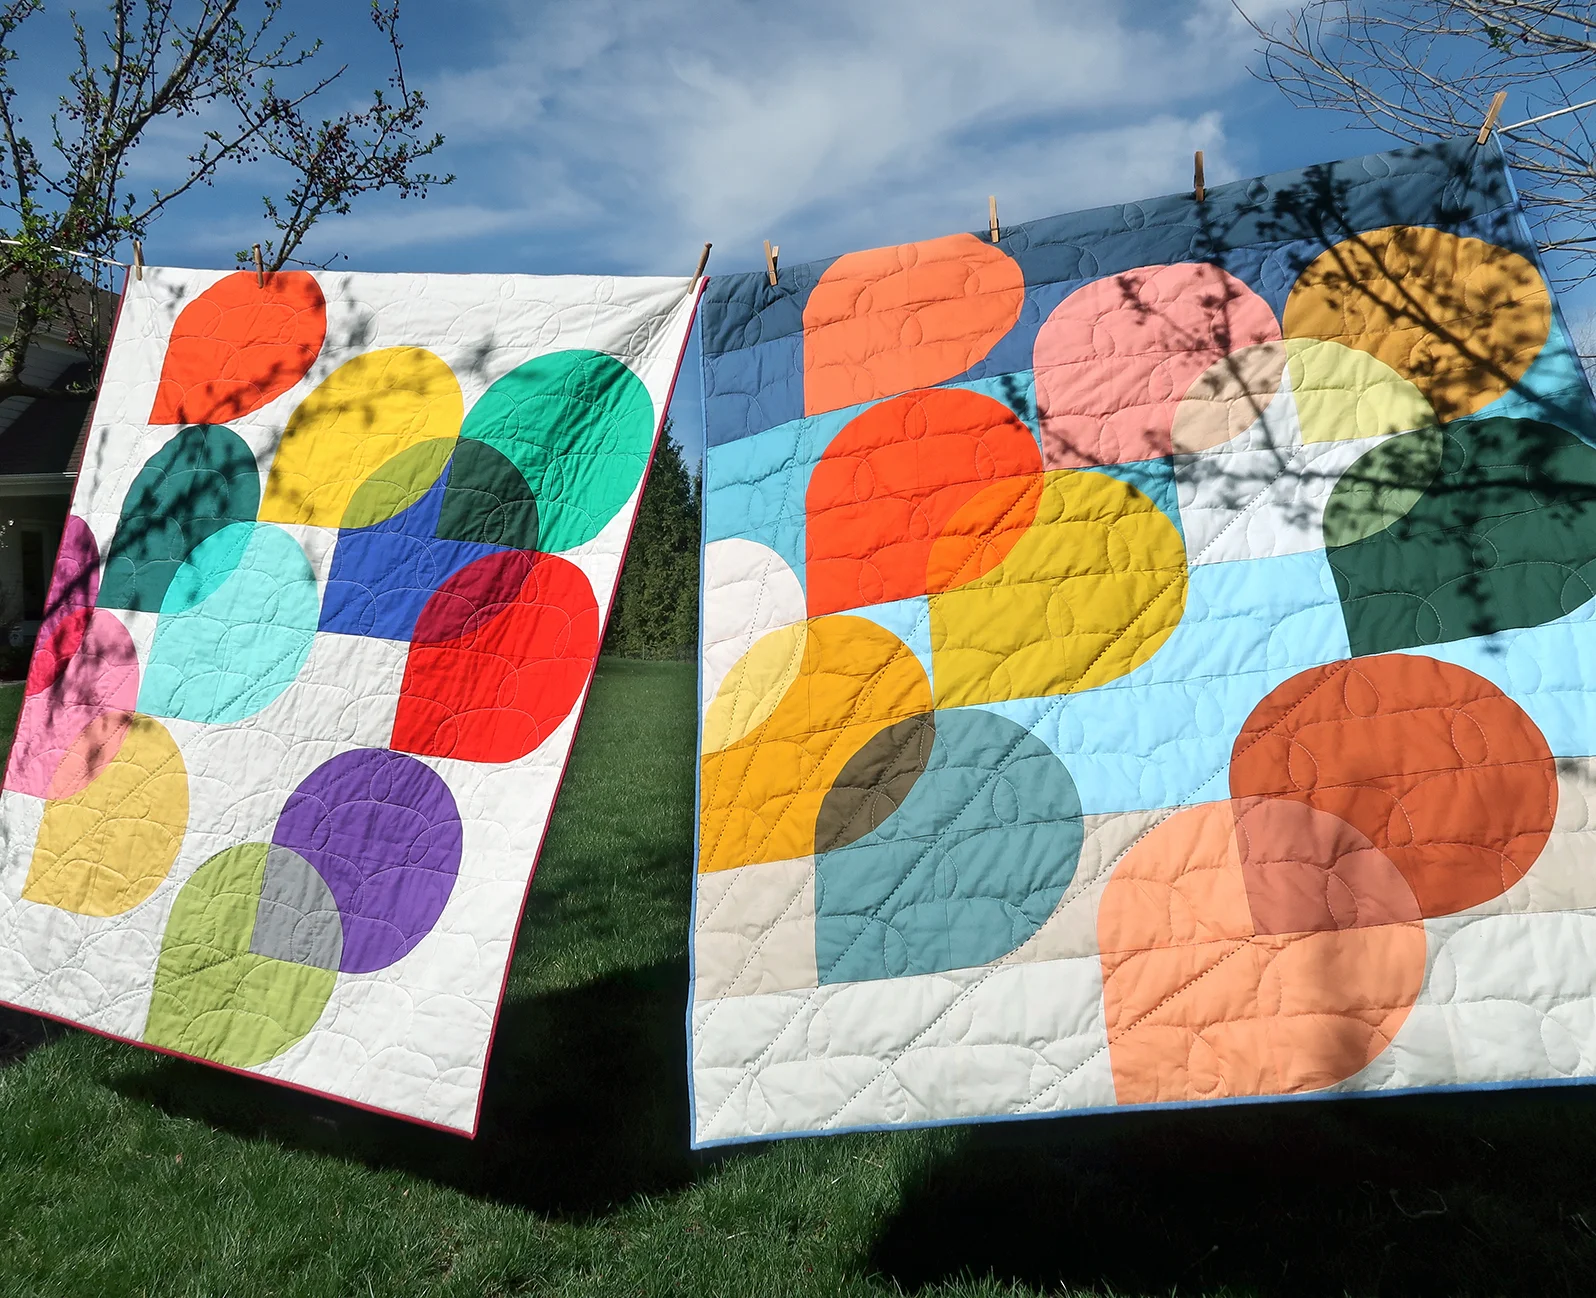
I decided to do a very simple quilting stitch on these two quilts. The original Hold Tight quilt is filled with Tuscany 100% Polyester batting but has a dense, overall quilt design (see quilt below) so the quilt doesn’t puff as much as with the simple, looser machine quilting (see quilt on the right, above). It just depends on the look and feel you want to achieve.

To stitch the loose Looping Scallop design you will need to do a little prep work of marking a horizontal line across the middle of the block rows.

By dividing the block rows in half horizontally you’re making guides for two Looping Scallop quilting lines per block row. Stagger the two Looping Scallops in alternating rows as seen in the illustration above. I freeform stitched my Looping Scallops and they look in real life about as wonky as they do on my illustrated drawing.
For one horizontal row of Looping Scallops I used the block seam lines as my guide where I would make the loop. On the next row, that seam line was my midway point between loops that I eye-balled to land in the middle of the block.
I worked from the bottom of the quilt up, as I wanted the scallops to give a bit of a cloud illusion and this felt the most natural for me in creating the loops. You can work from the top down if that feels more comfortable to you. If you’re not sure about eye-balling where the loops and scallops are to be stitched, then draw out the machine quilting design or make a little mark at the midpoints for reference so you have more of a guide to follow.

Once your quilt has been quilted and before you add the binding, you’ll want to add the hand stitching to create strings on the ends of the balloons. I’ve put together a helpful video all about Hand Quilting and you can find it on the Sew Along page with the other Hold Tight Sew Along videos.
I used all 6 strands of 6-ply Aurifil floss for my hand quilting thread.

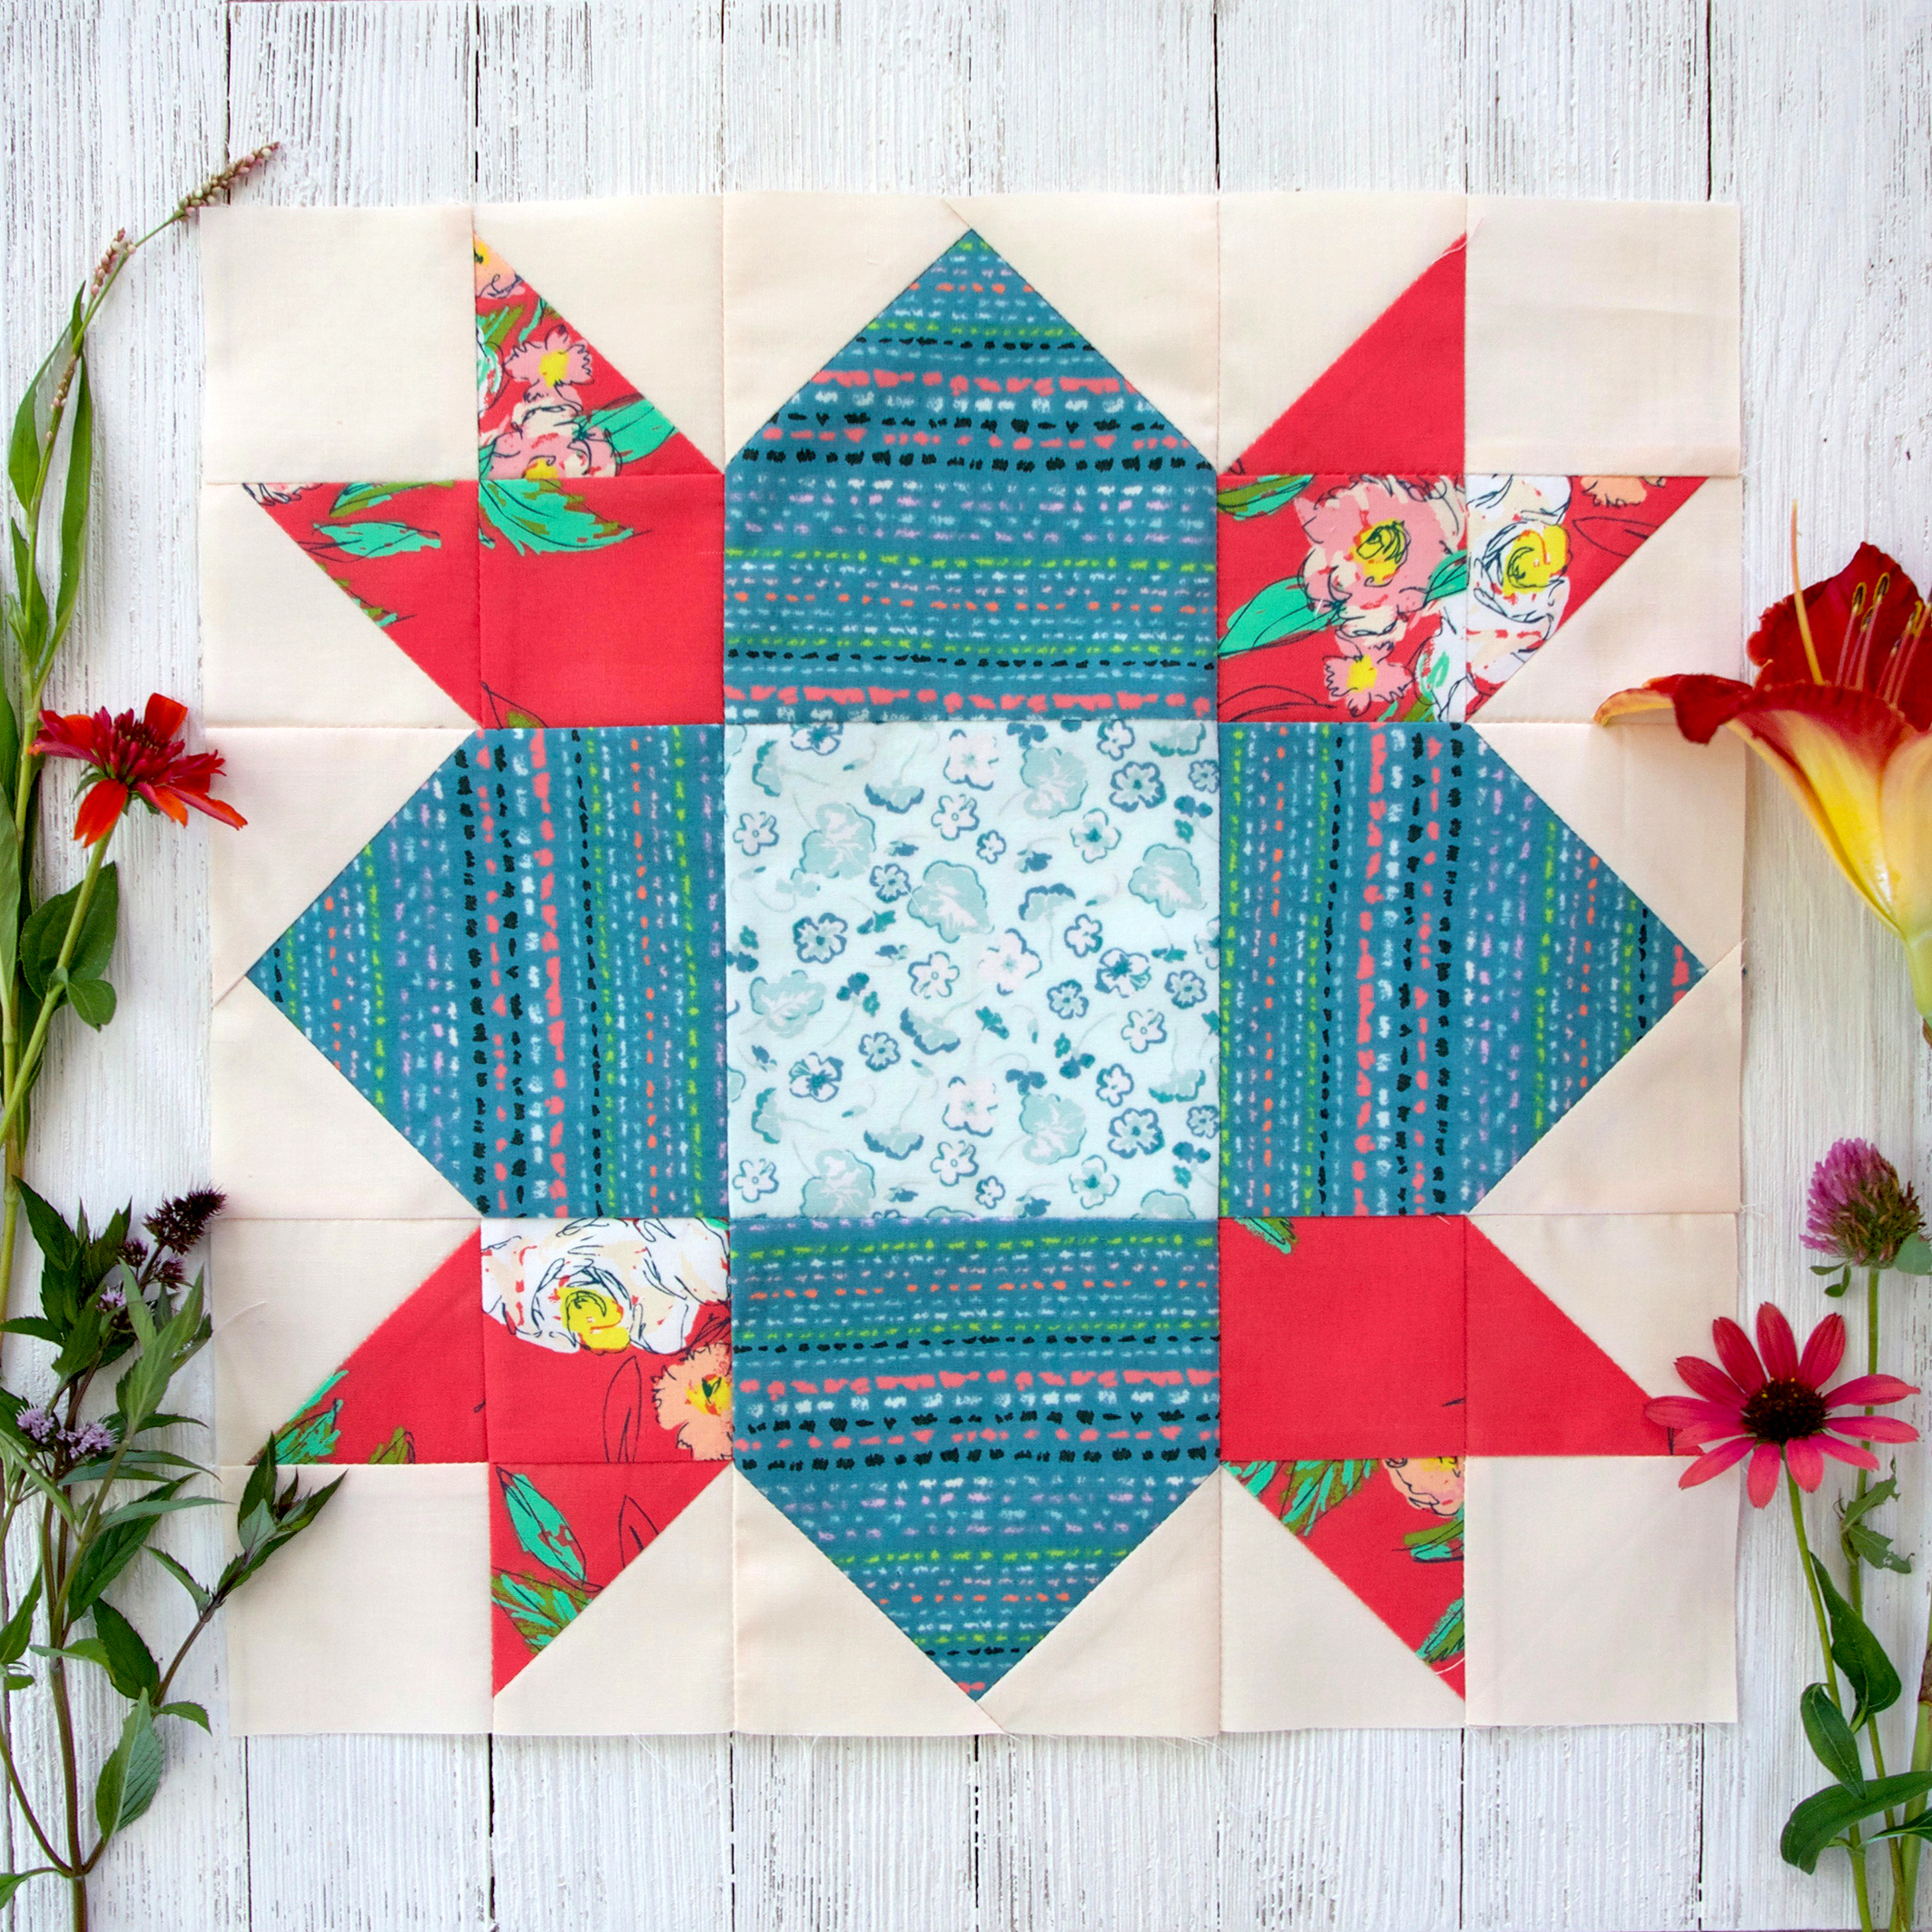
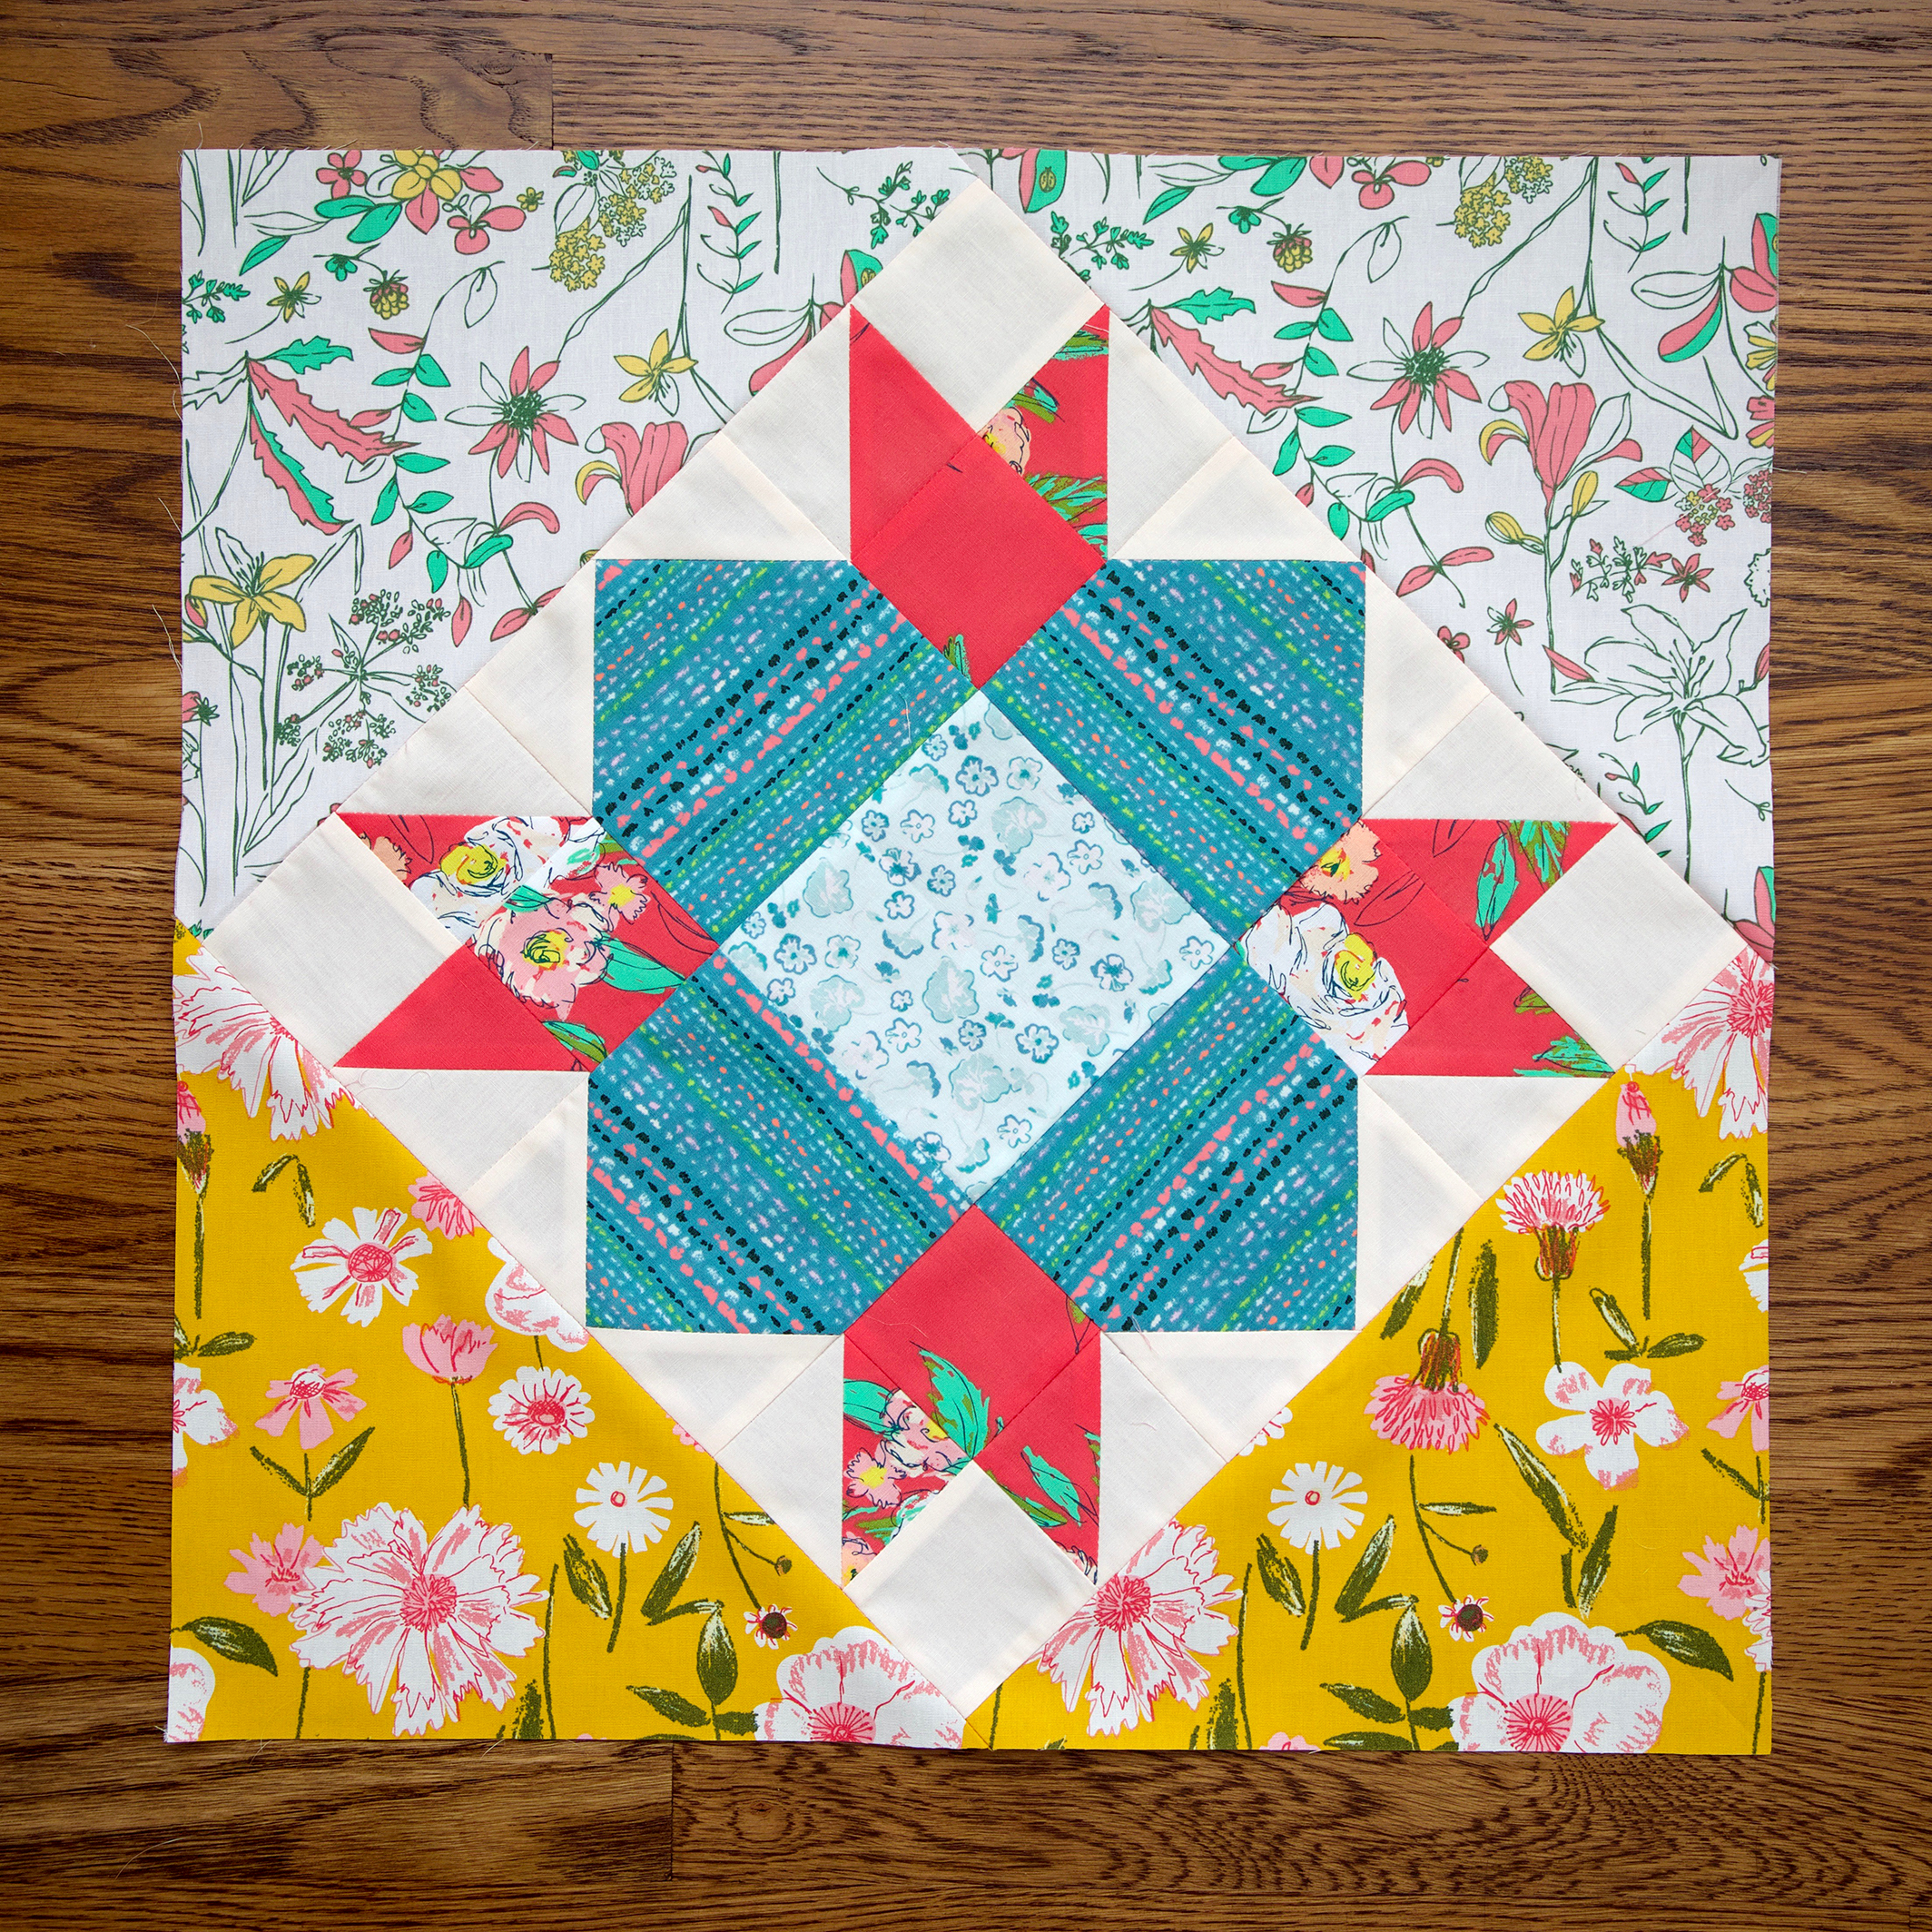
All of my Hold Tight quilt use Art Gallery Fabrics Pure Solids for the top. The white background quilt I’m calling the Art Class color way and you can see the full list of fabrics used on week #1 of the Sew Along. For the backing I had to sneak in a print and used Sporangia Plaid print from my Art Gallery Fabrics Signature collection as the perfect compliment to the colorful front.

For the Ombré Desert color way I mixed it up a bit and made a gradient background to simulate the sky. Read about the colors that went into making this top along with the color inspiration for the quilt on week #2 of the Sew Along.

The backing for the Ombré Desert color way is Destination Aerial from my Tapestry collection for AGF. It was the perfect shades of blues and peaches!

I lucked out with the perfect (although a bit windy) day for photography and love how the blue of the sky looks with these quilts. The balloons look as if they will fly away!!!

I can’t wait to see your finished Hold Tight quilts, there’s so many possibilities for coloring and even the finishing options make this quilt look completely unique. Be sure to tag me @sharonhollanddesigns when posting to social media and don’t forget to use the hashtag #holdtightsewalong to be entered into our final giveaway that will be drawn from the Instagram hashtag pool on Monday, April 15 (see below for more details).

Let’s give a huge shout out of thanks to our fine sponsors and their generous giveaway prizes. I personally love the people behind these companies, their quality products, and their dedication to serving makers like you.
Thank you to our friends at Dritz Sewing, the Fat Quarter Shop, Hobbs Batting, and Omnigrid have generously sponsored the Hold Tight Sew Along.
This Friday, April 12th will be our last Hold Tight Sew Along giveaway on Instagram. By using the hashtag #HoldTightSewAlong on Instagram every time you post sew along photos to a public account (private account posts don’t show up in hashtag pools) your IG account is automatically entered into the weekly sew along drawings! Ideas for what to share include your sew along progress, the “I’m a maker” sew along badge found HERE, your fabric pull, blocks, and finished quilt.
Be sure to follow me on Instagram @sharonhollanddesigns so you never miss a thing!
THIS WEEK'S GIVEAWAY SPONSOR IS FROM The Fat Quarter Shop

You may need to be restocking your solids stash after this sew along so what better way add some color to your fabric cabinet than with a chance to win this giveaway! One lucky IG winner will be sewing with this beautiful 15-piece Art Gallery Fabrics Summer Sun Pure Elements fat quarter bundle generously offered by the Fat Quarter Shop.

Don't forget the giveaways for this sew along are held on Instagram (not on the blog) and winning names are randomly drawn from the posts in the hashtag pool. By posting images of your Hold Tight color inspiration, fabric pull, blocks, or quilt. Use the official #holdtightsewalong hashtag every time you post your makes (to a public account) and you're automatically entered into the weekly IG drawings! See my Instagram Friday giveaway posts @sharonhollanddesigns for full details.