That Handmade Touch Book Hop

That Handmade Touch by Svetlana Sotak
I’ve been following the work of Svetlana Sotak for years now and am in love with her clean, practical, handmade aesthetic. When I heard she had a new book out I was excited to get my hands on a copy and be part of her book blog hop! Follow along on the hop via her Instagram feed at: @sotakhandmade

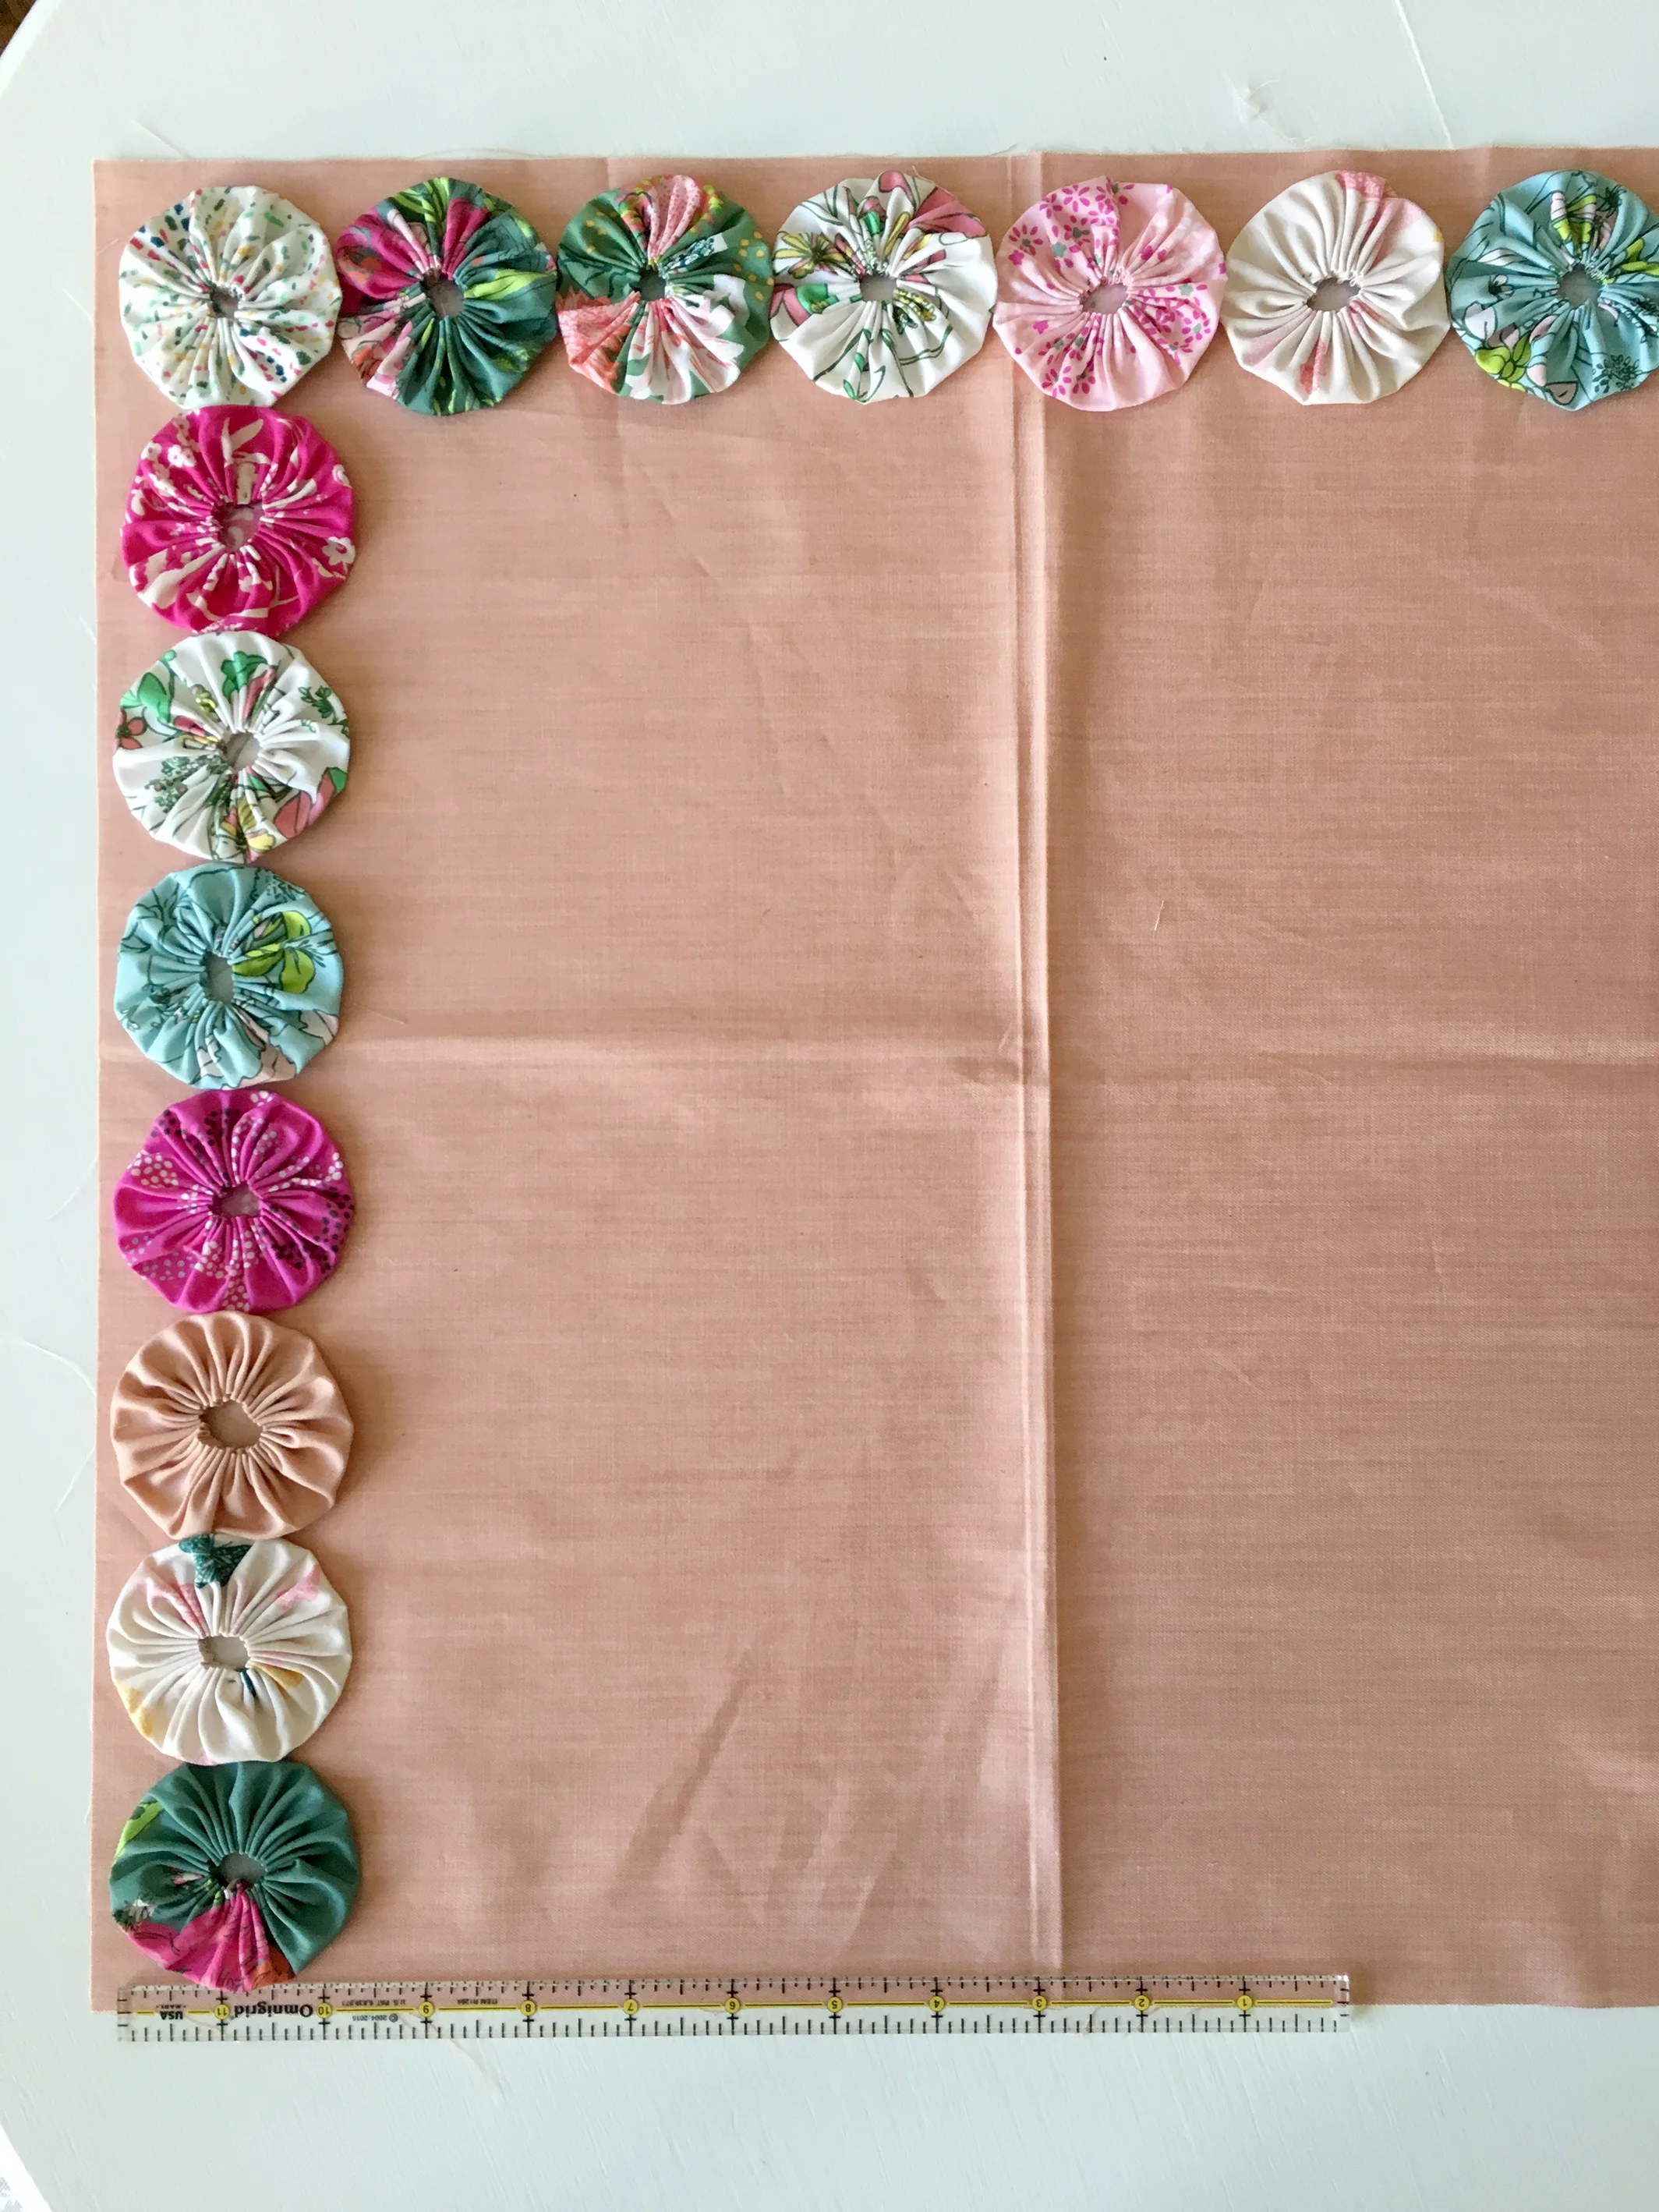
Soft Storage Bucket from That Handmade Touch by Svetlana Sotak
The book is called That Handmade Touch and is a Lucky Spool publication. It was so hard to pick just one project to make because honestly, I want to sew everything in this book but I needed to leave projects for the other blog hop makers to sew so I decided to sew the Soft Storage Bucket because:
It’s so darn cool
I can always use more pretty storage baskets
I’ve always wanted to work with leather handles and try adding rivets

That Handmade Touch by Svetlana Sotak
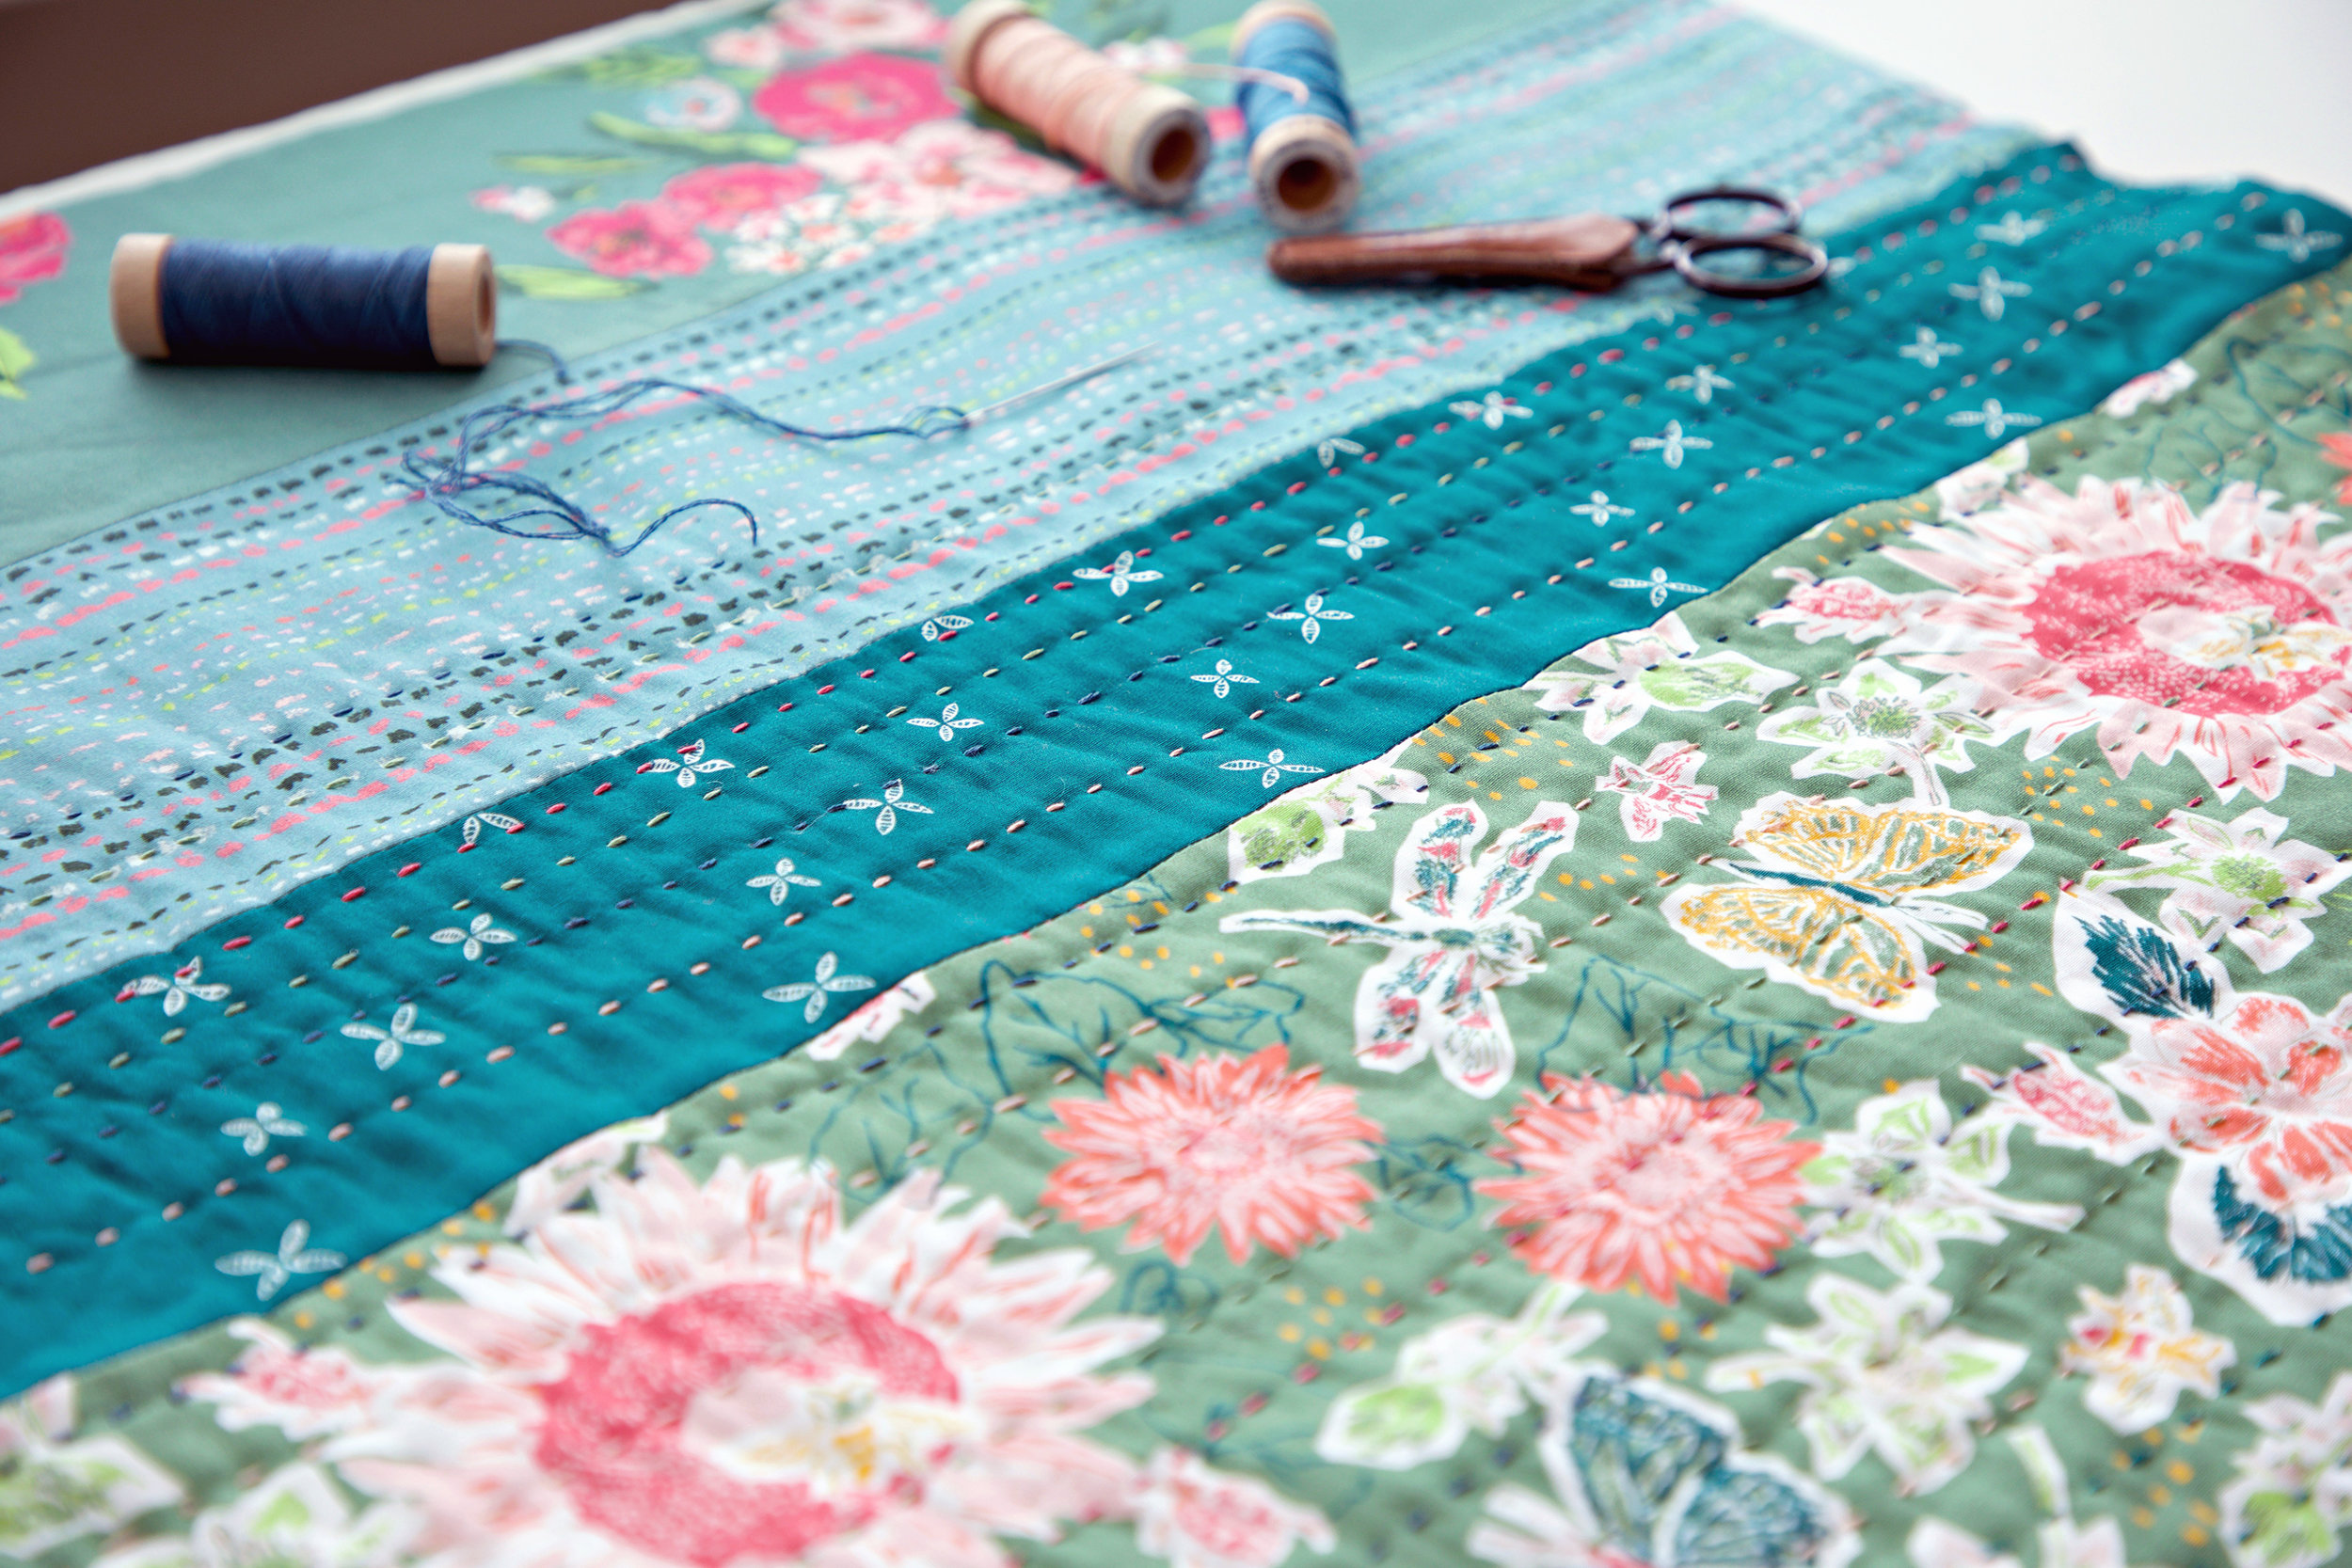
Never having added rivets to a project before was the only part of this project that made me nervous. Sewing up the bag was a snap and the instructions and illustrations were easy to follow. I think it took all of a half hour to make the bag and another 4 days to get the nerve to add the rivets!

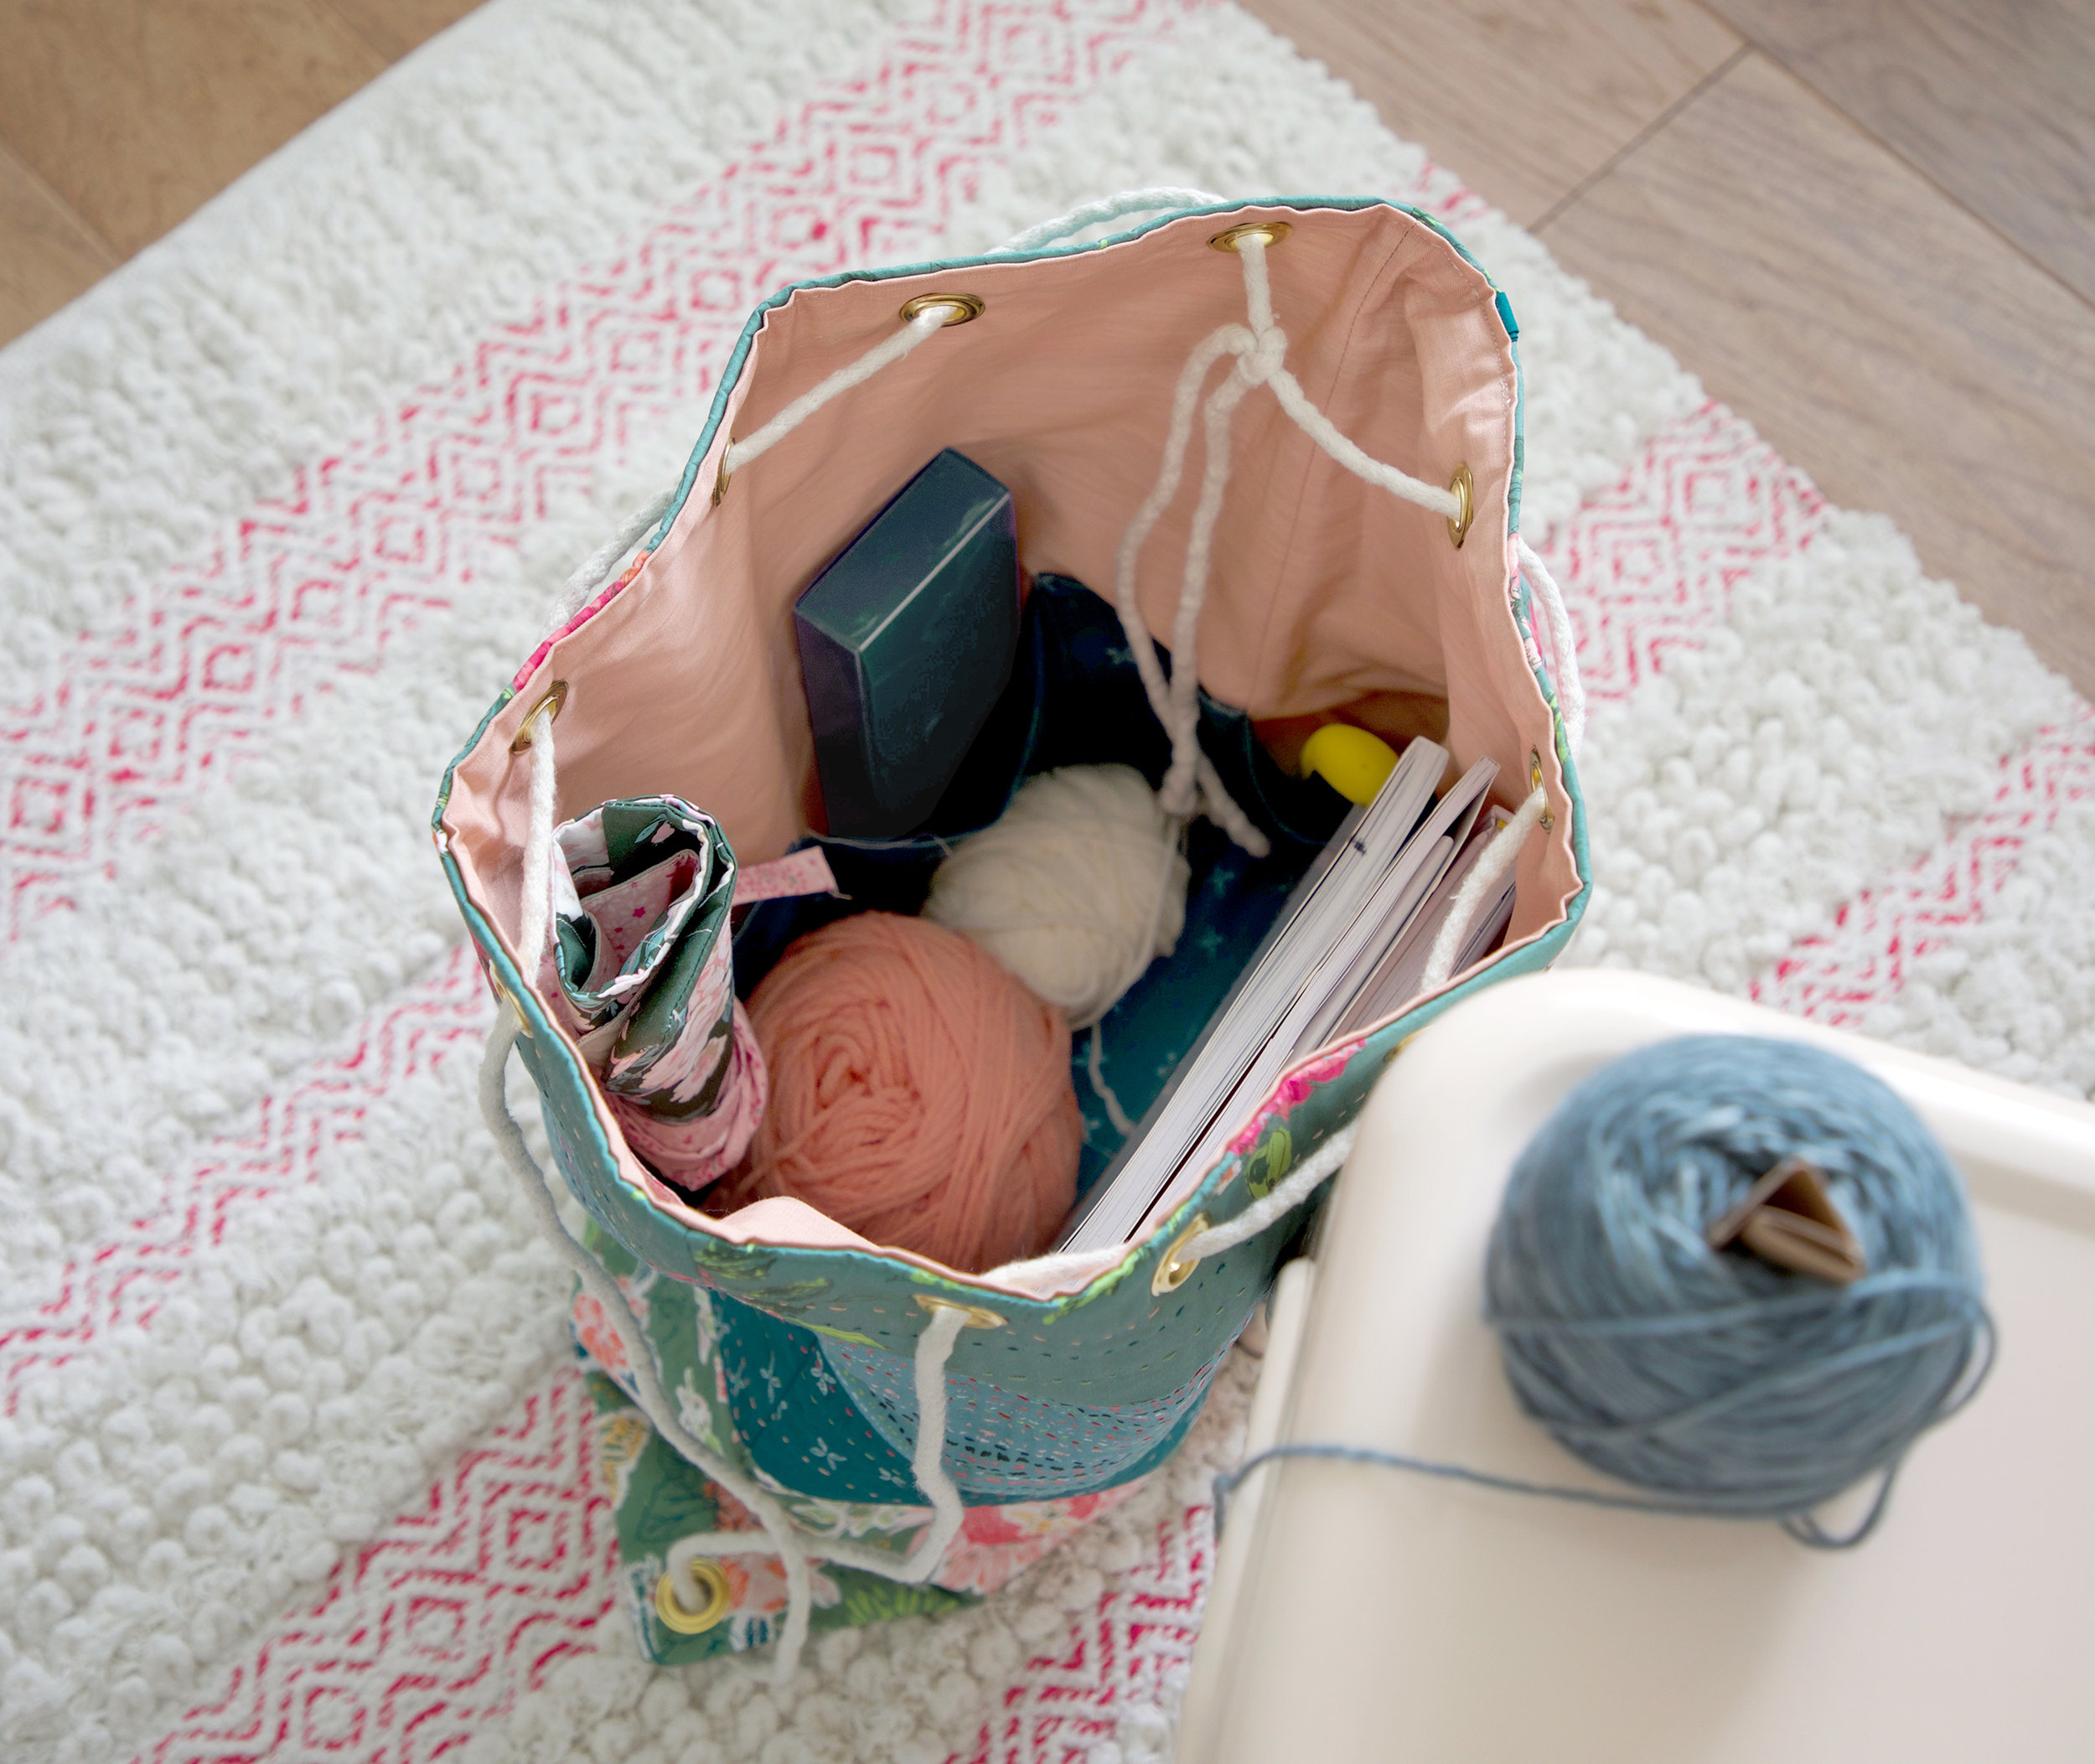
Turns out, it was really no big deal to use the pre-cut leather and rivets—look for the affiliate product links at end of post. For the fabrics, I used the Sand Bar canvas from my Art Gallery Fabrics Coastline collection on the exterior of the bag and AGF Crosshatched Textured Denim for the lining.

This bag is just the perfect size and there’s so many uses for a bucket bag like this; toys, throw blankets, craft supplies, shopping, and the list goes on. I also like the fun option of rolling the top edge down to reveal the interior print or having it up for a taller bucket bag or easy-carry tote.

Don’t you just love the antique gold rivets with the leather!!!??? The leather adds the perfect accent for the coastal-look of this bag. I plan to make more of these to use as gifts for the upcoming holiday season—their roomy enough to fill with fun items and useful beyond just being the wrapping.