Hold Tight Petite Sew Along - Cutting and Piecing

Welcome back to Week #2 of the Hold Tight Petite sew along. As part of Blair Stocker’s Wise Craft Ruby Ruler™ Ambassador series and being August’s Ruby Ambassador (Read my interview by Blair—here), I thought it would be the perfect opportunity for Blair and I to collaborate on a project and explore the world of color through fabrics.

August Ruby Ambassador - Sharon Holland
Blair’s ruby-hued artist’s viewfinder tools the Ruby Ruler™ and Ruby Minder™ where invaluable tools in last week’s study on Color and Value. I blogged about how, as a designer, I go about selecting colors for my fabric collections or a color story for a quilt and how I used the Ruby Minder™ to check my selections. If you missed the first week, read more here. Plus you’ll find additional color theory materials covered on Week #1 and Week #2 of the original Hold Tight sew along as well as in the skill-building demonstration videos. Find these helpful videos on my Sew Along page which are available for viewing any time.

Ruby Minder™ by Blair Stocker of Wise Craft Handmade
For more Color and Value study, Blair has a wonderful online class, Make Modern Scrap Quilts Using Color Value which is an evergreen class—you buy its and it’s yours forever, there are no "sessions". Read more about this class on Wise Craft Handmade.
Plus, for this Hold Tight Petite sew along, Blair Stocker will be following up my Wednesday morning blog posts with a Facebook Live session at 11 am Pacific on Wednesday, August 14 cutting pieces with templates and curved rulers as well as sewing curves. This workshop-like experience with Blair on Facebook is a huge bonus along with connecting with more than 1,500 other quilter’s via Blairs private Facebook group! Blair will host live sessions to support my sew along blog posts and share with you her expertise. Note: Blair’s FB group is free to join by answering three questions when requesting to be added to the group. If you can’t join in the live sessions—no problem—the videos are available for replay and ready to view when you are!

This sew along is free to join—no sign up forms—just follow along and have fun. You’ll will need, however, the Hold Tight quit pattern. If you don't have my Hold Tight quilt pattern already, you'll want to purchase the Hold Tight PDF pattern from my Shop page. The Hold Tight pattern now includes two sizes—the original over-sized throw and the new petite crib-size quilt. The material lists, cutting requirements, coloring sheet, and full-size templates are part of the fully illustrated PDF pattern. These sew along blog posts serve to supplement the PDF but don't provide the detailed pattern information that you'll find in the PDF available for purchase. If you’ve purchased the original PDF prior to August 5, 2019 and didn’t receive a special newsletter email from this blog sharing the link to the Petite Add-On download, see my SEW ALONG page to get your copy of the bonus size. You’ll find the Add-On download that contains the crib-size material list, cutting guide, and coloring sheet. Note: You’ll still need the original Hold Tight pattern for quilt details. The current PDF in my shop has been updated with both quilt sizes so patterns purchased after August 5, 2019 include both quilt sizes—no add-on necessary.
Week #2 - Cutting and Piecing
Even though I’ve labeled this pattern an intermediate skill level quilt pattern, I firmly believe that even a confident beginner can tackle curved patchwork with ease because you’ve completed the following:
You’ve printed out the PDF instructions and templates to 100% scale (with borders) onto US letter size paper and because you’ve cut your fabrics true to size (see Hold Tight Sew Along Week #2 post).
You’re sewing with an accurate seam allowance. As with any patchwork sewing its imperative to stitch with an accurate 1/4” seam allowance. Take a moment to read the Seam Allowance section on my Perfect Patchwork tutorial.
I’ve prepared bonus video tutorials and you’ll find the Hold Tight Sew Along Week #3 parts 1 and 2 are extremely helpful for pinning, sewing, press, and squaring up your blocks. Find all the Hold Tight Sew Along videos on my Sew Along page.
This week’s blog post is going to be an easy one for me to compose compared to last week’s epic Color and Value post because the information about Cutting and Piecing hasn’t changed from my first sew along. Instead of copying and pasting all that information to this post, I’ll refer you to Week #2 and Week #3 of the first sew along. So, go ahead, take a look at that information and then come back to this post for some additional tips, pretty photos, and information about this week’s giveaway!

Learning Live
The beauty of an event like this being co-hosted is you get to experience different perspectives, sewing tricks, and in the case of Blair’s Live Facebook sessions, a new way of viewing information. This week, Blair will be cutting and piecing her blocks and carrying on what I started in my video demonstrations. This is your chance to ask Blair questions and maybe gain a few new tricks to sewing with curved patchwork.
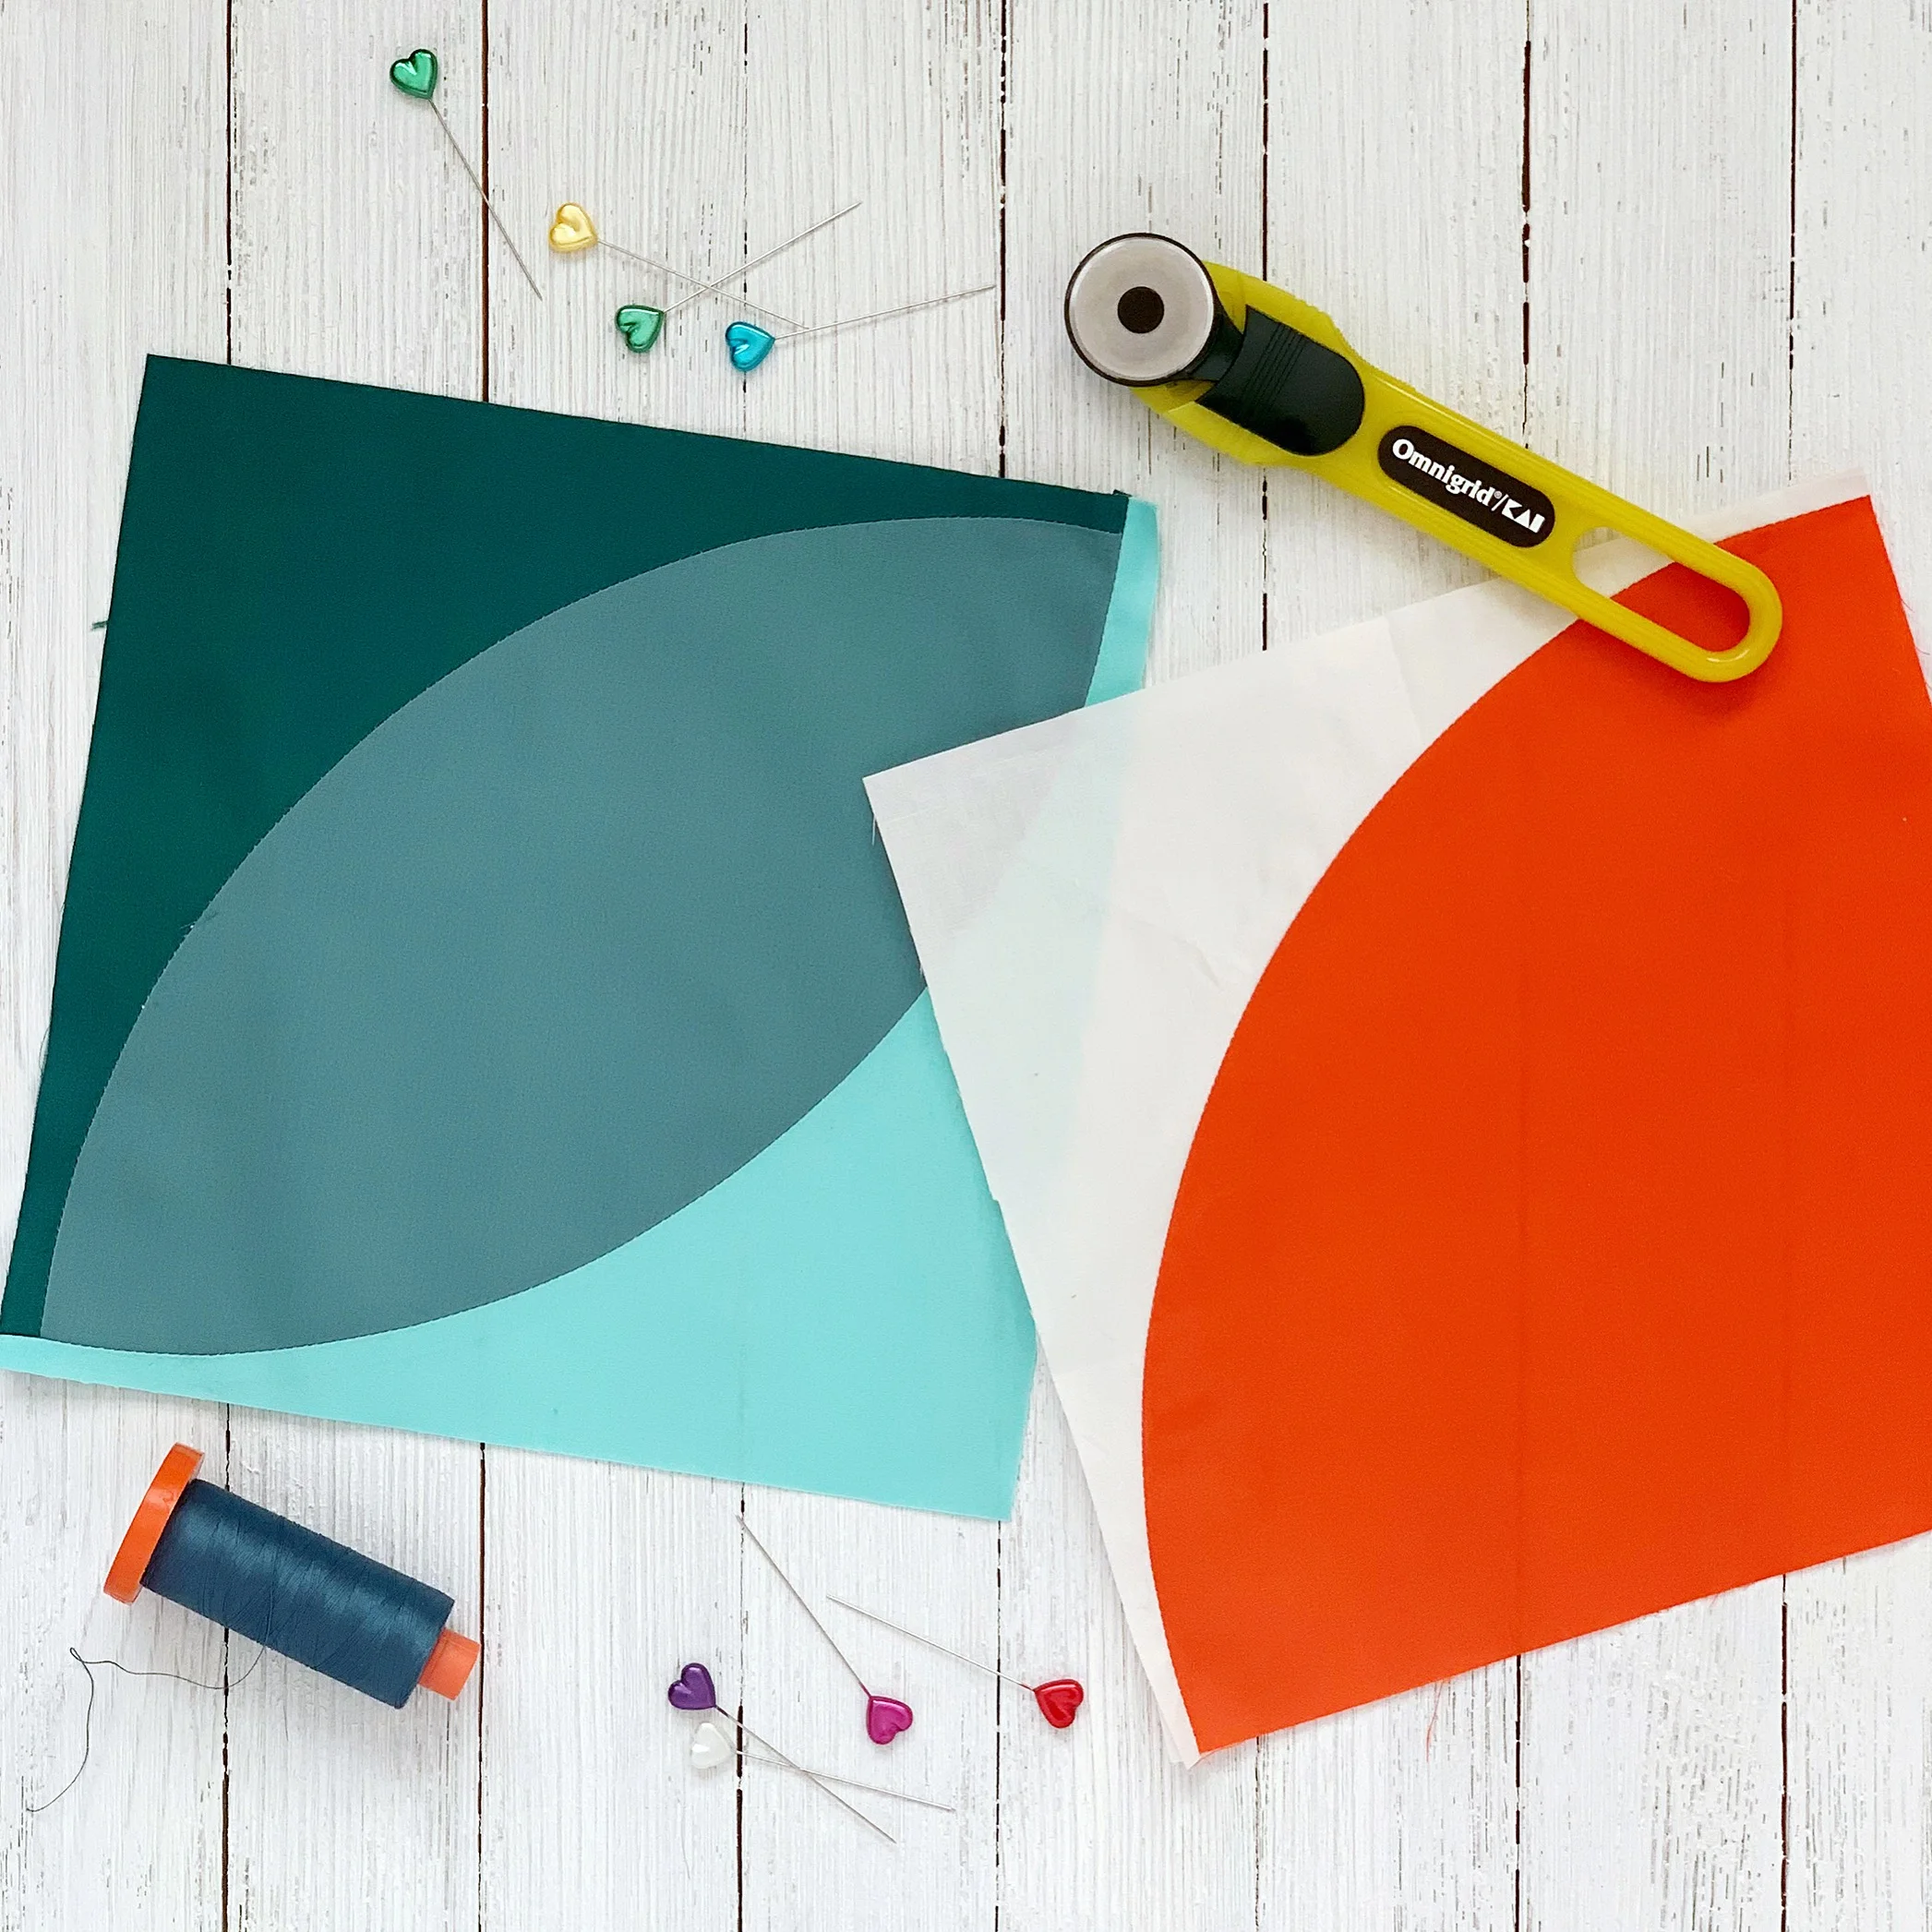
Sew On
As I briefly talked about last week when looking ahead, I’ll be covering Quilt-As-You-Go (QAYG) as a quilt assembly option in the next post for Week #3. If you’re interested in trying the QAYG finishing method, regardless of what quilt size you’re stitching, resist the urge to start sewing all the blocks together to form the balloon shapes and quilt top. A background square and the A/B block, and B/B/C blocks like you see in the above photo are ALL considered blocks. For this week, concentrate on sewing the blocks and only go so far as to sew the blocks together into horizontal rows. Alternate seam pressing directions on your rows so the rows will nest together when assembling. Example: Even rows press all the seams to the right and odd rows, press all the seams to the left.
Next week on the third and final sew along post I’ll blog about QAYG assembly, hand quilting, and finishing your quilt. If you’re wanting to finish your quilt as a traditional top with batting and backing sandwich to be quilted, you can work ahead. Find tutorials and tips on the Finishing post and videos created during the first sew along. It’s always nice to have options and work at your own pace!

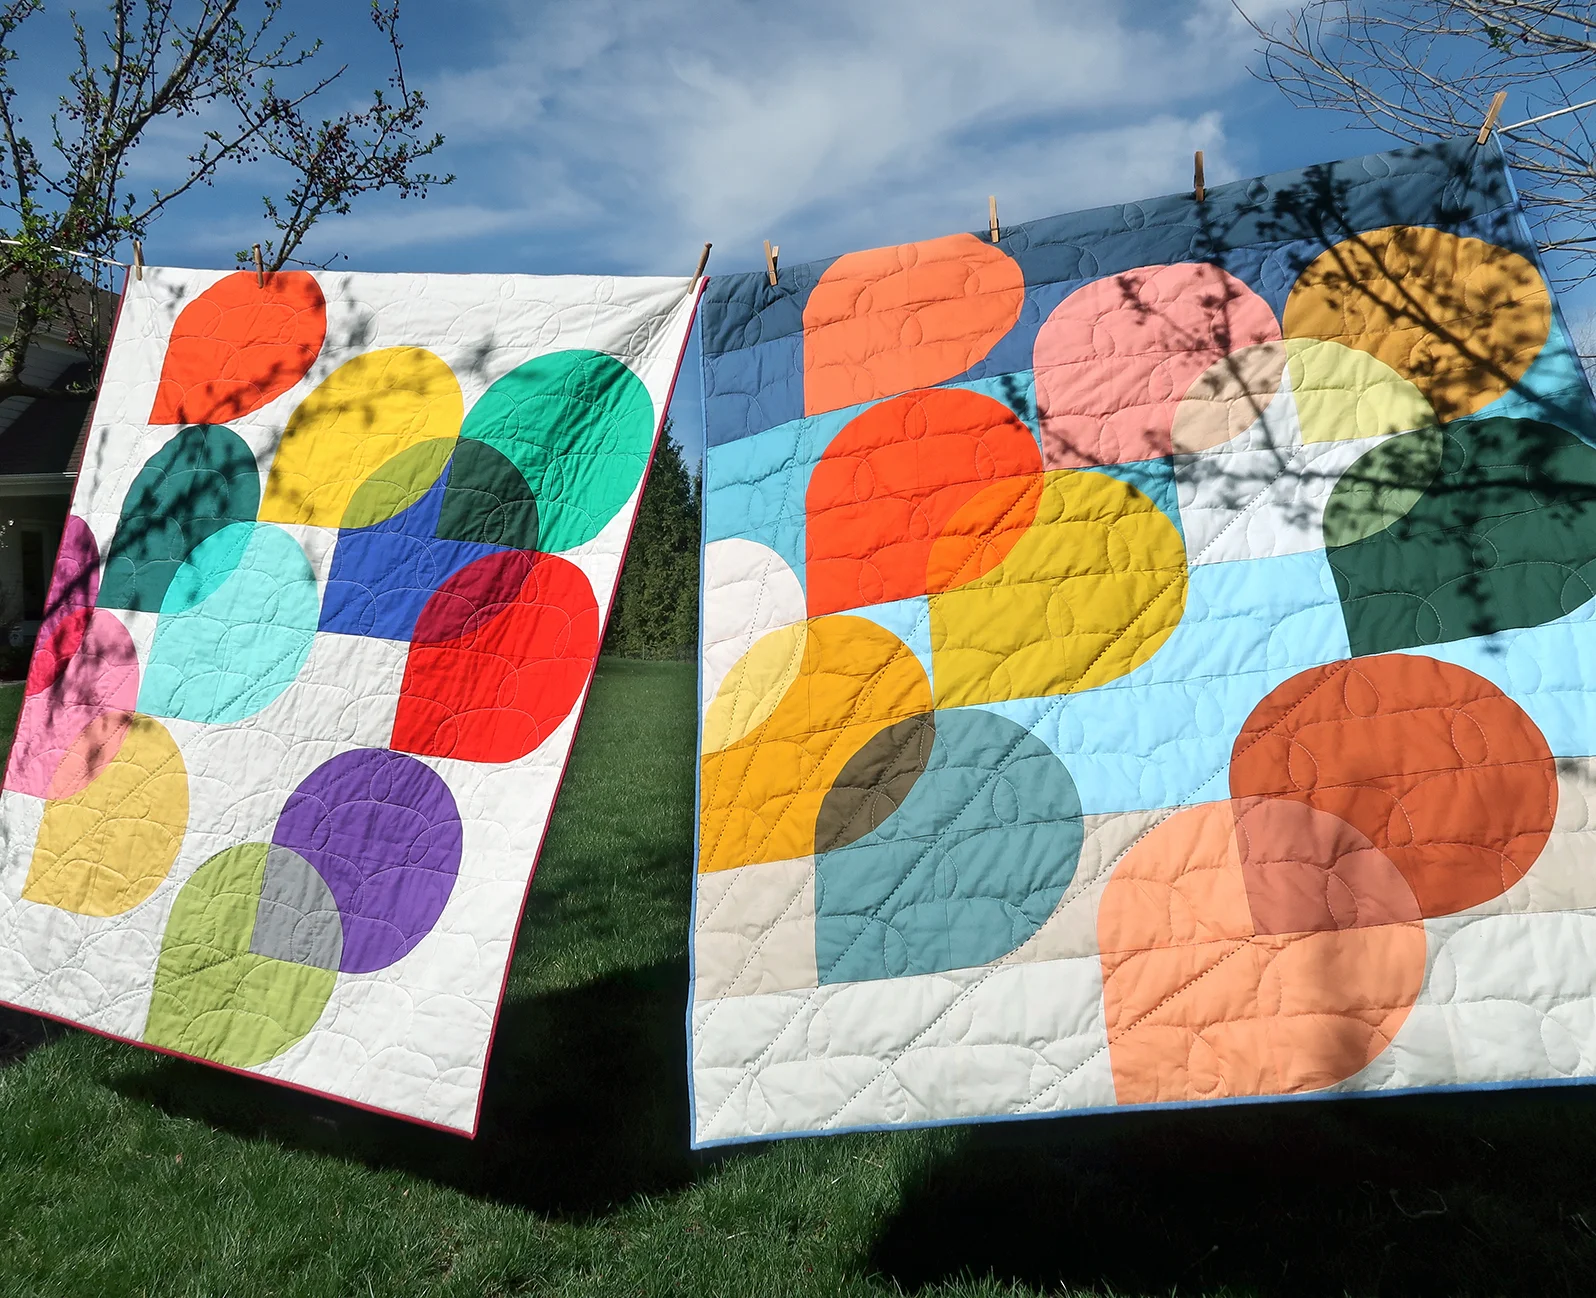
I’m excited to see what colors Blair selected for her quilt and would love to see your inspiration for your color story, fabric pull, and progress as you sew along. If you’re on Instagram, tag me @sharonhollanddesigns and Blair @blairs use the #holdtightquilt hashtag so we can follow your progress. If you’re sewing with Art Gallery Fabrics be sure to tag #artgalleryfabrics too!
There’s also a wonderful resource of inspiration and a look at all the Hold Tight quilt posted to Instagram if you search the #holdtightquilt and #holdtightsewalong hashtags! If you’re on Pinterest, I have a Hold Tight Sew Along board—you can find and follow me at ShareDesigns (Sharon Holland Designs).

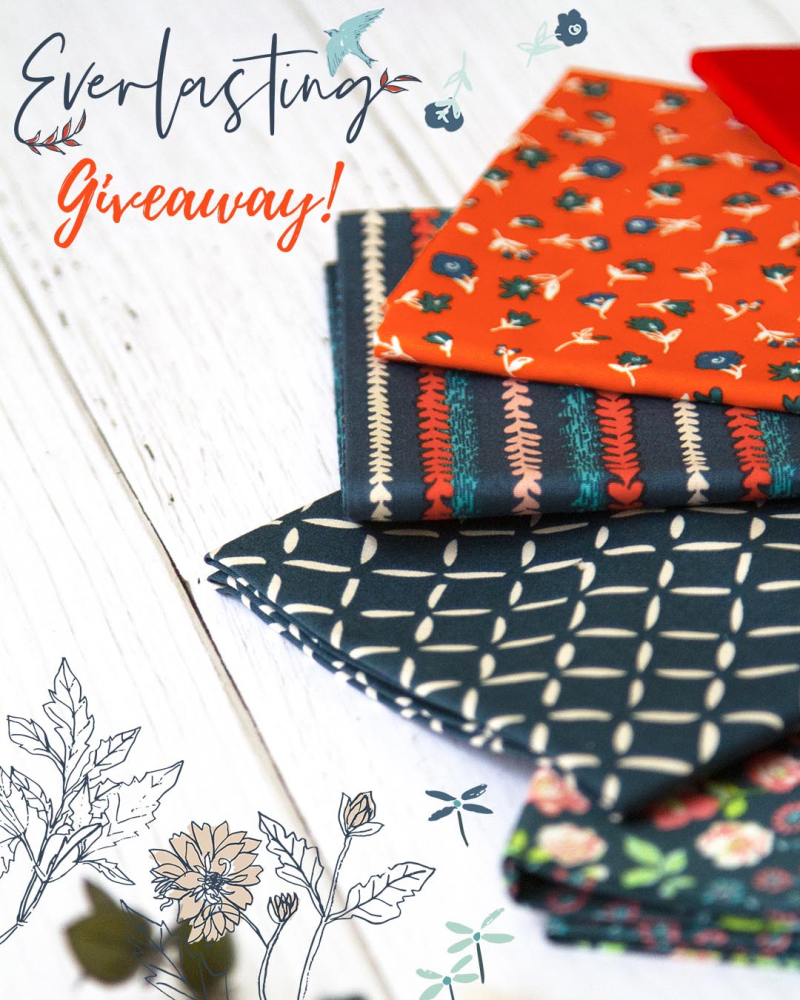
WEEK #2 GIVEAWAY
Our Art Gallery Fabrics sponsor will be giving away an amazing prize of a quilt kit! The kit will include: The Hold Tight PDF pattern (which can be substituted with a different pattern in my SHOP if you already have purchased), fabric to make a Hold Tight Petite quilt top just like the one I created for this sew along, binding, and your choice of any AGF print for the backing!
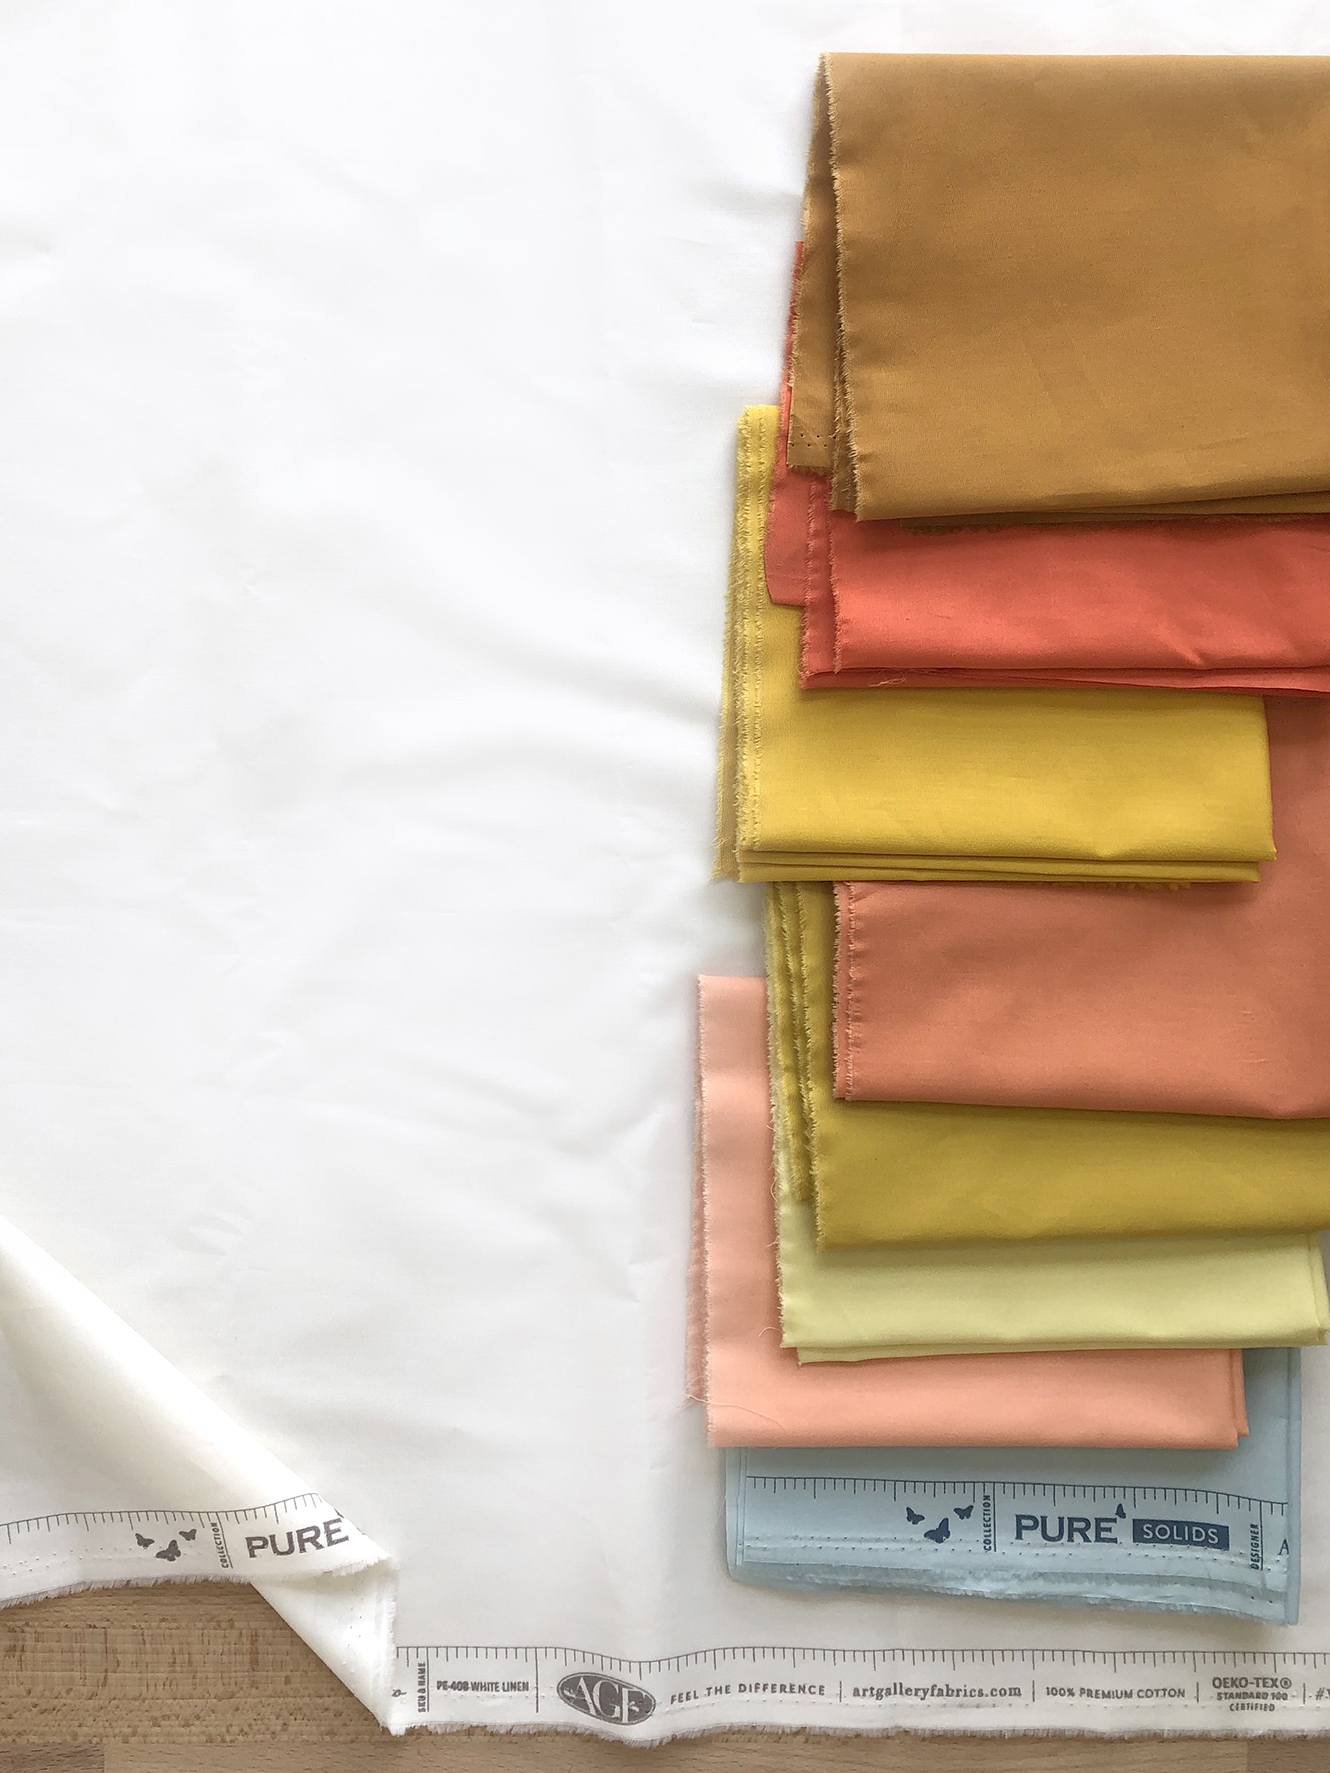
Art Gallery Fabrics Pure Solids
This giveaway and the giveaway rules and details will be announced on Instagram Thursday morning around 9 am eastern. The giveaway will be held on my Instagram account @sharonhollanddesigns and you’ll be prompted for how to enter on that post. Be sure you’re following myself and Blair @blairs and Art Gallery Fabrics @artgalleryfabrics so you don’t miss a thing!
Happy sewing,
Sharon