Sweet Home & Faux Chenille

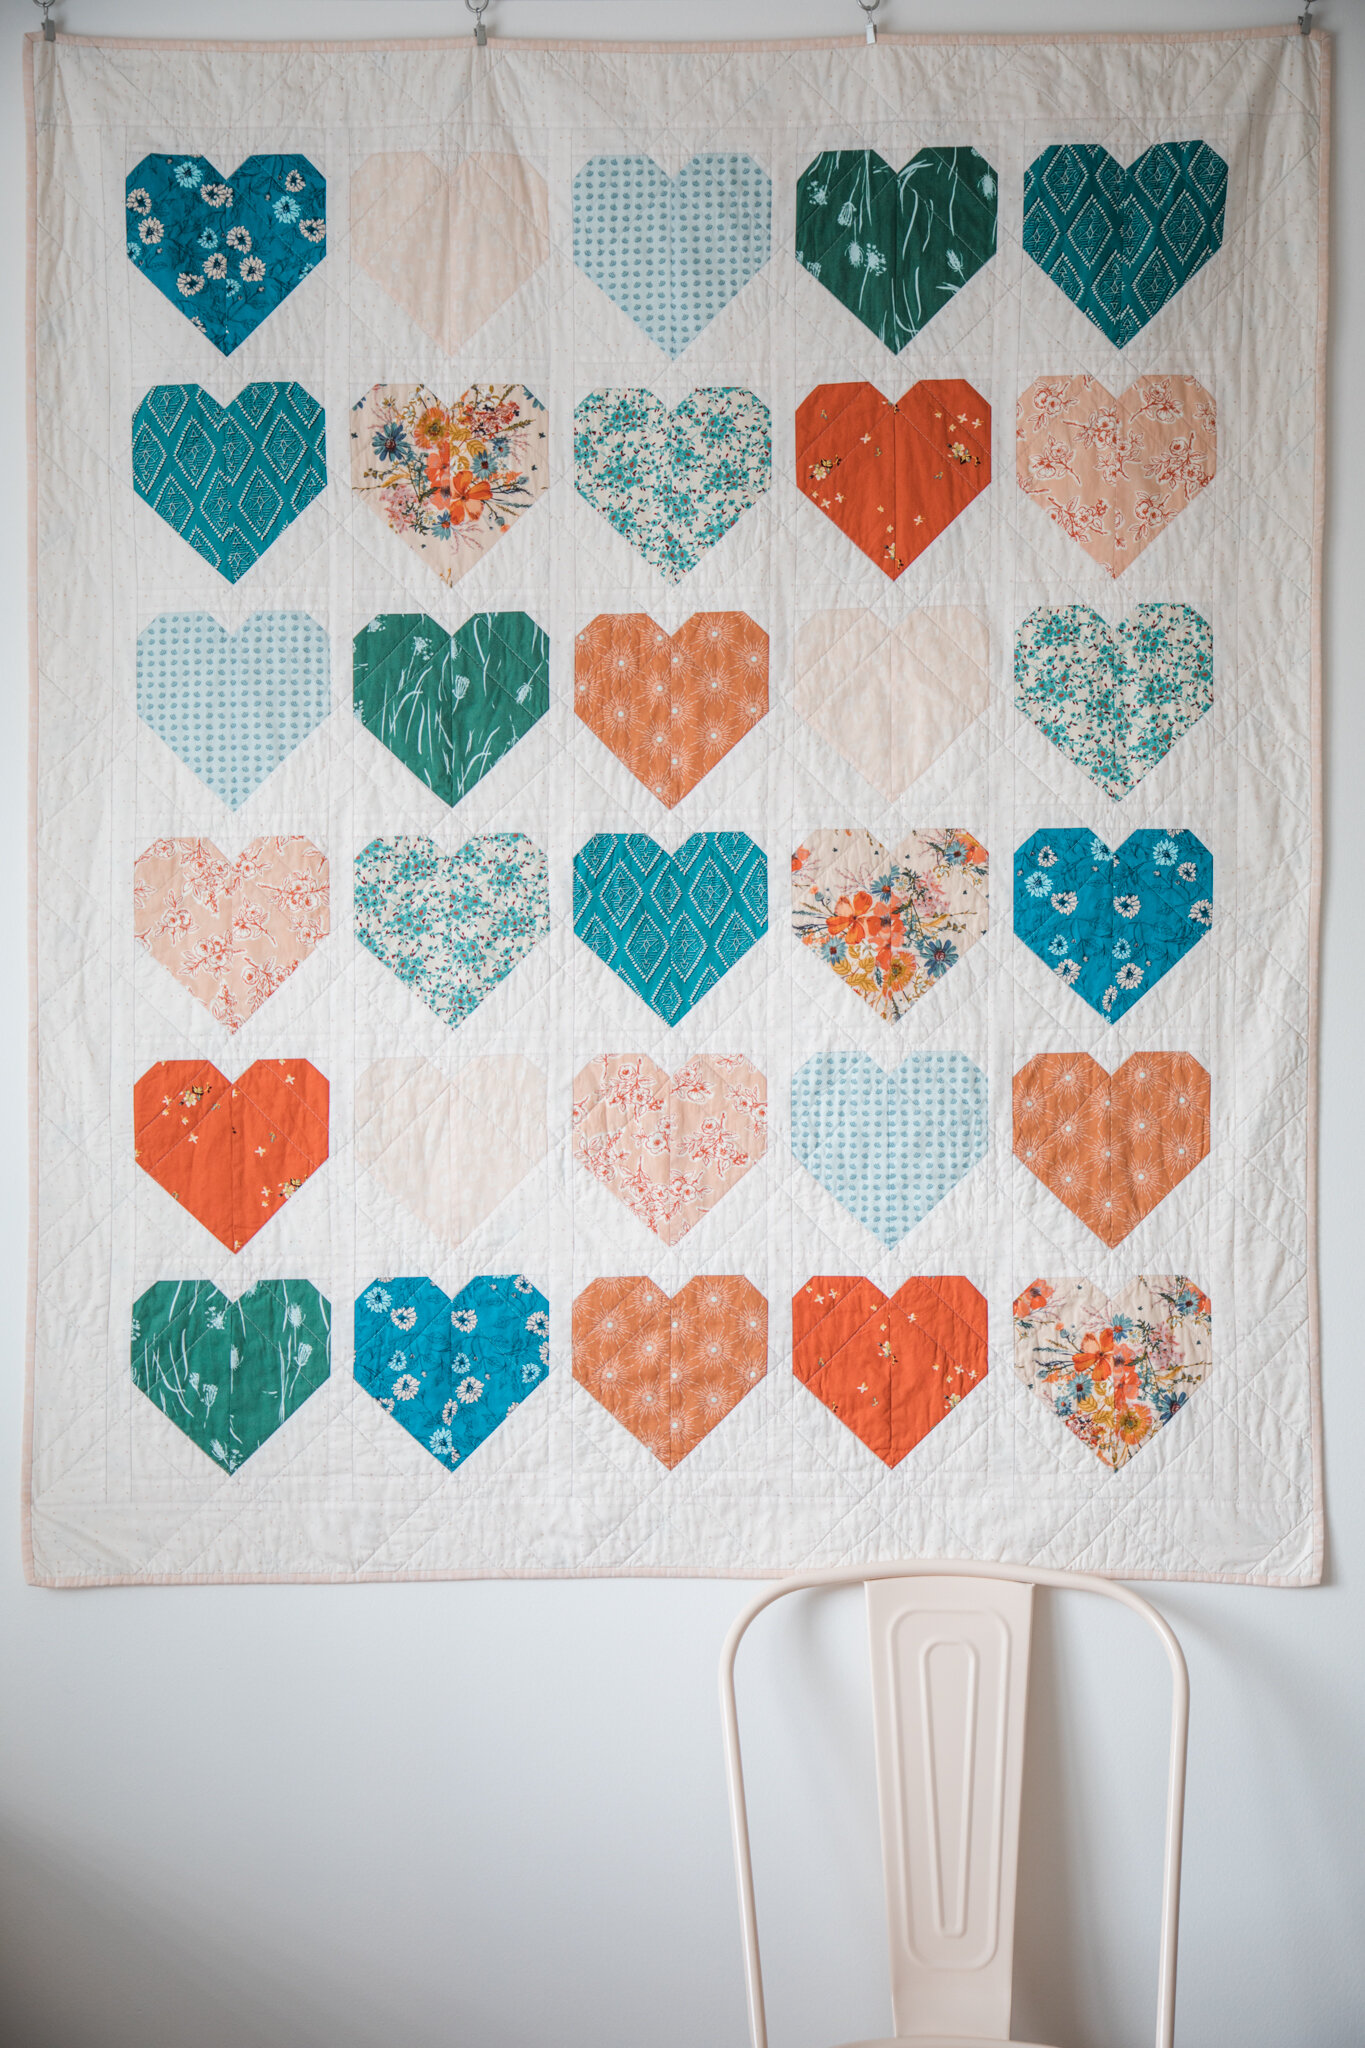
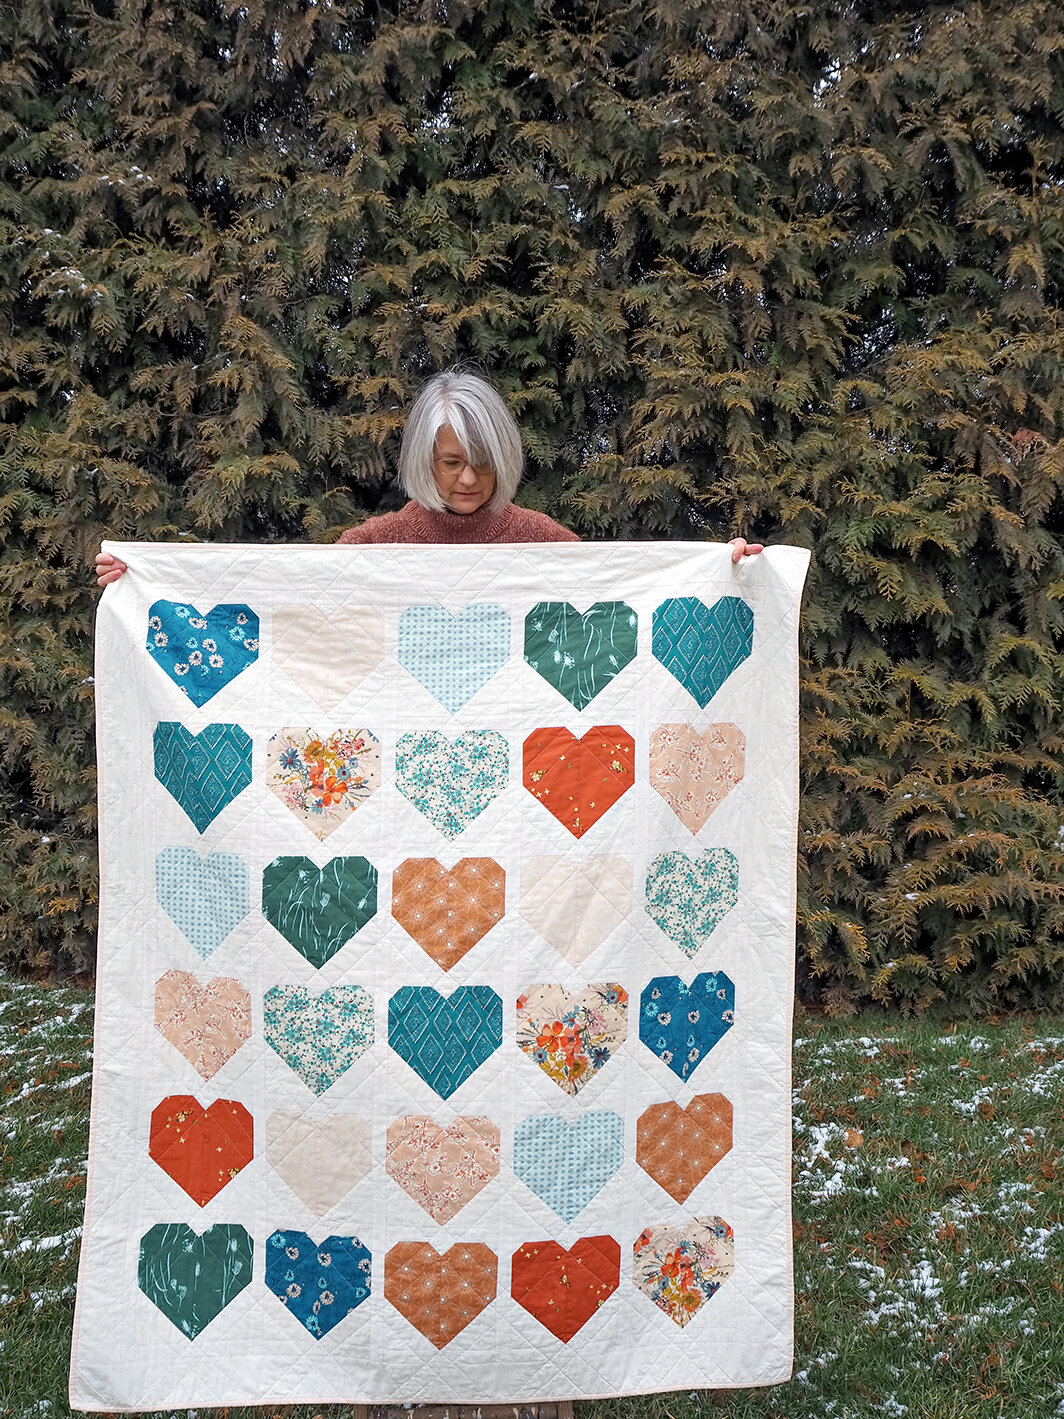
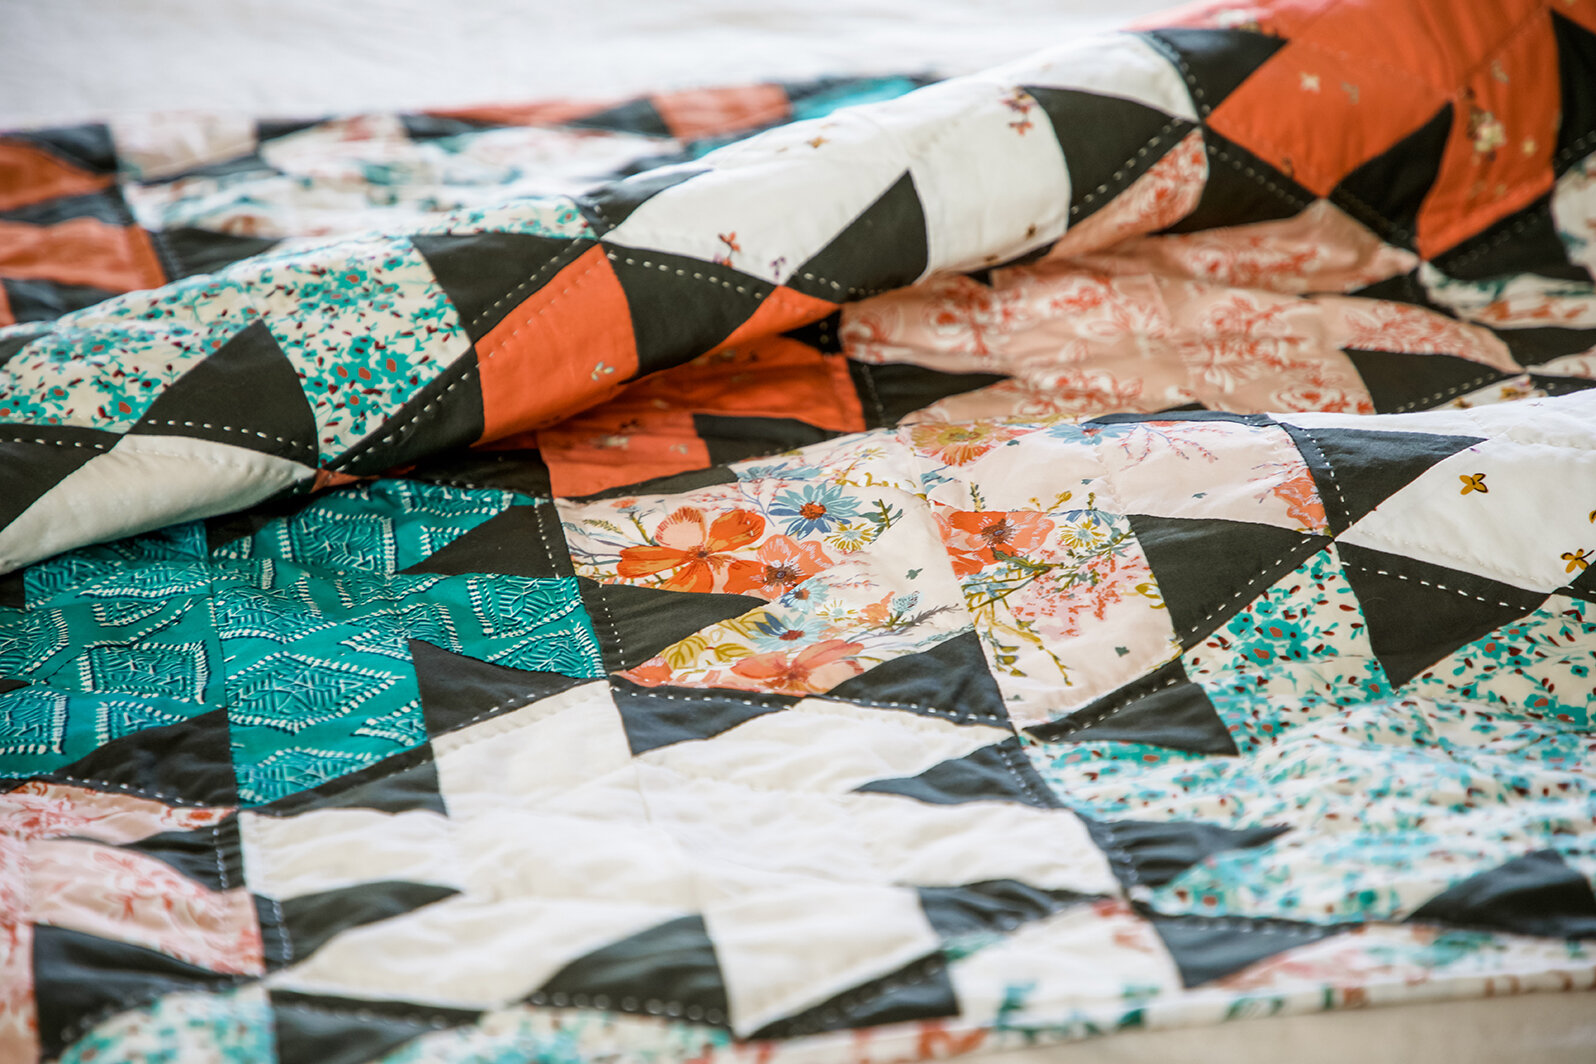
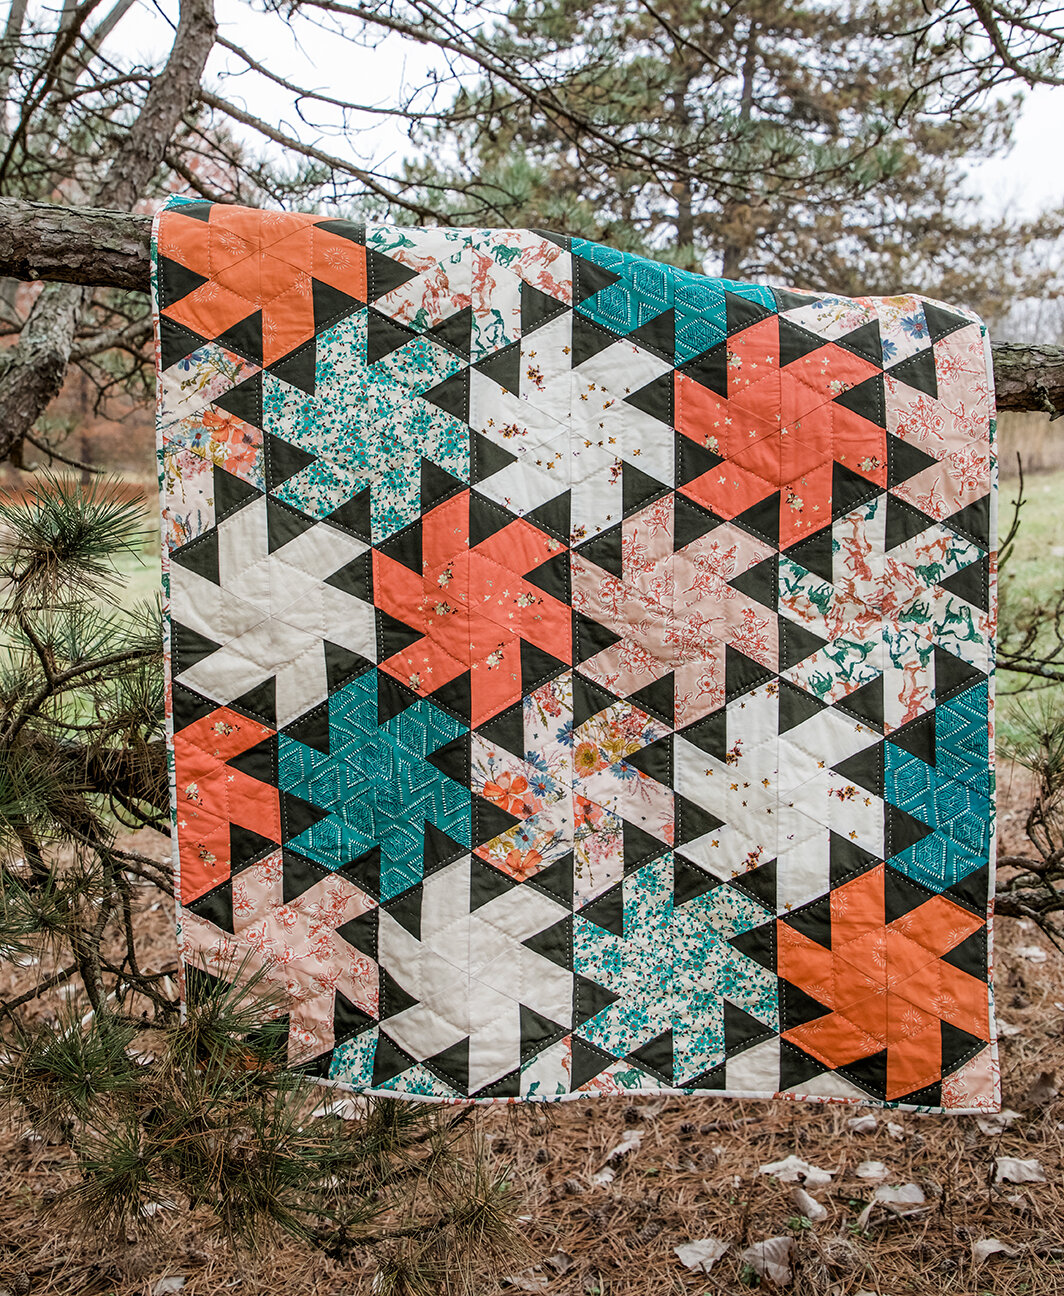
Sweet Home quilt by Sharon Holland
Last week I released my newest quilt pattern called Sweet Home and shared images of one of the two Sweet Home quilts I’ve made from this pattern.
This week I’ll be showing the second quilt in a completely different fabric pull and color palette plus I’ve an awesome Chenille-It Blooming Bias giveaway to tell you about at the end of this post.

I love these quilts so much that I knew my two grandkids would love them too and have fun snuggling and playing on them. The first quilt with the Boho-Chic vibe of pinks, blush, and aqua was made for my granddaughter and her baby brother needed an All-American boy version. At two years old, he’s already showing preferences and one of them is his love for stripes!

Art Gallery Fabrics Sweet Home quilt fabric pull
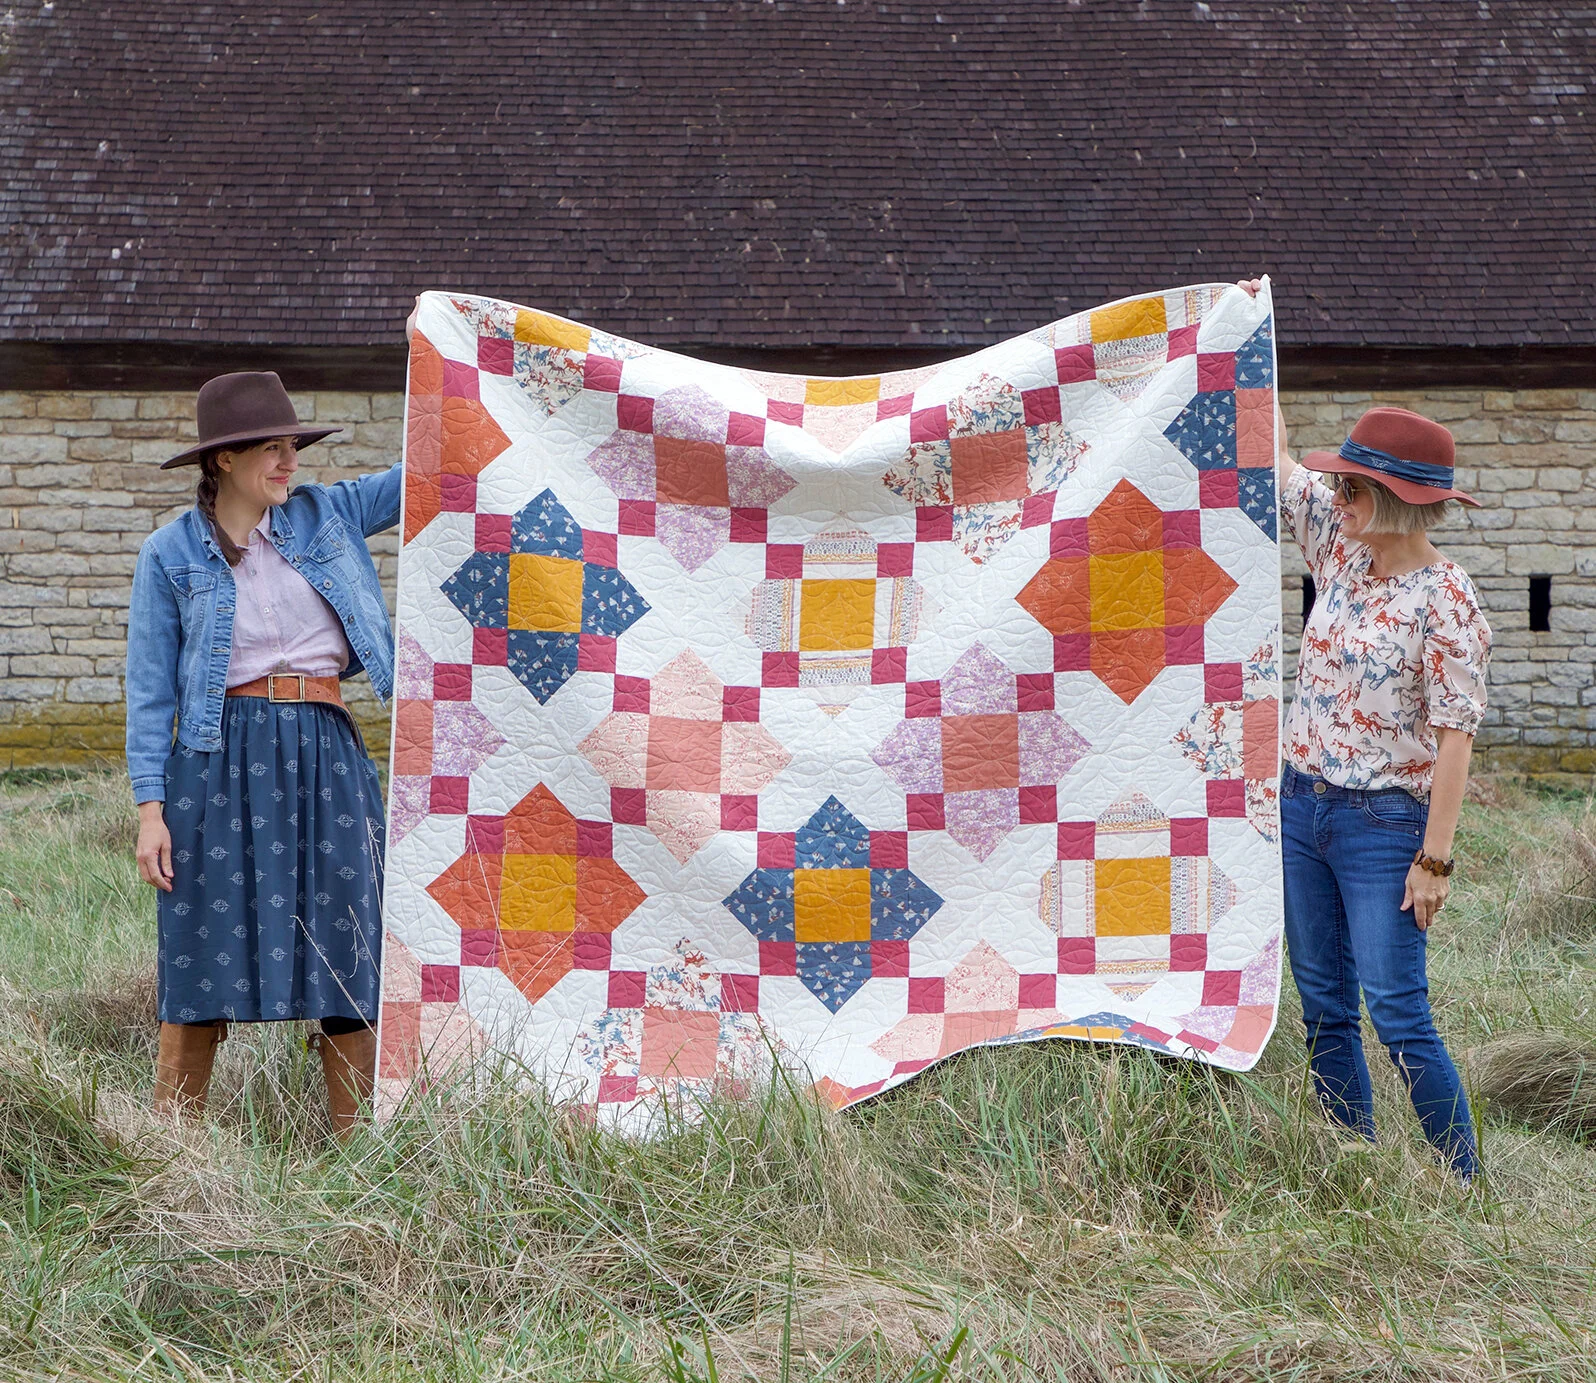
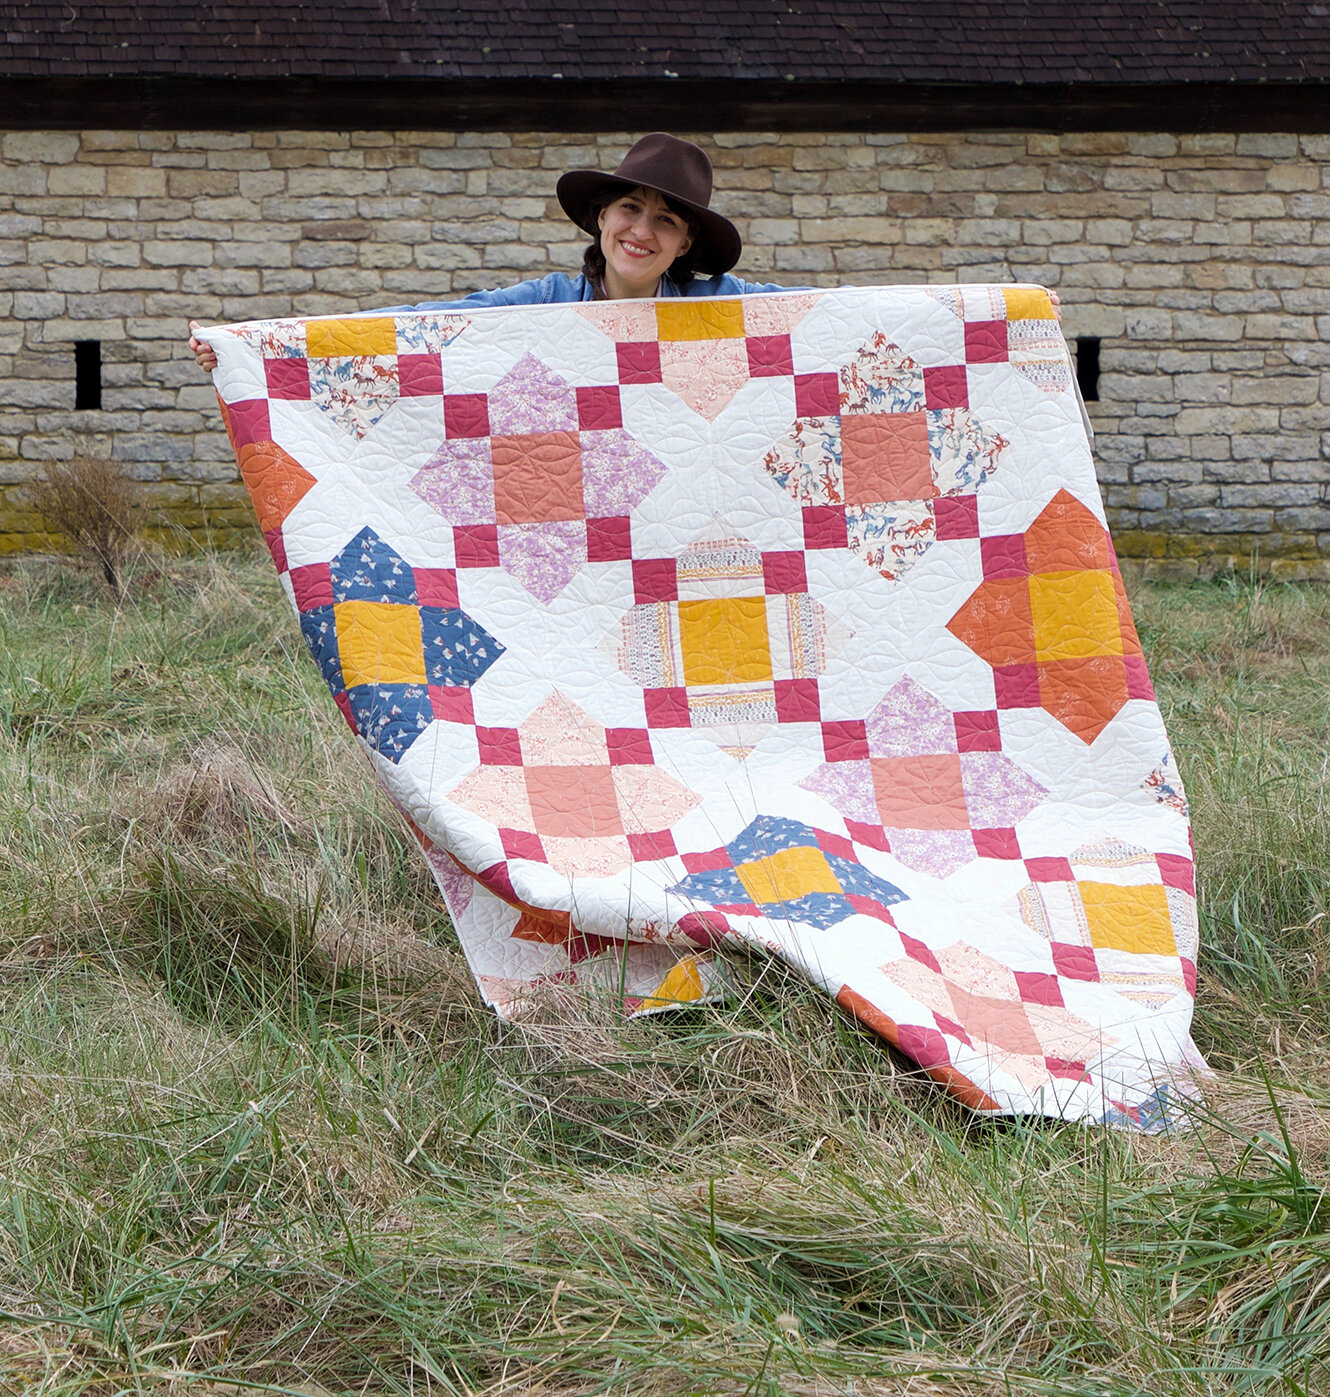
Since this pattern is made for digging into your stash and using lots of prints that’s exactly what I did! I pulled a mix of Art Gallery Fabrics from lines I’ve designed and added in AGF prints from other lines and designers to come up with this American Summer palette.

With all the fabric shortages right now I’m not sure all these prints will be easy to find but, if you’d like to duplicate the American Summer version I’ve made the pattern supplement into a PDF download. Simply click on the graphic above and print it out for your reference when using the Sweet Home pattern.
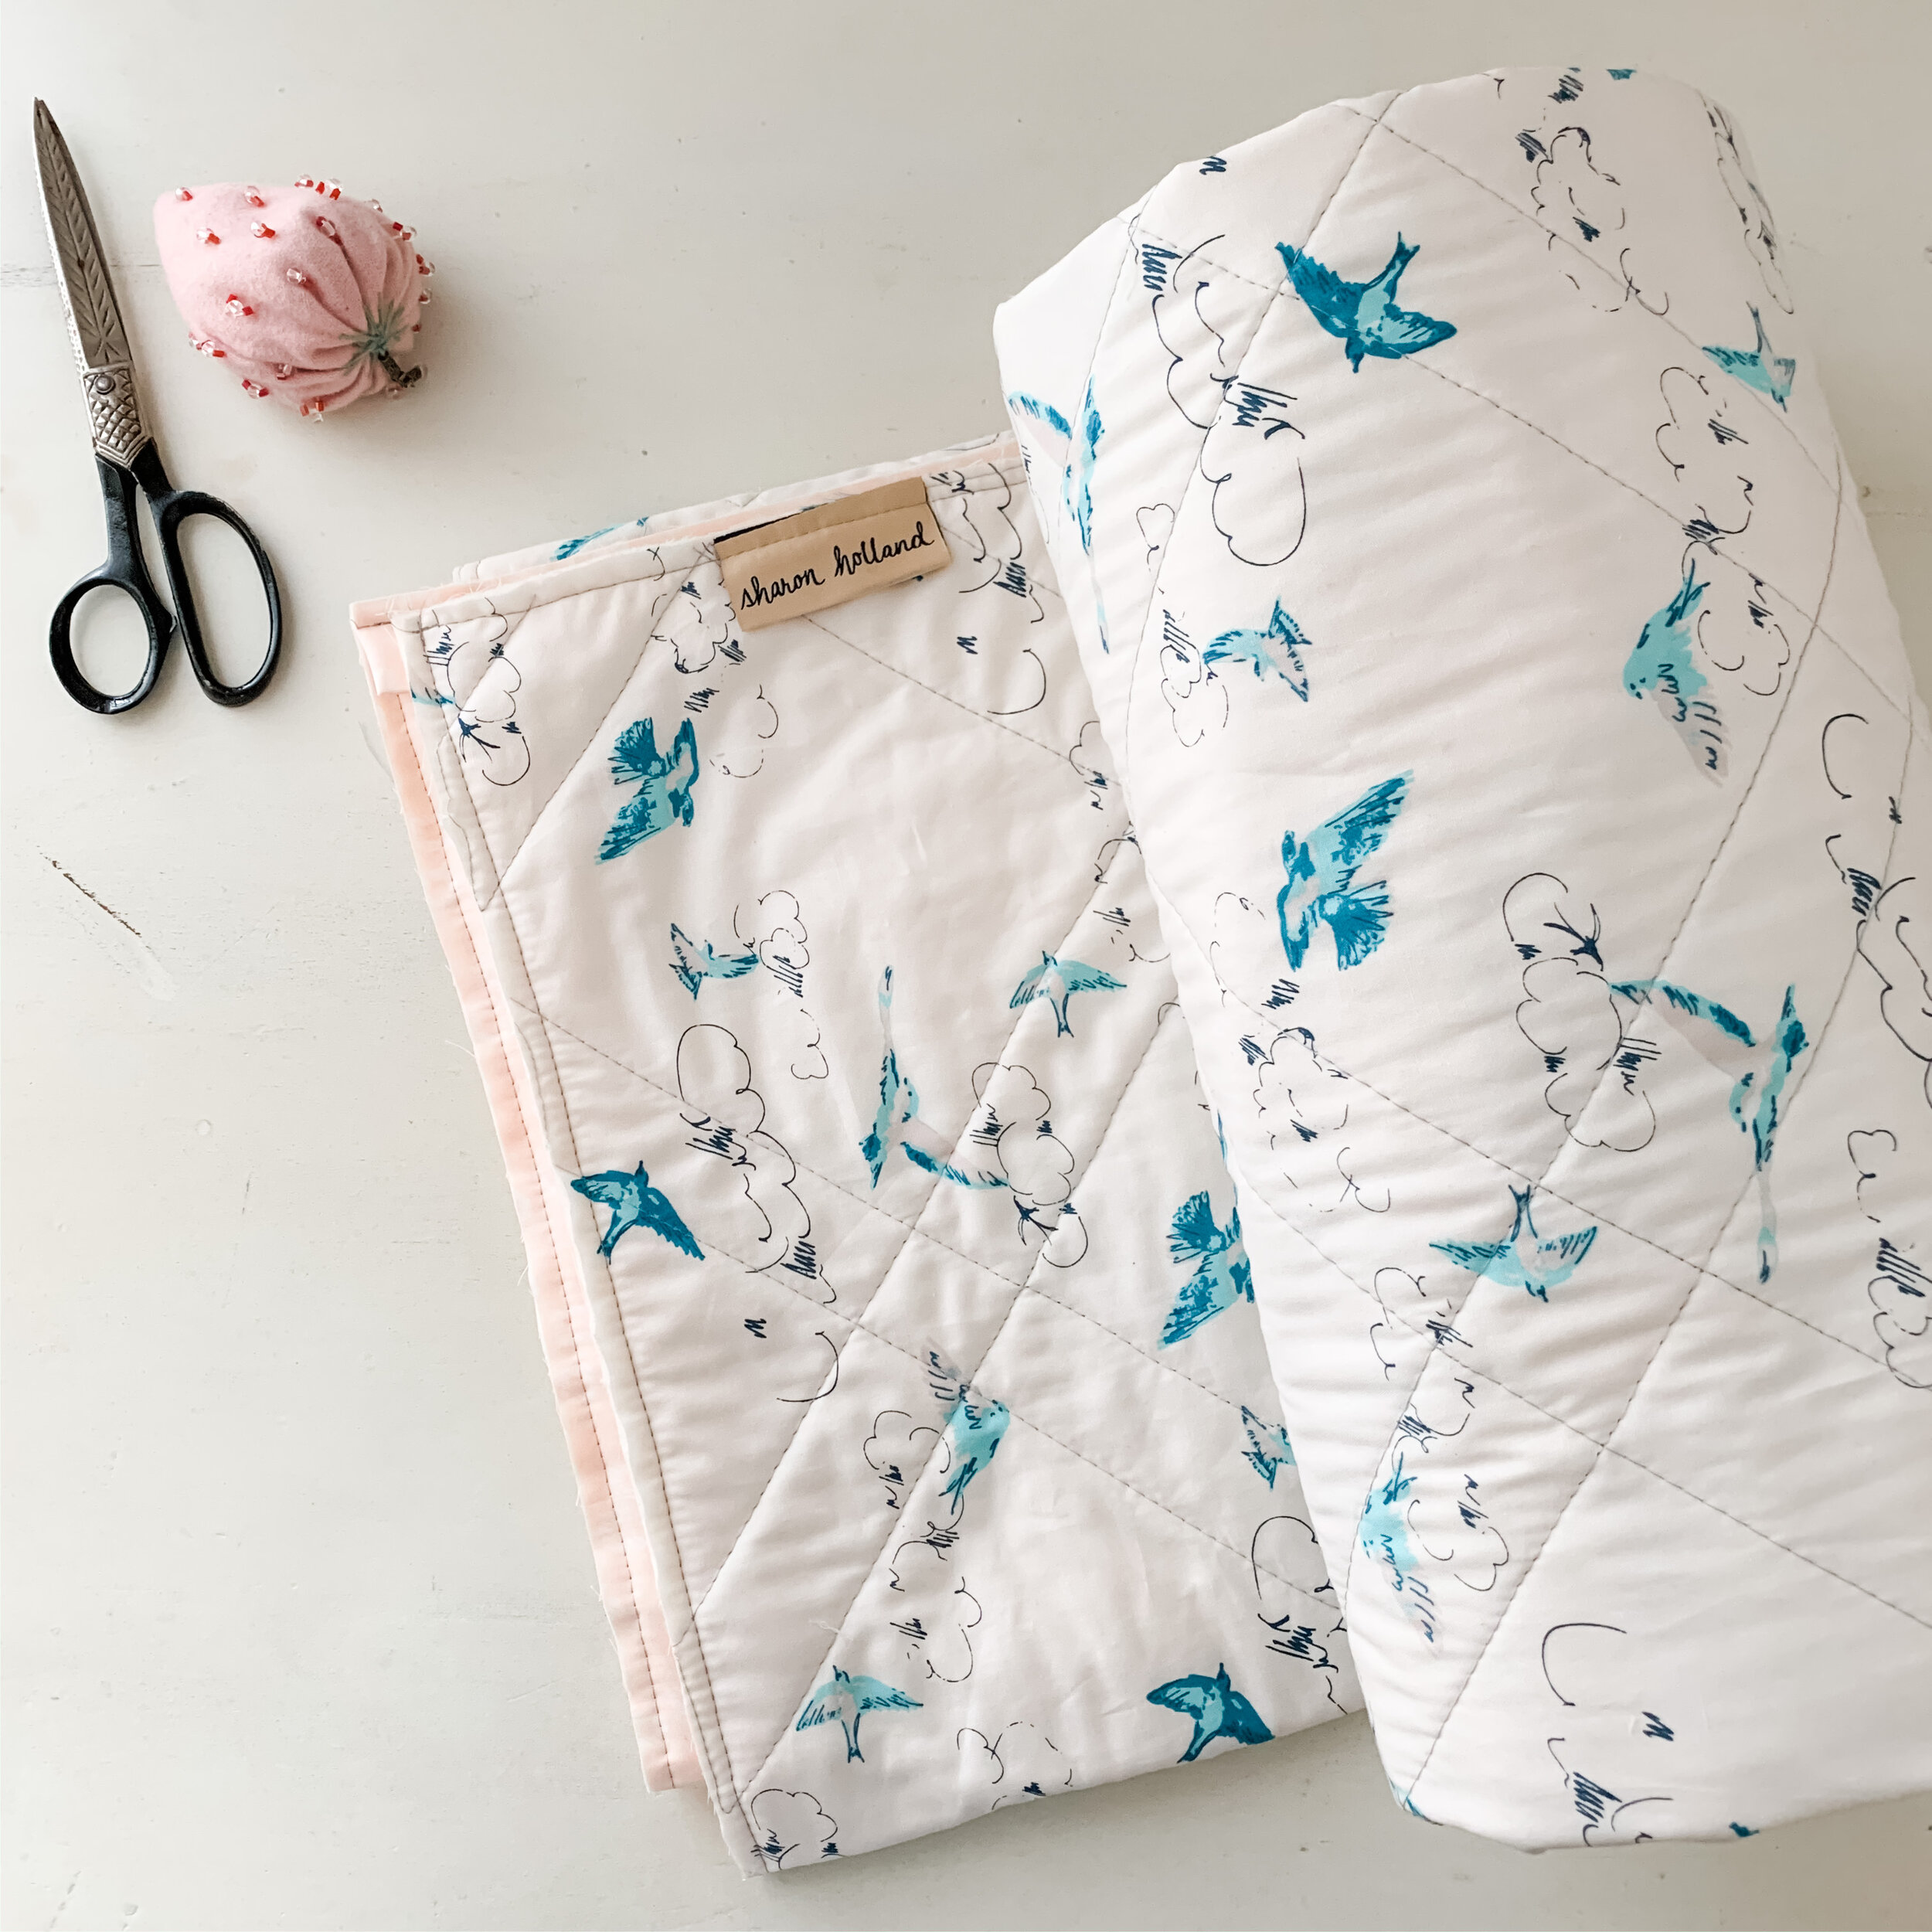
The print used as the backing on both my Sweet Homes quilt is Lillium from my very first Art Gallery Fabrics collection. I used each of the color ways and in the fabric pull photo, I’ve listed the sku info for the color way used in this American Summer version.

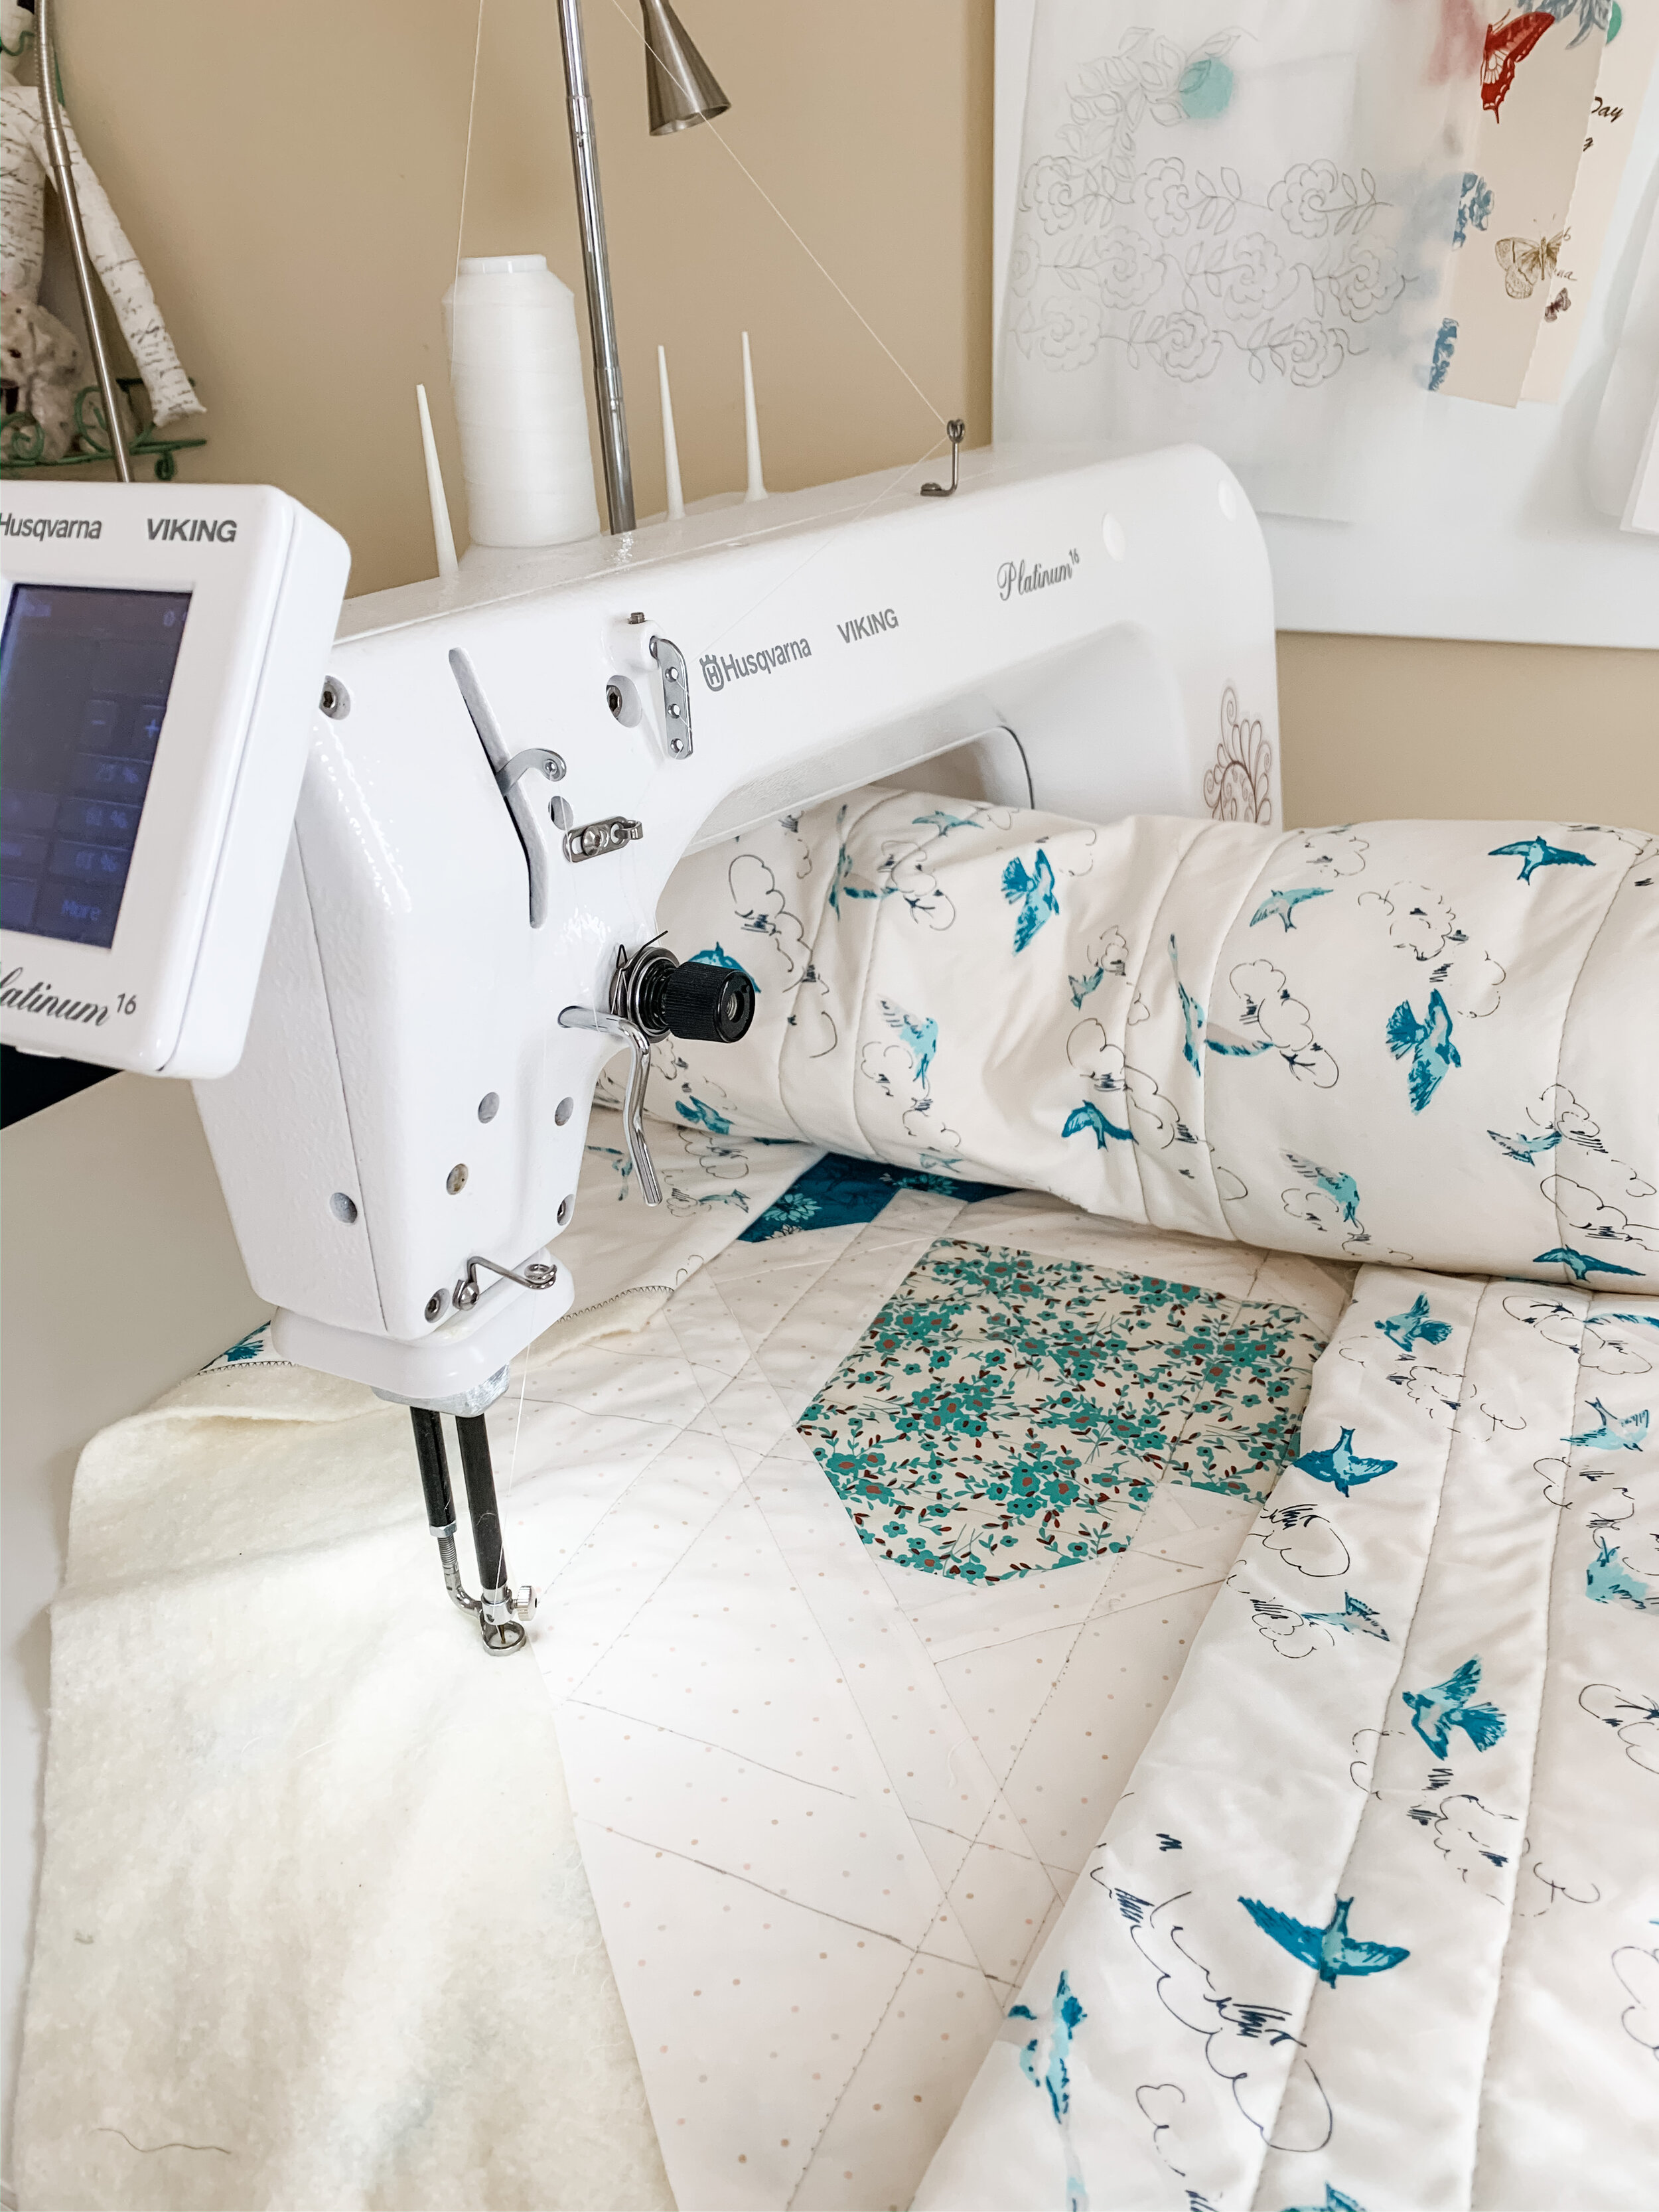
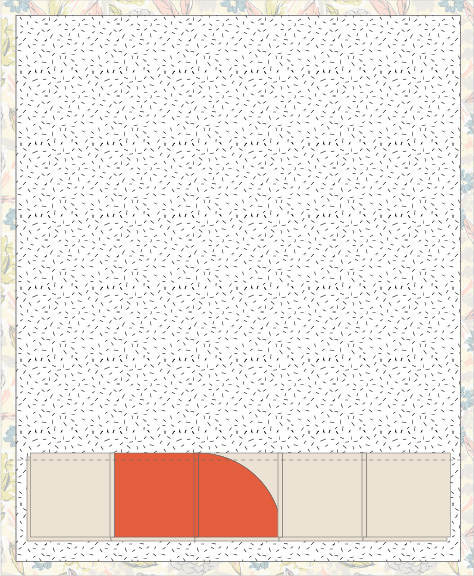
The geometric quilting design on this quilt was long arm quilted by Brooke Becker of Lady Belle Fabric. Brooke did the quilting on both of my Sweet Home quilts and has a large selection of quilting designs and styles to choose from. I highly recommend her long arm services and as a fabric shop. Brooke’s quilting is perfection and the service incredible!
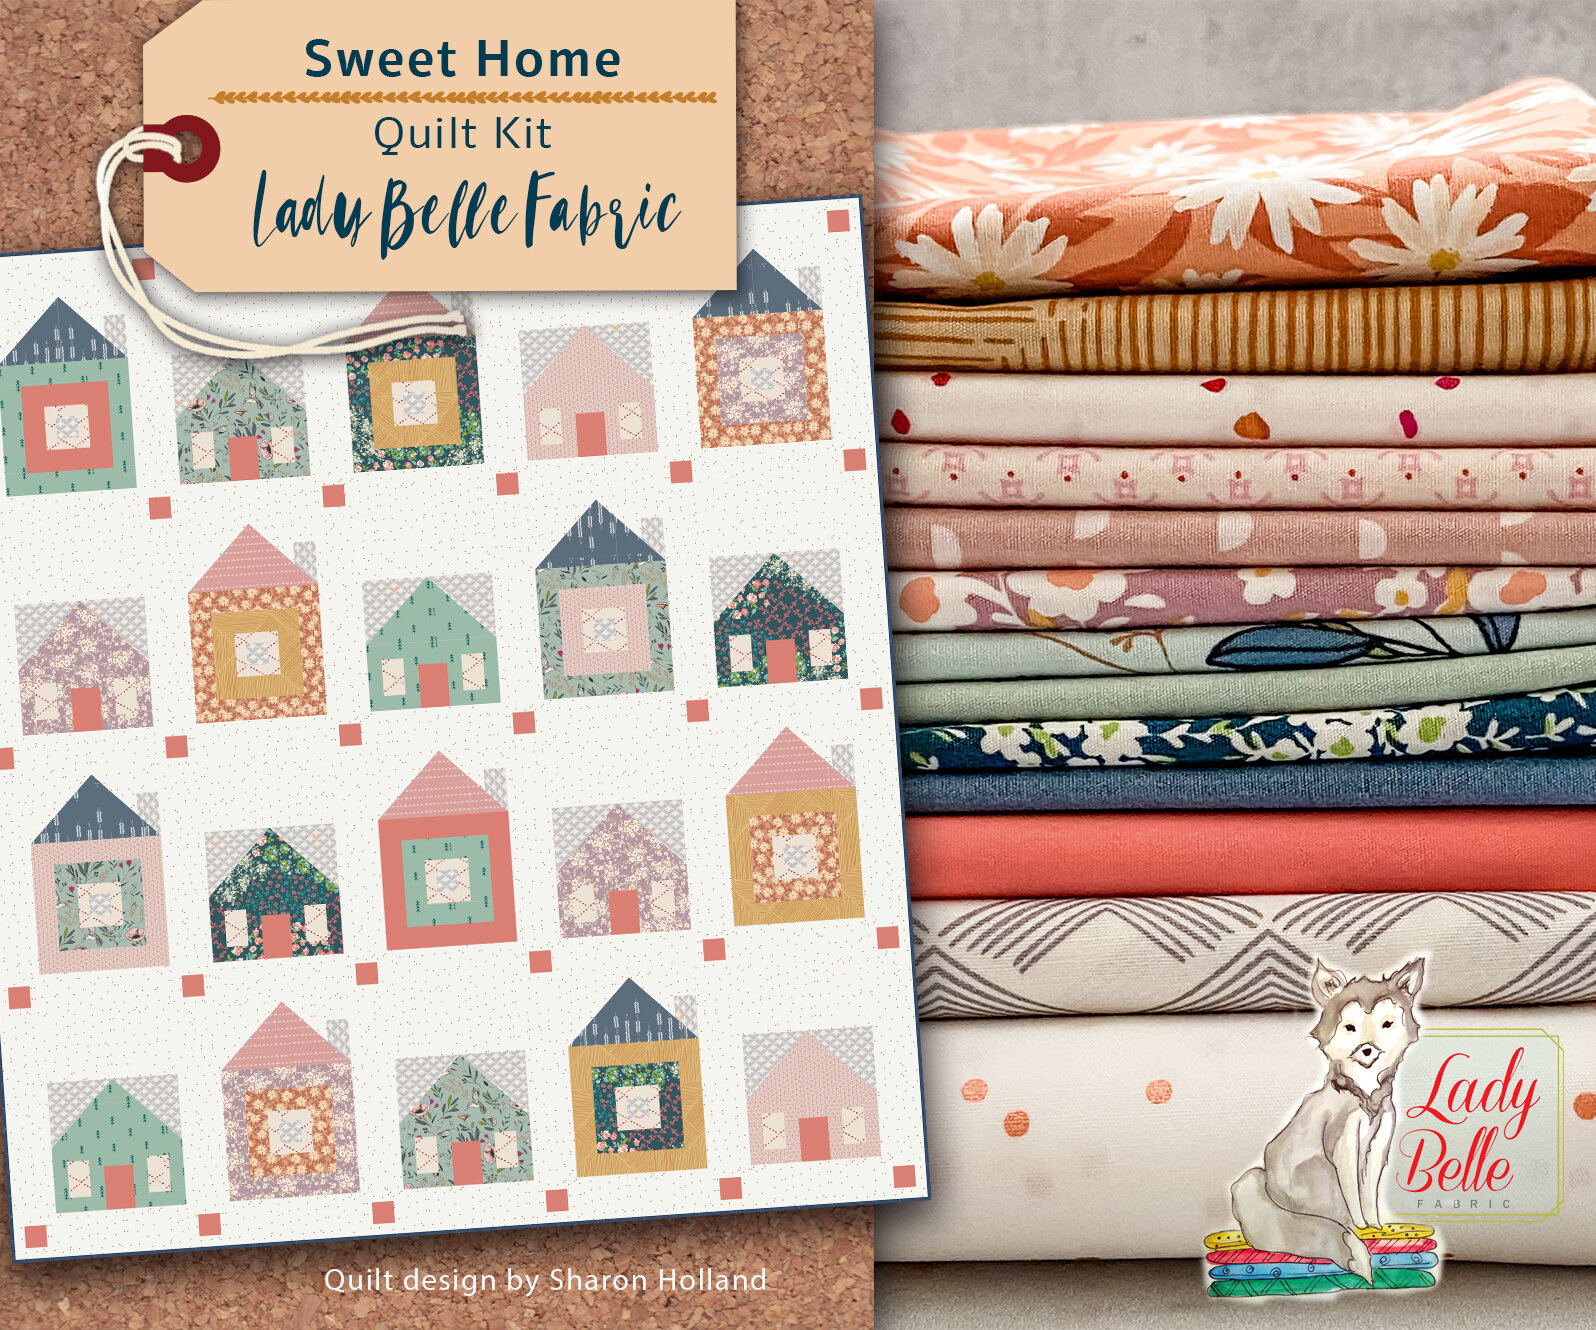
Sweet Home quilt kits available at Lady Belle Fabric
Find Sweet Home quilt kits at Lady Belle Fabric in a beautiful Art Gallery Fabrics fabrics curated by Brooke. Don’t delay, she sold out of kits last week but has reordered and restocked—they’re sure to go fast!
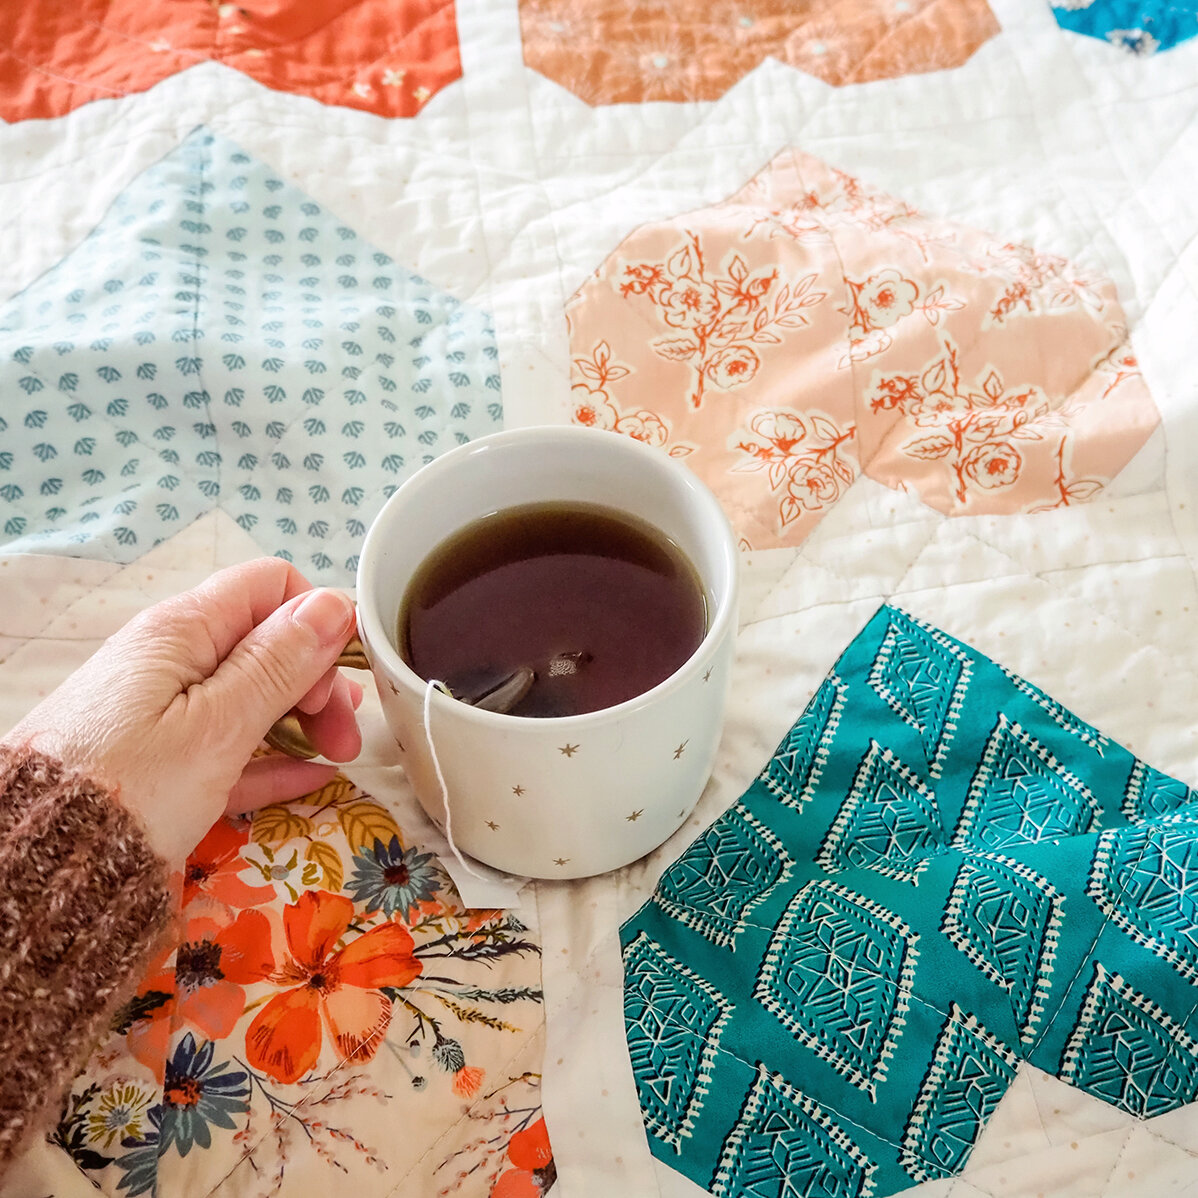
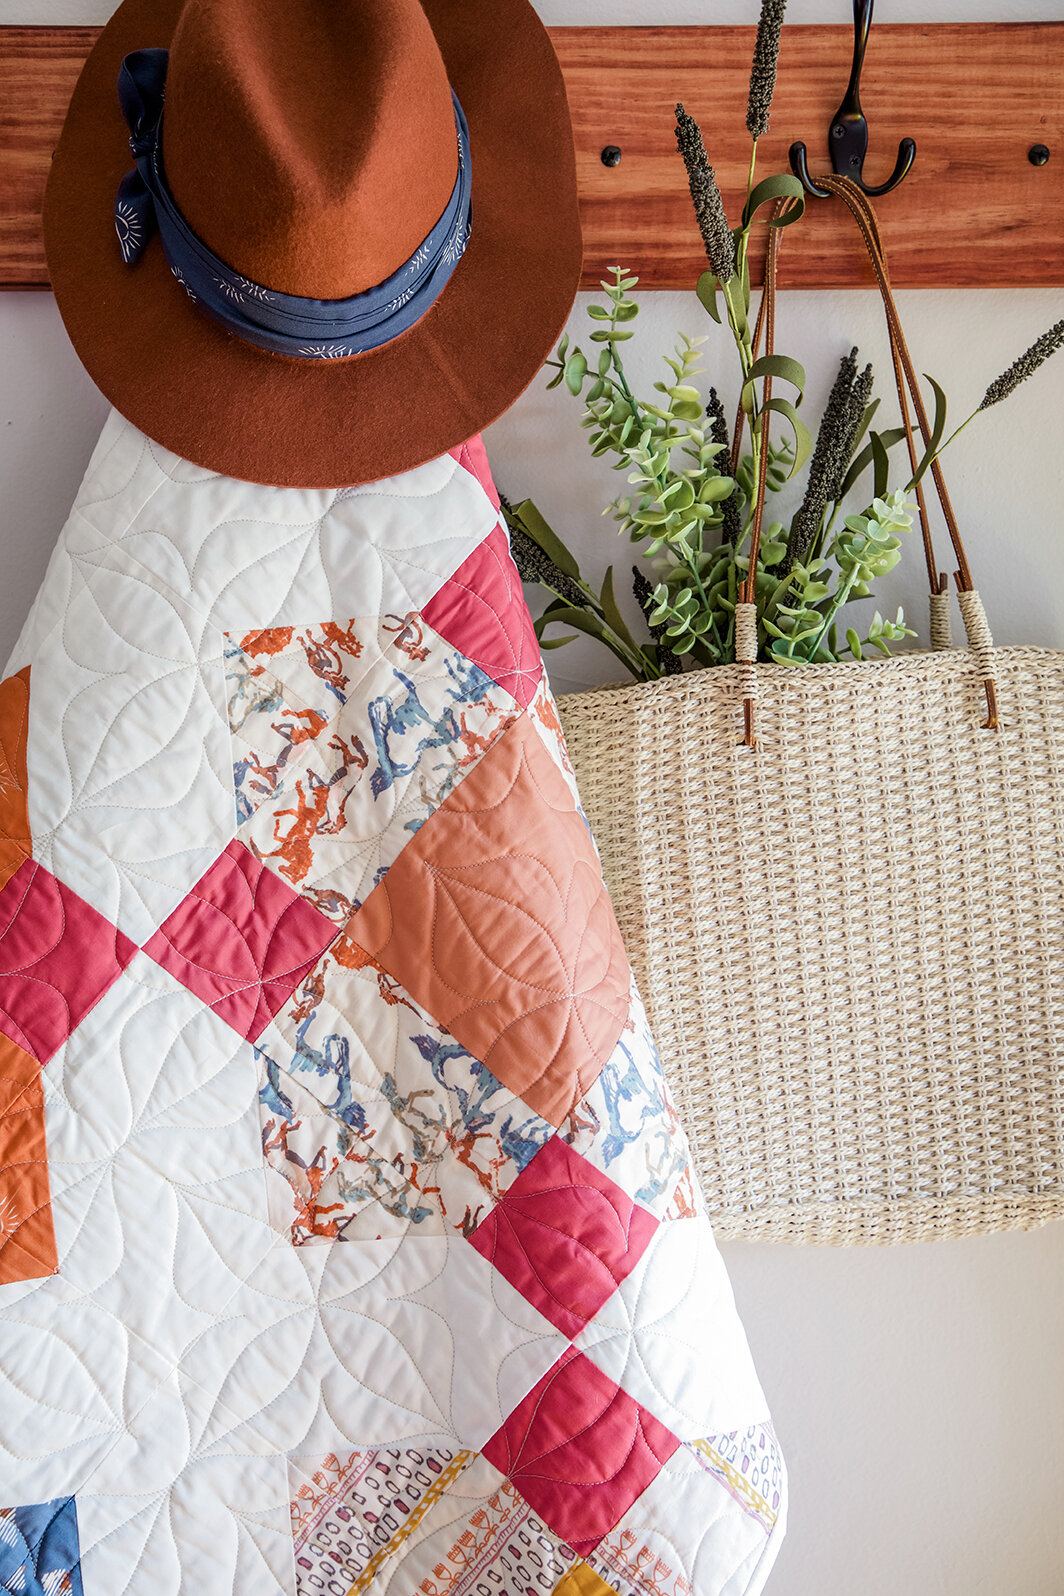
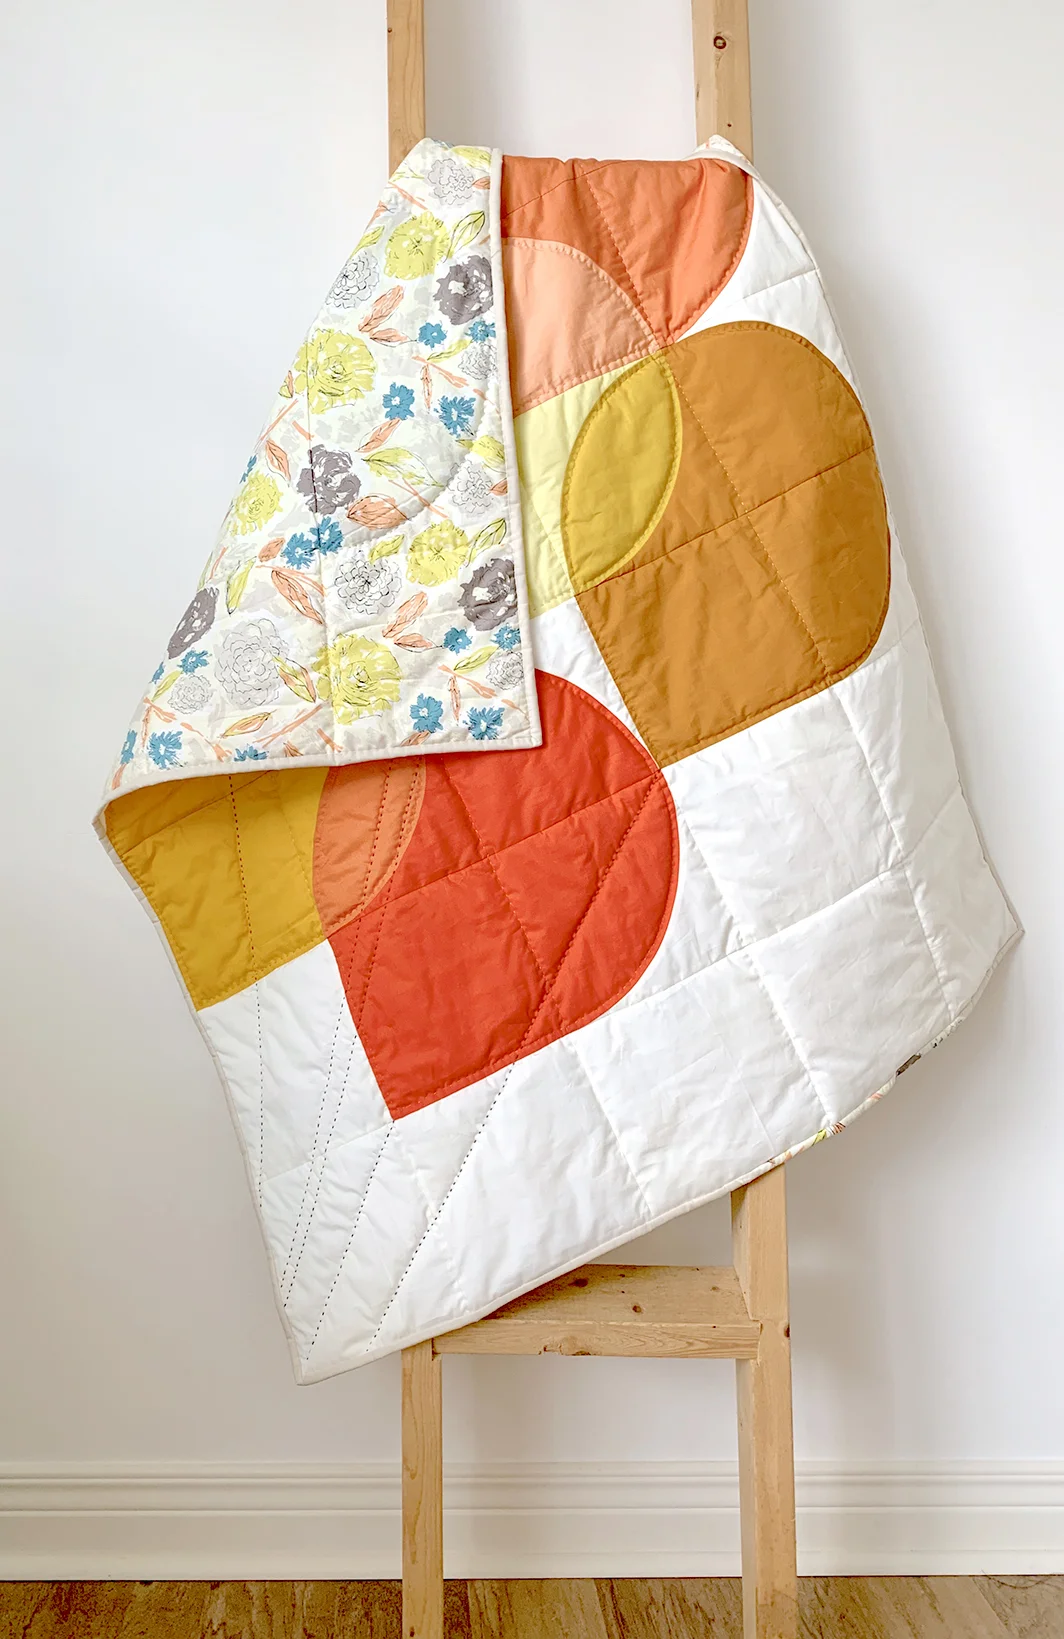
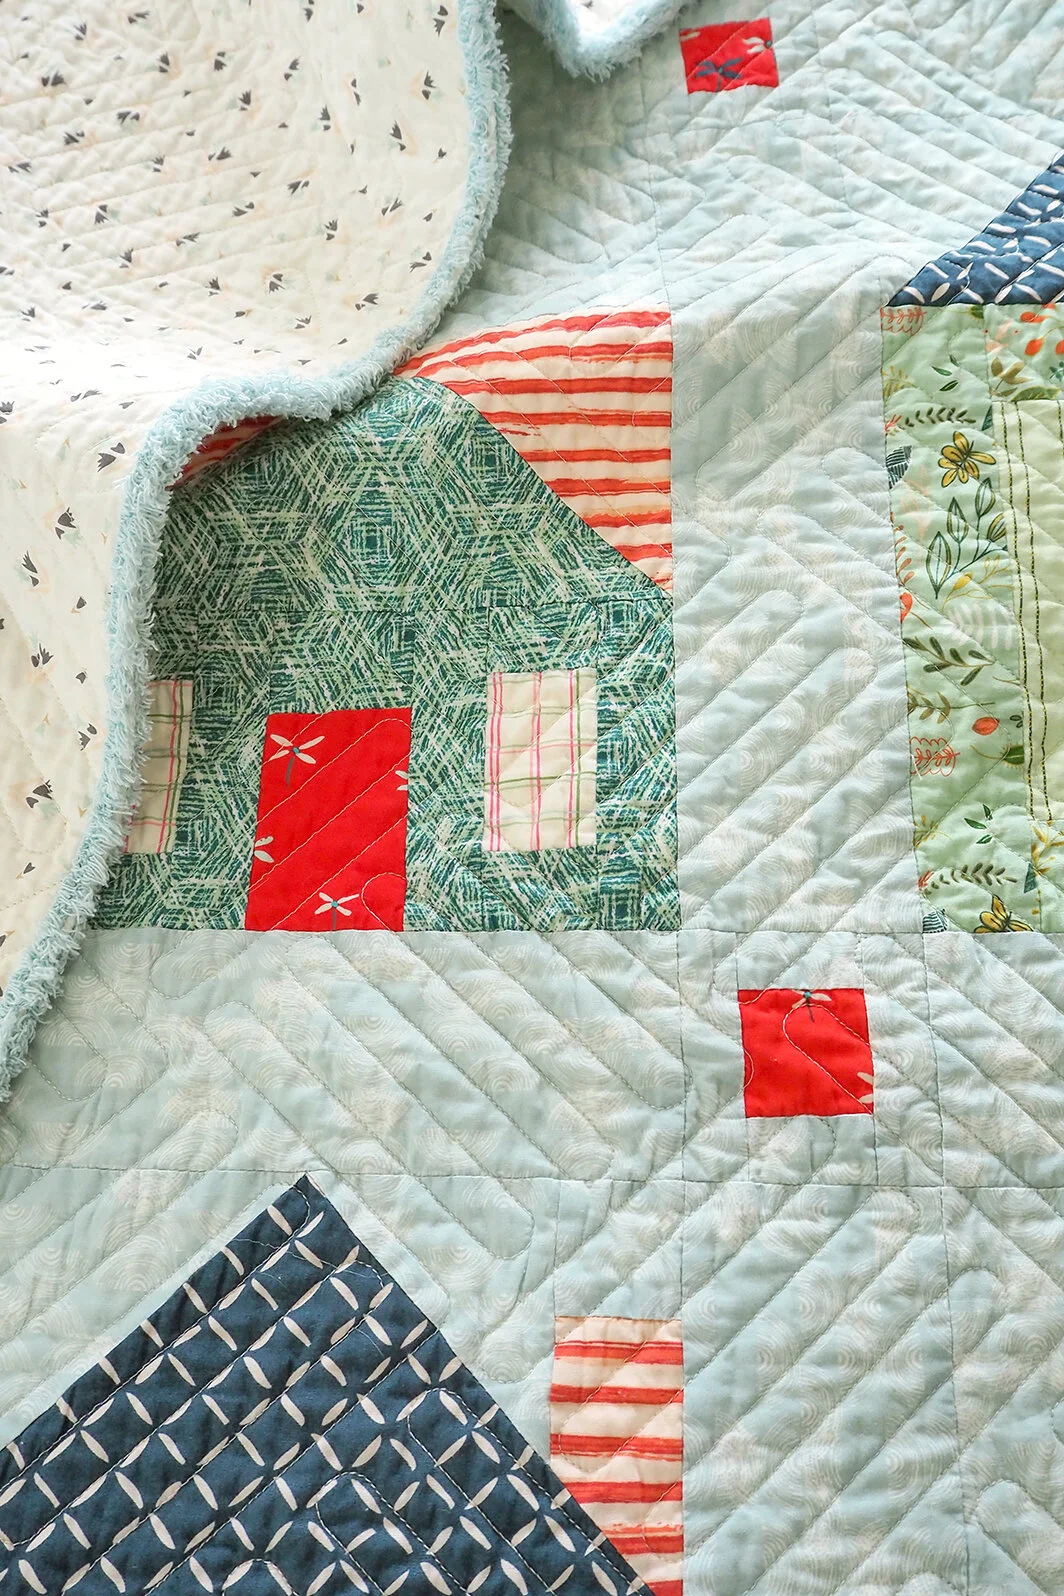
How to Apply Faux Chenille

The number one comment or question I’ve had about this quilt is about the chenille binding. So, this week it’s all about adding faux chenille to a quilt! I’ve put together a You Tube video to show you just how easy it is to attach Chenille-It Blooming Bias to a quilt to get this amazing faux chenille finish to the edges. Click video below to watch!

Easy-peasy, right!??! I’ve already ordered more Chenille-It 5/8’’-wide binding for my next new quilt pattern! Visit the Chenille-It Faux Chenille website and check out all the beautiful colors and project ideas! Keep reading till the end for a chance to win Blooming Bias tape for you and a friend!

I no longer have the Sweet Home quilts here and as soon as I took as many photos as I thought I’d need, I shipped both quilts out to my grandkids. This little guy set right to work servicing the town!
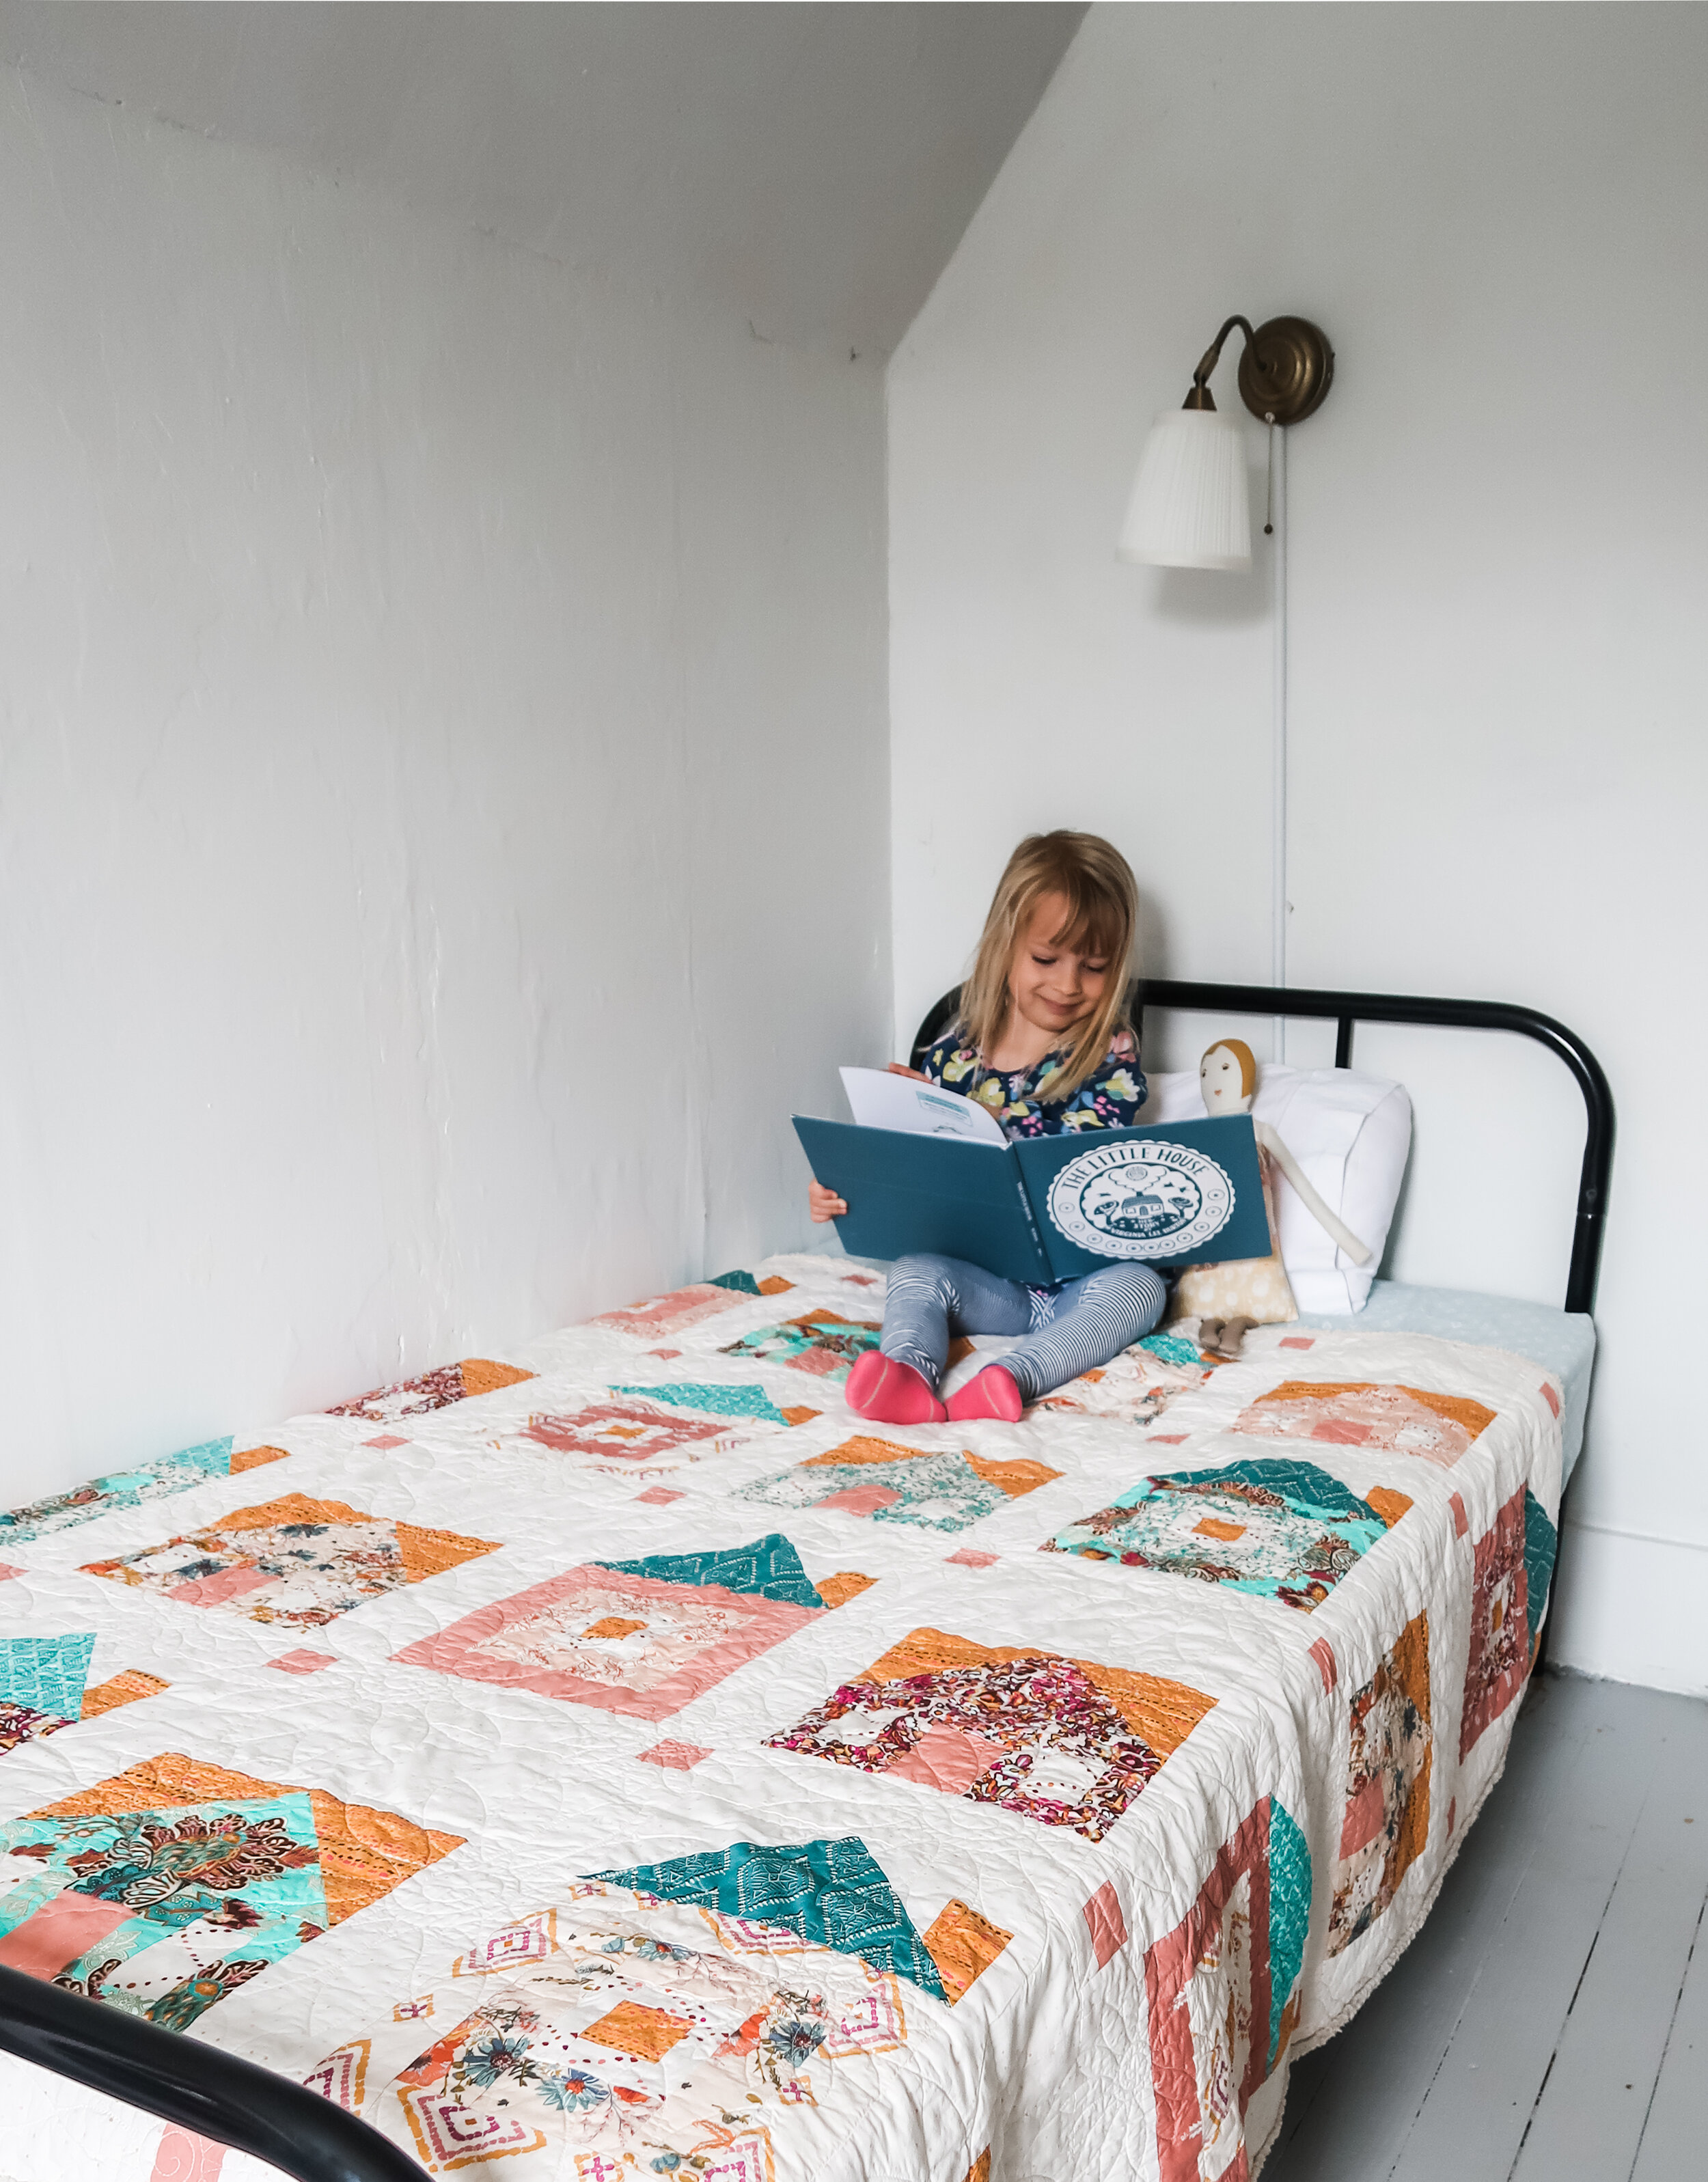
The quilts couldn’t have been made at a better time because my daughter and her family just this week closed on their new house and can get out of the rental they’ve been in since the beginning of the year. The kids have been sharing this room in a janky little turn-of-the-century house. My daughter painted the room and although it’s not got one straight wall, it was still a fun room to get these “in use” photos of the quilts. They’ll all be happier once settled into a house they can call their own.
Enter for a chance to win some Chenille-It Blooming Bias!

This week’s giveaway will be held over on Instagram. Visit my Instagram feed @sharonhollanddesigns for a chance for you and a tagged friend to win faux chenille Blooming Bias from Chenille-It. Follow the easy entry steps given in my Friday, May 22, 2020 Instagram post. Thanks to my sponsor, Chenille-It there’ll be 3 winning comments chosen! The randomly selected comments (with a tagged friend) will be picked at random around 4pm Eastern on Monday, May 25th. Winners IG handles will be posted on the IG giveaway post.